Why CNC Machining Matters in 2026
Let’s be real – if you’re in manufacturing, you know CNC machining isn’t just a process, it’s the backbone of modern production. But here’s the thing: most guides out there are either too basic or too technical, leaving you stuck with half-baked knowledge.
This guide is different. We’re going deep – from understanding G-code to calculating real costs, from material selection to avoiding common mistakes that could cost you thousands. And we’re doing it with real-world examples, not just theory.
What You’ll Learn
- How 5-axis machining is changing aerospace manufacturing
- Why 7075 aluminum costs 2.7x more than 6061 (and when it’s worth it)
- The exact formula shops use to calculate your CNC quotes
- Design mistakes that add 50%+ to your costs (and how to fix them)
- AI tools that are reducing machining time by 30% in 2026
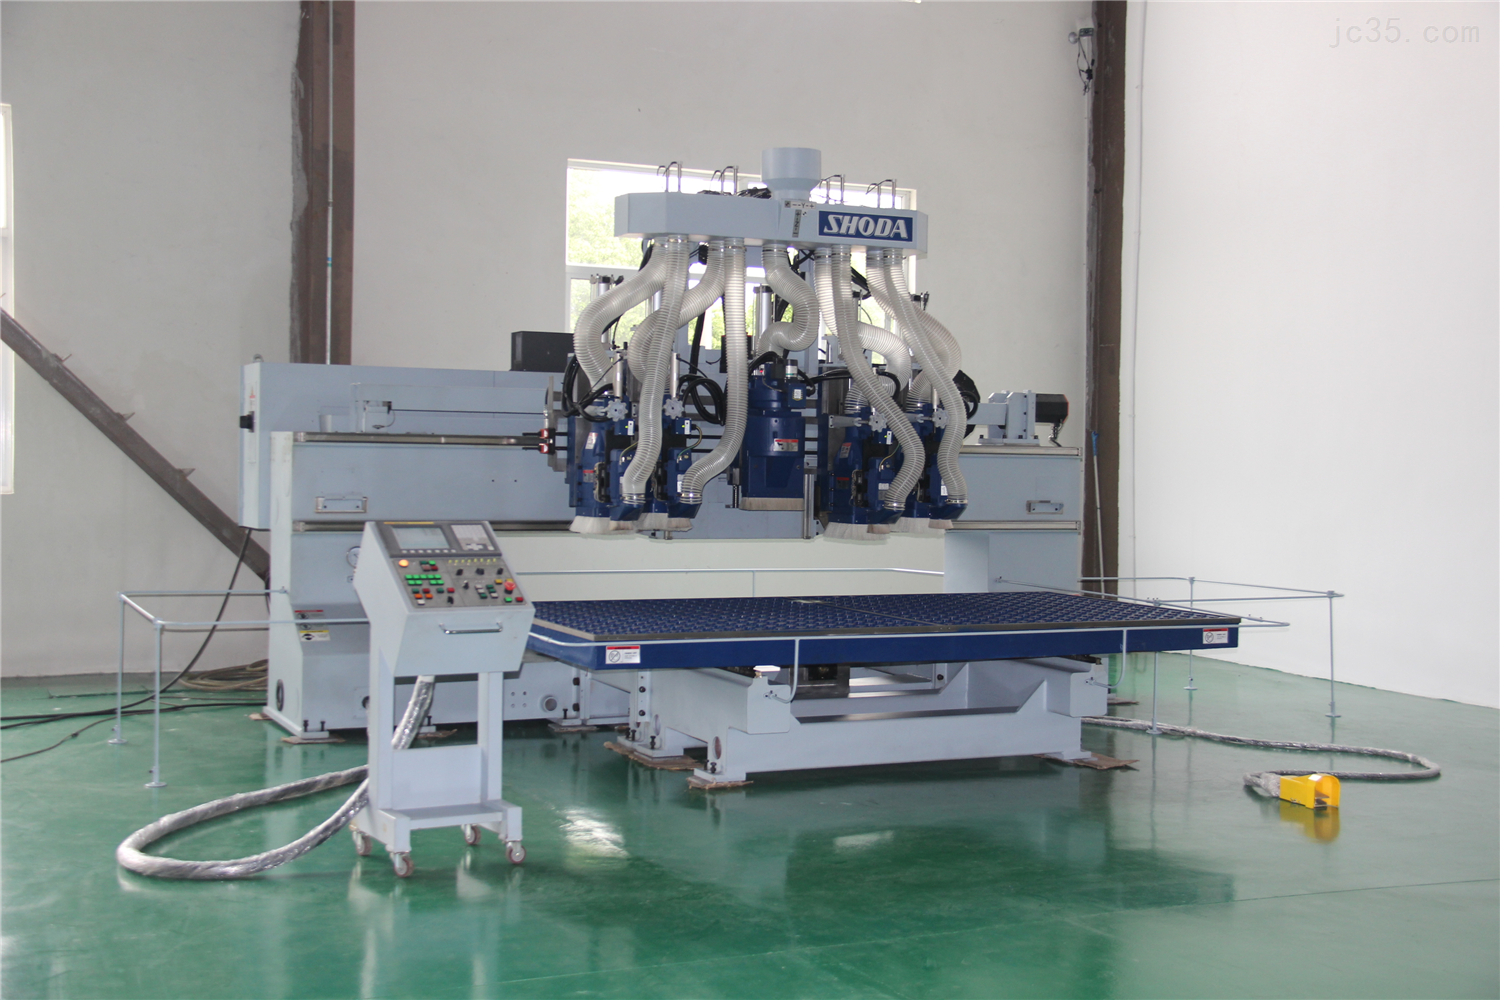
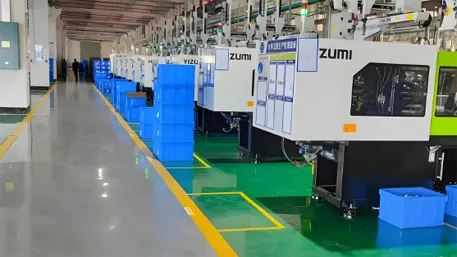
State-of-the-art 5-axis CNC machining center
CNC Machining Principles: From Basics to Advanced
What is CNC Machining Anyway?
CNC stands for Computer Numerical Control. Basically, it’s a way to control machine tools using computer programs. But let’s break it down like you’re explaining it to your non-technical friend:
- Traditional machining: A human operator moves the tools manually
- CNC machining: A computer follows precise instructions (G-code) to move the tools
- Result: Consistency, precision, and the ability to make complex parts that humans could never do
The magic happens when CAD (Computer-Aided Design) software creates a 3D model, which then gets converted into G-code by CAM (Computer-Aided Manufacturing) software. The CNC machine reads this code and makes the part exactly as designed.
Milling
- Uses rotating cutting tools
- Cuts material away from the workpiece
- Great for complex shapes and flat surfaces
- Commonly 3-axis (X, Y, Z movement)
Turning
Pro Tip: Turning is for cylindrical parts – think bolts, shafts, and round components. The workpiece spins while the tool stays stationary.
- Workpiece rotates while tool is stationary
- Perfect for cylindrical parts
- Can create threads, tapers, and grooves
- Often used with live tooling for milling operations
5-Axis Machining
Game Changer Alert: 5-axis machines can move in 5 directions simultaneously, allowing complex parts to be made in one setup.
- 3 linear axes (X, Y, Z) + 2 rotational axes
- Complex geometries in one setup
- Reduced setup time and improved accuracy
- Essential for aerospace and medical industries
G-code: The Language of CNC Machines
G-code is like the DNA of CNC machining. It’s the set of instructions that tells the machine exactly what to do. Let’s demystify it with some common commands:
Fun Fact: While you don’t need to be a G-code expert to use CNC services, understanding the basics helps you communicate better with your machining partner and catch potential issues early.
Why Multi-axis Machining is Worth the Investment
- Reduced setup time: One setup instead of multiple setups = less time, less cost
- Improved accuracy: Fewer setups mean fewer alignment errors
- Complex geometries: Parts that were impossible with 3-axis are now routine
- Better surface finish: Continuous tool paths eliminate visible seams
- Lower labor costs: Less operator intervention needed
Real Numbers: Aerospace manufacturers report 50% reduction in cycle times and 80% reduction in labor costs when switching to 5-axis machining for complex components.

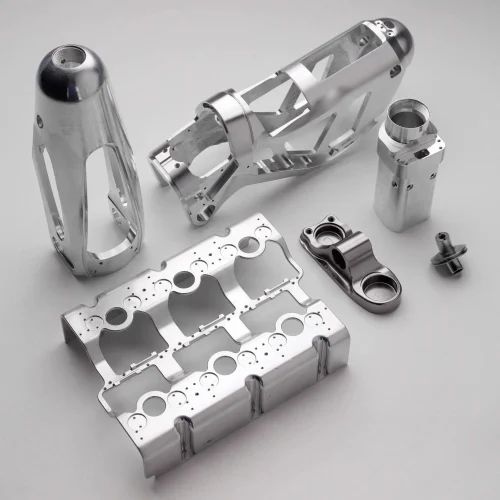
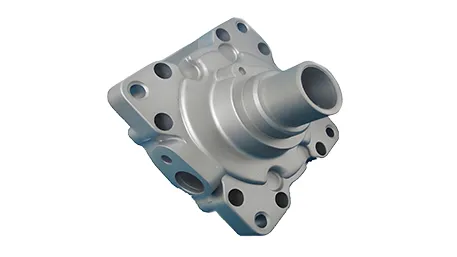
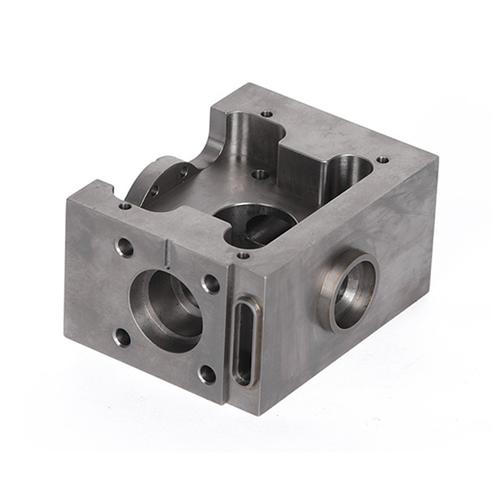
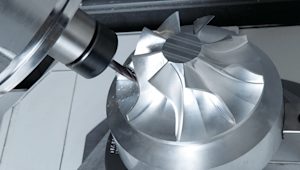
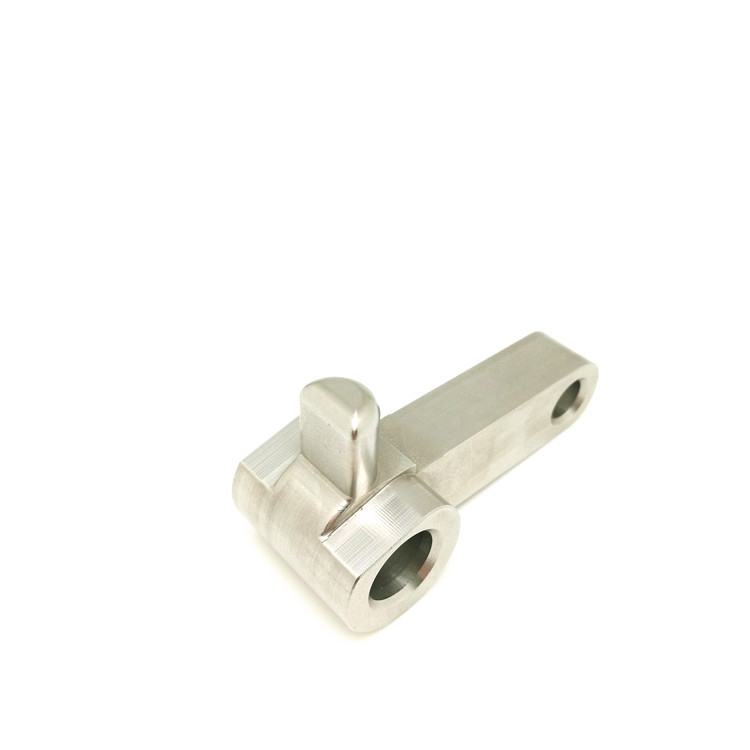
Complex aerospace components made with 5-axis machining
Materials Guide: More Than Just a List
Aluminum Alloys: The CNC Workhorse
Aluminum is the most common material in CNC machining for good reason – it’s lightweight, strong, and relatively cheap. But not all aluminum is created equal. Let’s compare the two most popular grades:
Expert Advice:
6061 is your default choice unless you specifically need the extra strength of 7075. The cost difference is significant, and 6061 is easier to machine and weld.
When to splurge on 7075: If your part needs to handle high stress, fatigue, or impact loads. Think aircraft components, high-performance bike parts, or military equipment.
Titanium: The Premium Choice
- Strength-to-weight ratio: Better than steel
- Corrosion resistance: Excellent (even in saltwater)
- Biocompatibility: Used for medical implants
- Cost: $20-50/kg (4-10x more than aluminum)
Real Talk: Titanium is amazing but expensive. Only use it when you absolutely need its unique properties.
Stainless Steel
- 304 Stainless: General purpose, good corrosion resistance
- 316 Stainless: Better corrosion resistance (marine use)
- Cost: $15-30/kg
- Machinability: Requires slower speeds than aluminum
Pro Tip: Use 303 stainless for easier machining – it has sulfur added to improve chip breaking.
How to Choose the Right Material
Step 1: Define Requirements
- Strength and stiffness needs
- Weight constraints
- Corrosion resistance requirements
- Temperature exposure
- Biocompatibility (for medical parts)
Step 2: Consider Costs
- Raw material cost
- Machining time (harder materials = longer time)
- Tooling costs (abrasive materials wear tools faster)
- Surface finishing costs
Step 3: Evaluate Machinability
- Chip formation
- Tool wear rate
- Required cutting speeds
- Surface finish achievable
Material Selection Cheat Sheet
Prototyping: 6061 Aluminum
High Strength: 7075 Aluminum or Titanium
Corrosion Resistance: 316 Stainless or Titanium
Medical Parts: Titanium or 316L Stainless
Low Cost: 6061 Aluminum or POM Plastic
High Temperature: Inconel or Titanium
Cost Calculation: Know What You’re Paying For
The Real Cost Formula
Most shops won’t tell you exactly how they calculate your CNC quote, but here’s the formula they use:
Material Cost
Includes raw material + waste material (typically 20-30% for complex parts)
- 6061 Aluminum: $4-8 per pound
- 7075 Aluminum: $10-15 per pound
- Titanium: $30-60 per pound
Machining Time × Machine Rate
Biggest cost driver – machine rates vary by equipment:
- 3-axis mills: $50-80 per hour
- 5-axis mills: $120-200 per hour
- Swiss-type lathes: $80-150 per hour
Setup Cost
One-time cost for programming, fixturing, and first article inspection:
- Simple parts: $100-300
- Complex parts: $500-1,500
- Multi-axis parts: $1,000-3,000
Finishing Cost
Additional processes after machining:
- Anodizing: $2-5 per part
- Powder coating: $5-15 per part
- Electropolishing: $3-8 per part
- Passivation: $1-3 per part
10 Proven Ways to Reduce CNC Costs
- Choose the right material: Use 6061 instead of 7075 unless you need the extra strength. Saves 60%+ on material costs.
- Specify realistic tolerances: Only use tight tolerances (±0.005mm) where necessary. Looser tolerances (±0.1mm) can cut machining time by 30%+.
- Simplify geometry: Avoid deep pockets, thin walls, and complex internal features. Each complex feature adds 10-20% to machining time.
- Use standard tool sizes: Custom tools are expensive. Design for standard end mill diameters and drill sizes.
- Batch intelligently: Ordering 10 parts instead of 1 can reduce unit cost by 40-60% due to setup cost spreading.
- Avoid internal threads: Use press-fit inserts instead of internal threads. Faster and cheaper to produce.
- Design for single setup: Parts that can be machined in one setup save 30-50% compared to multiple setups.
- Use larger fillets: Minimum radius should be 0.5mm for aluminum, 1mm for steel. Smaller radii require special tools.
- Consider castings: For high volumes, casting + CNC finishing is often cheaper than full CNC machining.
- Get a DFM review: Most shops offer free Design for Manufacturing reviews that can identify cost-saving opportunities.
Real Cost Example
Simple Aluminum Part:
- Material: $5
- Machining: $20 (0.3 hours × $65/hour)
- Setup: $150 (spread over 10 parts = $15)
- Finishing: $3
- Total per part: $43
Complex Titanium Part:
- Material: $45
- Machining: $180 (1.2 hours × $150/hour)
- Setup: $800 (spread over 5 parts = $160)
- Finishing: $15
- Total per part: $400
Batch Pricing: How Volume Affects Cost
Key Insight: The biggest cost savings come from spreading setup costs over more parts. Even small batches of 5-10 parts can reduce costs significantly.
DFM Design: Avoid These Costly Mistakes
Design for Manufacturing (DFM) Basics
DFM is all about designing parts that are easy and cheap to manufacture. The sad truth is that 80% of manufacturing costs are determined during the design phase. Get this right, and you’ll save thousands.
The Golden Rules of DFM for CNC Machining
- Keep it simple: Complexity = cost
- Design for standard tools: Avoid custom tooling
- Consider accessibility: Can the tool reach all features?
- Minimize setups: One setup is always better than multiple
- Specify realistic tolerances: Only tight where necessary
Mistake #1: Sharp Internal Corners
Problem: End mills have radius, so sharp internal corners require special tools or EDM, which is expensive.
Cost Impact: Adds 20-50% to machining time
Solution:
- Add fillets (internal radii) to all internal corners
- Minimum radius = 0.5× tool diameter
- For aluminum, use at least 0.5mm radius
- For steel, use at least 1mm radius
Mistake #2: Thin Walls
Problem: Thin walls vibrate during machining, causing poor surface finish and tool breakage.
Cost Impact: 30-100% increase due to slower feeds and tool breakage
Solution:
- Minimum wall thickness = 0.8mm for aluminum
- Minimum wall thickness = 1.2mm for steel
- Add ribs for reinforcement instead of thin walls
- Avoid tall thin walls (height > 3× thickness)
Mistake #3: Deep, Narrow Pockets
Problem: Require long, thin tools that flex and break easily.
Cost Impact: 50-200% increase due to special tools and slower speeds
Solution:
- Depth-to-width ratio < 4:1 for pockets
- Use standard tool sizes (1/8″, 1/4″, 3/8″, etc.)
- Consider splitting part if deep pockets are necessary
- Use larger fillets in deep pockets
Thread Design: Do’s and Don’ts
Thread Design Mistakes
- Blind threads too deep: Require special tools and extra time
- Threads too close to bottom: Tool can’t reach properly
- Custom thread sizes: Require custom taps and dies
- Threads in thin walls: Strip easily, need thicker walls
Costly Example: A medical device company designed blind threads that were 3× deeper than needed. This added $1.20 per part and increased cycle time by 45 seconds – costing them $12,000 extra on a 10,000-piece order.
Thread Design Best Practices
- Use standard thread sizes: M3, M4, M6, 1/4″-20, 5/16″-18, etc.
- Blind thread depth: 1.5× diameter minimum, 2× diameter maximum
- Thread relief: Add 0.5-1mm at bottom of blind threads
- Wall thickness for threads: At least 0.8× thread diameter
- Consider inserts: For high-load applications or thin walls
Smart Alternative: For plastic parts or thin walls, use heat-set inserts instead of direct threading. More durable and often cheaper to produce.
DFM Checklist: Before You Send Your Design
Geometry Check
- All internal corners have fillets
- Wall thickness meets minimum requirements
- Pocket depth-to-width ratio < 4:1
- No unnecessary complex features
- Part can be fixtured easily
Tolerance Check
- Only critical dimensions have tight tolerances
- Tolerances are realistic for CNC machining
- No conflicting tolerance requirements
- Datums are properly defined
- GD&T is used correctly (if applicable)
Material & Finish Check
- Material is appropriate for application
- Material is machinable
- Surface finish requirements are realistic
- Finish is compatible with material
- No unnecessary finish requirements
Pro Tip
Always get a DFM review from your machining partner before finalizing your design. Most shops offer this for free, and it can save you 30-50% on production costs.
2026 Trends: What’s Next in CNC Machining
AI Optimization: The Game Changer
2026 is the year AI moves from experimental to mainstream in CNC machining. Here’s how it’s changing the game:
Real-time Toolpath Optimization
- AI analyzes sensor data during machining
- Adjusts feeds and speeds in real-time
- Reduces cycle times by 20-30%
- Improves surface finish consistency
- Extends tool life by 25-40%
Predictive Maintenance
- AI monitors machine health 24/7
- Predicts failures before they happen
- Reduces unplanned downtime by 50%+
- Optimizes maintenance schedules
- Lowers overall maintenance costs
Real-world Example:
Aerostar Manufacturing implemented AI-driven toolpath optimization and saw immediate results: 28% faster cycle times, 35% longer tool life, and a 92% reduction in surface finish defects on their aerospace components.
Sustainable Materials
- Recycled alloys: Aluminum and steel made from 100% recycled content
- Biodegradable plastics: PLA and PHA for non-critical parts
- Plant-based composites: Hemp and flax fiber reinforcements
- Low-carbon materials: Produced with renewable energy
Environmental Impact: Using recycled aluminum reduces carbon footprint by 95% compared to primary aluminum.
Efficient Processes
- Dry machining: Eliminates coolant waste
- High-speed machining: Reduces energy consumption
- Near-net-shape manufacturing: Minimizes material waste
- Closed-loop systems: Recycle 95% of metal chips
Waste Reduction: Modern shops now recycle over 90% of their metal waste, up from 60% just 5 years ago.
Carbon Fiber & Composite Machining
Carbon fiber composites are increasingly popular in aerospace, automotive, and sports equipment. Machining them requires specialized techniques:
Challenges
- Abrasive nature wears tools quickly
- Fiber delamination and fraying
- Dust generation (health hazard)
- Variable material properties
Solutions
- Diamond-coated tools
- Compensation strategies for tool wear
- High-speed machining with proper cooling
- Advanced dust extraction systems
2026 Innovation: Adaptive Machining for Composites
New adaptive machining systems use laser scanning to map composite material properties in real-time, adjusting toolpaths dynamically to account for variations in fiber orientation and density. This reduces scrap rates from 15-20% to just 2-3%.
Micro Machining: Smaller is Better
As products get smaller (think wearables, medical devices, and electronics), micro machining is becoming increasingly important. Here’s what’s new in 2026:
- Tool sizes: Down to 0.01mm diameter
- Tolerances: ±0.001mm achievable
- Applications: Medical implants, electronics, optics
- Materials: Titanium, stainless steel, ceramics
- Surface finishes: Ra 0.1µm possible
Medical Breakthrough: Micro-machined titanium implants now feature 30µm surface textures that promote bone integration, reducing healing time by 40% compared to traditional implants.

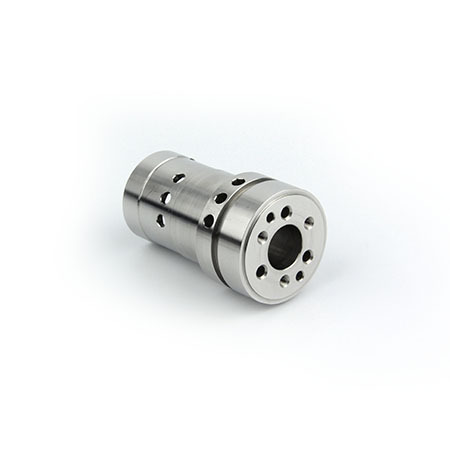
Precision micro-machined components for medical devices
Real-World Case Studies
Case Study 1: Aerospace Component – 50% Cost Reduction
The Challenge
- Complex aluminum structural component for aircraft
- Original design required 3 setups on 3-axis machines
- Production cost: $450 per part
- Lead time: 14 days
- Quality issues: 8% scrap rate
The Solution
- Redesigned for 5-axis machining (single setup)
- Optimized toolpaths using AI software
- Implemented DFM improvements (larger fillets, simplified geometry)
- Switched from 7075 to 6061 aluminum (strength wasn’t critical)
The Results
- New cost: $225 per part
- New lead time: 4.7 days
- Improved quality: 98.8% first-pass yield
- Better surface finish: Ra 1.6µm vs. 3.2µm previously
- Annual savings: $225,000 on 1,000-piece order
Case Study 2: Medical Implant
Challenge:
Custom titanium knee implant with complex geometry and strict biocompatibility requirements.
Solution:
- 5-axis machining for complex surfaces
- Electropolishing for biocompatibility
- Advanced quality inspection
Results:
Perfect fit, 100% biocompatibility, 30% faster production than traditional methods.
Case Study 3: Consumer Electronics
Challenge:
High-volume production of smartphone camera mounts with tight tolerances.
Solution:
- High-speed 3-axis machining
- Automated loading/unloading
- Statistical process control
Results:
10,000 parts per day, ±0.01mm tolerance, 99.9% quality rate.
Key Lessons from These Case Studies
Design Early Involvement
Involving manufacturing engineers early in the design process always leads to better outcomes and lower costs.
Right Technology for the Job
Choosing the right machine type (3-axis vs 5-axis) based on part complexity is critical for cost optimization.
Material Matters
Using the right material for the application – not necessarily the most expensive one – saves money without compromising quality.
Continuous Improvement
Even mature processes can be optimized with new technologies like AI and advanced tooling.
Problem Solving: Avoid These Common Pitfalls
How to Avoid Delays and Quality Issues
Common Causes of Delays
- Poor communication: Incomplete specifications or unclear requirements
- Design issues: Parts that are impossible or difficult to machine
- Material shortages: Not confirming material availability upfront
- Tooling delays: Needing custom tools that have long lead times
- Quality control failures: Parts not meeting specifications requiring rework
Prevention Strategies
- Provide complete, detailed drawings and 3D models
- Get a DFM review before finalizing design
- Confirm material availability with supplier
- Allow for tooling lead times in project schedule
- Implement quality checkpoints throughout process
Common Quality Issues
- Dimensional inaccuracies: Parts not meeting tolerance requirements
- Poor surface finish: Rough surfaces or visible tool marks
- Material defects: Inclusions, porosity, or inconsistent properties
- Thread issues: Cross-threaded, stripped, or incorrectly sized threads
- Deburring problems: Sharp edges or burrs remaining
Quality Assurance Measures
- First article inspection before full production
- In-process inspections at critical stages
- Final inspection with CMM (Coordinate Measuring Machine)
- Material certification for critical applications
- Proper deburring and cleaning processes
Quality Control Checklist
- Dimensional accuracy verification
- Surface finish inspection
- Thread quality check
- Material certification review
- Deburring inspection
- Functional testing (if applicable)
International Shipping
Key Considerations:
- Packaging for international transport
- Customs documentation requirements
- Shipping lead times and costs
- Import regulations for different countries
- Insurance for high-value parts
Pro Tip: Use a freight forwarder experienced in machined parts – they know the regulations and can help avoid delays.
Tariff Considerations
How to Minimize Costs:
- Check HTS codes for your specific parts
- Take advantage of free trade agreements
- Consider country of origin rules
- Plan for potential tariff changes
- Work with customs brokers for proper classification
Important: Tariffs can add 5-25% to your costs, so factor them into your budget upfront.
Intellectual Property Protection
When outsourcing CNC machining, protecting your IP is crucial. Here’s how to do it:
Legal Protection
- Non-disclosure agreements (NDAs)
- Non-compete clauses
- Copyright and trademark registration
- Patents for unique designs
- Clear ownership clauses in contracts
Practical Measures
- Limit design data to what’s necessary
- Use watermarked drawings
- Track file access and usage
- Destroy unused designs after project completion
- Work with reputable suppliers
Supplier Selection
- Check supplier reputation and reviews
- Verify security protocols
- Ask about IP protection policies
- Start with small projects to build trust
- Visit facilities if possible
IP Protection Checklist
- Signed NDA with supplier
- Clear contract terms on IP ownership
- Limited design data sharing
- Watermarked drawings
- File tracking system in place
- Post-project data destruction agreement
How to Choose the Right CNC Machining Supplier
Technical Capabilities
- Machine types (3-axis, 5-axis, turning centers)
- Size capacity (maximum part dimensions)
- Tolerance capabilities
- Material expertise
- Software and programming capabilities
- Quality control equipment
Business Considerations
- Pricing structure and transparency
- Lead time reliability
- Communication and project management
- Minimum order quantities
- Scalability for future needs
- Location and shipping considerations
Supplier Evaluation Scorecard
Ready to Take Your CNC Projects to the Next Level?
CNC machining is a powerful technology, but its true potential is unlocked when you understand the principles, choose the right materials, optimize your designs, and work with the right partners.
Key Takeaways
- Start with DFM to avoid costly mistakes
- Choose materials based on actual needs, not assumptions
- Understand cost drivers to negotiate better prices
- Embrace new technologies like AI optimization
- Protect your intellectual property
Remember: The best CNC projects combine great design, smart material choices, and the right manufacturing partner. Now go create something amazing!
Frequently Asked Questions
What’s the difference between 3-axis and 5-axis machining?
3-axis machines move in X, Y, and Z directions only. 5-axis machines add two rotational axes, allowing complex parts to be machined in one setup. 5-axis is more expensive but offers better accuracy and faster production for complex parts.
How tight of tolerances can CNC machining achieve?
Standard tolerances are ±0.1mm. Tighter tolerances of ±0.01mm are possible with precision machines, but they cost more. Only specify tight tolerances where absolutely necessary.
What’s the best material for CNC prototyping?
6061 aluminum is the best all-around choice for prototyping. It’s affordable, easy to machine, and has good mechanical properties. For low-cost prototypes, consider plastic like POM or ABS.
How long does CNC machining take?
Simple parts can be done in hours, complex parts may take days. Lead times depend on part complexity, material, and supplier capacity. Plan for 1-2 weeks for most projects.
How can I reduce CNC machining costs?
Optimize your design for manufacturing, choose the right material, specify realistic tolerances, and order in larger batches. Getting a DFM review is one of the best ways to identify cost-saving opportunities.
The Ultimate CNC Machining Service Guide 2026
Created with practical insights from industry experts and real-world manufacturing experience