Using a CNC machine requires a systematic approach to ensure safety, accuracy, and efficiency. From pre-operation checks to post-machining cleanup, following these steps minimizes errors and reduces the risk of accidents.
Step 1: Prepare the workspace and review the job
Before starting, lay the groundwork for a smooth process:
- Inspect the workspace: Ensure the area is clean, free of debris, and well-lit. Clear any obstacles around the machine to prevent trips or interference with moving parts.
- Review the part design and program: Study the CAD drawing and G-code program to understand the part’s dimensions, required tools, and machining operations (e.g., milling, drilling). Note critical tolerances and any complex features (e.g., undercuts, threads).
- Check material specifications: Confirm the workpiece material (e.g., aluminum, steel) and dimensions match the program’s requirements. Ensure the material is free of defects (e.g., cracks, warping) that could affect machining.
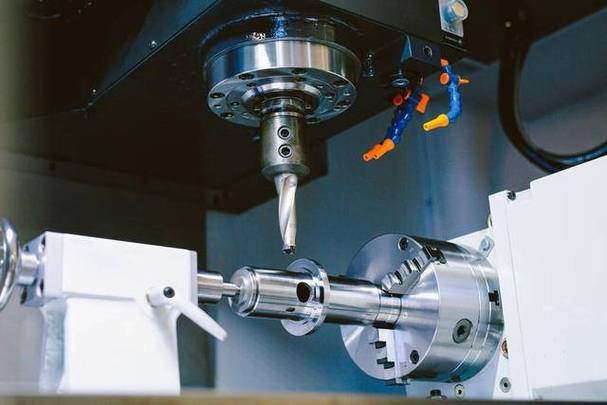
Step 2: Set up the machine and tools
Proper setup is critical for precision:
- Power on the machine: Turn on the CNC controller and spindle, allowing the system to initialize (this may take 1–2 minutes). Verify all axes home correctly (return to the reference point) using the “home” command (e.g., G28).
- Load and secure the workpiece:
-
- Choose an appropriate fixture (e.g., vise, vacuum chuck, or custom jig) based on the workpiece size and shape.
-
- Clamp the material firmly to prevent movement during machining, but avoid over-tightening, which can distort thin or soft workpieces.
-
- Use a edge finder or probe to set the workpiece origin (X, Y, Z zeros) and input these offsets into the controller (e.g., G54 work offset).
- Install and calibrate tools:
-
- Load the required cutting tools (e.g., end mills, drills) into the tool changer or spindle. Ensure tools are sharp and undamaged.
-
- Measure tool lengths and diameters using a tool setter, then input these values into the controller’s tool offset table. This ensures the machine knows the tool’s position relative to the workpiece.
Step 3: Load and verify the program
- Transfer the G-code program: Load the program into the CNC controller via USB, network, or SD card. Confirm the correct program is selected (check the filename and version).
- Simulate the toolpath: Use the controller’s simulation feature to visualize the machining process. Check for:
-
- Tool collisions with the workpiece, fixture, or machine components (e.g., spindle, guards).
-
- Incorrect axis movements (e.g., rapid moves that exceed safe limits).
-
- Proper spindle speed and feed rate settings.
- Perform a dry run: Run the program with the tool raised 0.1–0.2 inches above the workpiece (or with the spindle off) to validate movement directions and cycle times. This step catches errors without damaging the material or tools.
Step 4: Configure cutting parameters
Adjust settings to match the material and tooling:
- Set spindle speed and feed rate: Refer to the tool manufacturer’s recommendations for the material (e.g., 1000 RPM for a carbide end mill in aluminum). Input these values into the program or override them in the controller if needed.
- Check coolant settings: Ensure the coolant system is functional. For metal machining, use flood cooling; for wood or plastic, mist cooling may suffice. Position the coolant nozzle to direct flow at the cutting zone.
- Set mode and offsets: Confirm the machine is in the correct mode (e.g., G90 for absolute positioning, G21 for metric units) and that work offsets (G54–G59) are active.
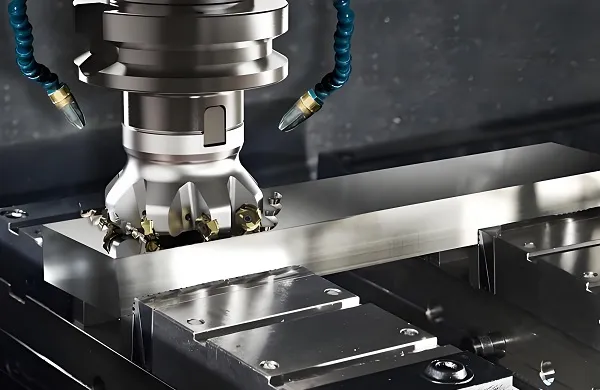
Step 5: Start machining and monitor the process
- Initiate the program: Press the “cycle start” button and stand clear of the machine. Keep hands away from moving parts, and never reach into the spindle or cutting area during operation.
- Monitor continuously: Watch for signs of issues, such as:
-
- Unusual noises (e.g., grinding or squealing, indicating tool wear or misalignment).
-
- Excessive vibration (may signal loose clamping or unbalanced tools).
-
- Poor chip evacuation (clogged flutes can cause overheating and tool breakage).
- Make adjustments if needed: If problems arise, press the “feed hold” or “emergency stop” button. Diagnose and fix the issue (e.g., replace a dull tool, re-tighten the workpiece) before resuming.
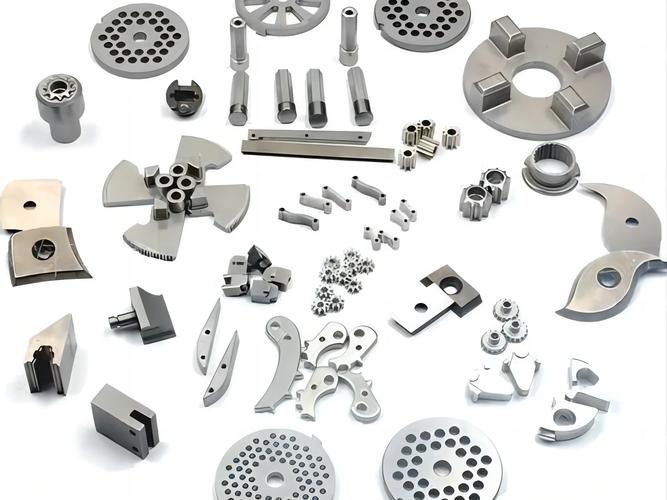
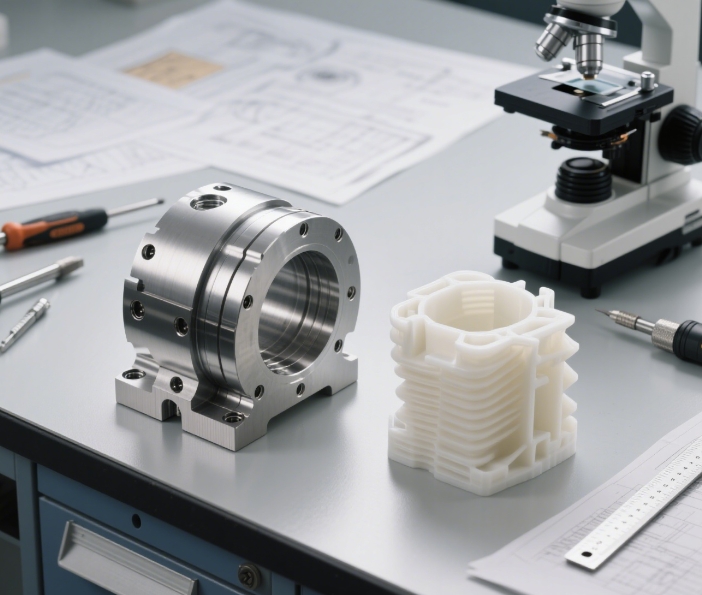
Step 6: Complete the cycle and inspect the part
- End the program: When machining finishes, the machine will return to the home position. Press “cycle stop” and turn off the spindle.
- Remove the workpiece: Unclamp the part carefully, avoiding sharp edges. Use gloves if handling hot or rough materials.
- Inspect the part: Measure critical dimensions with calipers, micrometers, or a coordinate measuring machine (CMM) to ensure they meet tolerances. Check for surface defects (e.g., burrs, scratches) or dimensional errors.
Step 7: Clean up and maintain the machine
- Clean the workspace: Remove chips, coolant, and debris from the machine table, tool changer, and floor. Dispose of waste properly (e.g., metal chips in a designated bin).
- Store tools and materials: Return tools to their storage racks and secure leftover material. Clean and lubricate tool holders to prevent rust.
- Perform basic maintenance: Wipe down the machine’s guide rails and apply lubricant as needed. Check coolant levels and refill if necessary. Log any issues (e.g., tool breakage, program errors) for future reference.
Why are these steps important?
Following this process ensures safety (reducing accidents), accuracy (minimizing defective parts), and machine longevity (preventing premature wear). Skipping steps—such as skipping simulation or rushing setup—can lead to costly mistakes, including damaged tools, scraped workpieces, or even injury.
Conclusion
Using a CNC machine involves careful preparation, precise setup, vigilant monitoring, and thorough cleanup. By following these steps, operators can achieve consistent, high-quality results while maintaining a safe working environment. Whether machining metal, plastic, or wood, this systematic approach is key to successful CNC operation.