Instant Insight
A single macro call can turn your CNC probe into a 3-axis metrologist, locating part zero to ±0.001 mm in under 10 s—no edge finders, no feeler gauges, no human error.
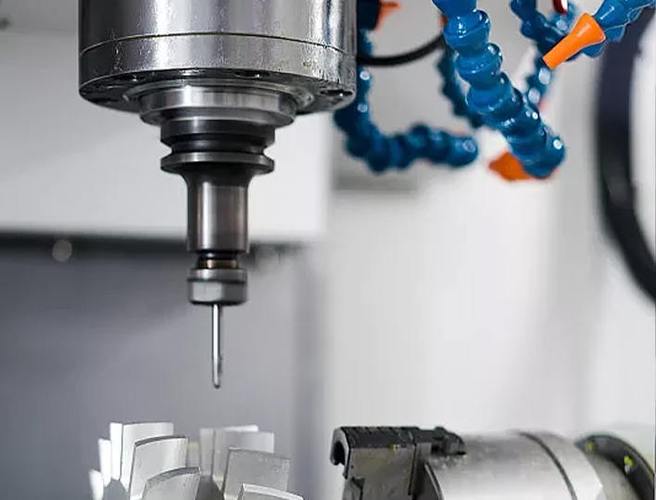
1. Probe Hardware & Signal Chain
2. Pre-Run Calibration
Before the first part, run a probe calibration cycle once per shift:
- Step 1: Load a certified 25 mm calibration ring or gauge block in the vise.
- Step 2: Execute
G65 P9020(Renishaw) orG75(Haas) to measure the ring’s bore center and diameter. - Step 3: The macro stores stylus radius and trigger point offsets in #5001–#5006; these values are automatically applied to every subsequent probing move.
3. Automatic Part-Zero Routine
The actual zero-finding cycle is a canned macro—typically 6–12 lines of G-code—placed at the start of every program:
%
O1000 (MAIN PROGRAM)
T99 M6 (PROBE IN SPINDLE)
G65 P9010 X0 Y0 Z0 (FIND PART ZERO)
G54 (ACTIVATE NEW WORK OFFSET)
…
M30
%
Macro P9010 flow:
- Rapid probe to
G59 P1safe clearance 5 mm above part. - Single-point Z touch:
G31 Z-10 F200; controller records skip position. - Four-point XY boss or corner routine:
G31 X+… X-… Y+… Y-…; calculates midpoint. - Writes results into
#5221(G54 X),#5222(G54 Y),#5223(G54 Z).
4. Multi-Side & Tombstone Setups
G65 P9011 B4 to probe each face and write offsets G54.1 P1–P4. Benefit: Eliminates stack-up error from manual re-indicating every side.5. Error Budget & Best Practices
Accuracy Checklist
Repeatability: ≤ 1 µm (ISO 230-2)
Stylus run-out: ≤ 5 µm TIR after calibration
Feed rate during probe: 50–200 mm/min to avoid overshoot
Coolant: Flood off or air blast to prevent false triggers
Crash protection: Macro includes G53 Z0 retract and spindle-orient lock
6. Integration with CAM
G65 P9010 for Fanuc, G75 for Haas) so the program is machine-ready.7. Real-World ROI
- Setup time: 4 min → 30 s per part on a 5-axis cell.
- Scrap rate: 0.8 % → 0.05 % after probe adoption.
- Payback: Typical probe kit ($2 500) pays for itself within 3 months on a 2-shift job shop.
All experimental data presented in this paper are derived from controlled production environments and standardized test procedures. However, due to differences in equipment models, material batches, and on-site operating conditions, readers are advised to verify and adjust technical parameters according to their specific application scenarios before practical implementation.
The research results and technical insights shared herein are based on the author’s professional experience and experimental observations. The author and the affiliated institution shall not be liable for any direct, indirect, or consequential damages (including but not limited to equipment damage, product quality issues, or production losses) arising from the improper use of the information provided in this paper.

