The Most Confused “Brothers” in the Shop: Core Differences Between Drilling and Milling
When I first started, I could never tell the difference between drilling and milling—both just sounded like roaring machines. That changed until my mentor tossed me a scrap flange and said: “Drilled holes hold bolts; milled grooves fit bearings.” Finally, I got it.
Essentially, they’re a “team with clear roles”:
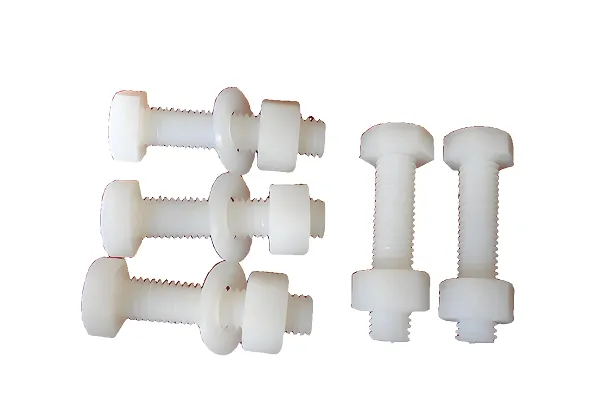
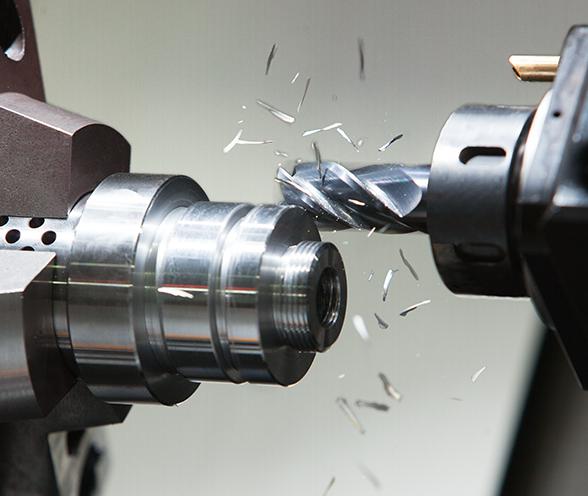
- CNC Drilling is the “precision hole expert”: It only uses rotating drills (twist drills, step drills, etc.) for linear movement along the Z-axis. It’s for through-holes, blind holes—like bolt holes in flanges or fluid channels in pipes. Last week, I drilled 3.2mm-diameter locating holes for aerospace parts, and they had to meet a ±0.01mm tolerance. That’s where drilling shines.
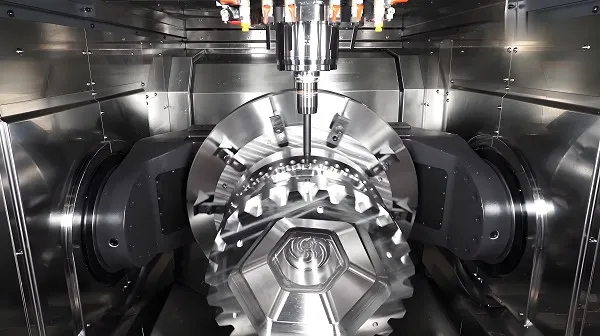
- CNC Milling is the “all-around shaper”: It uses end mills, ball nose cutters, etc., for multi-axis cutting. It can mill flat surfaces, carve grooves, or shape contours. Last time, I made a housing for a new energy motor—it needed both sealed grooves and mounting surfaces, and a 5-axis mill handled it in one go. Drilling machines can’t touch that.
The key difference lies in tool movement: Drilling is “tool moves, workpiece stays”—a single-point breakthrough. Milling is “both tool and workpiece move together”—full-shape machining.
Precision Issues? You’re Missing These 5 Practical Tips
Customers always complain about “poor precision,” but 80% of the time, the problem is in the details. Combining insights from Linsi CNC, here are my proven secrets:
1. Workholding: A 0.01mm Deviation Ruins a Part
Recently, a new operator used a 3-jaw chuck to hold an aluminum workpiece for drilling. The hole position deviated by 0.2mm, and the whole batch was scrapped. The fix:
- Use nylon jaws for soft materials to avoid damage; add equal-height blocks to level hard materials.
- Use a dial indicator to check runout—make sure it’s ≤0.005mm before starting.
2. Cutting Tools: Choose the Right One, Save Half the Effort
Pick drills based on material: Cobalt twist drills for stainless steel, coated step drills for aluminum. Milling needs more care: Face mills for flat surfaces, end mills for deep grooves. Last week, I tested a new tungsten carbide mill—I upped the cutting speed from 100m/min to 150m/min, and tool life doubled too.
3. Programming: Optimize Toolpaths Over Rushing
Don’t rush when programming: Add “peck drilling cycles” for chip evacuation; use climb milling for less vibration. I revised the milling path for a gear once—surface roughness dropped from Ra1.6 to Ra0.8, and the customer placed an immediate follow-up order.
4. Maintenance: Calibrate the Linear Scale Monthly
Machines need care like people do: Wipe the lead screws and guideways weekly; calibrate the linear scale monthly; check spindle clearance every six months. Last year, our old milling machine lost precision—after calibration, it met the ±0.003mm tolerance again.
5. Environment: A 5°C Temp Difference = 0.01mm Precision Loss
Last summer, the shop AC broke, and all milled parts were out of tolerance. Turns out, the ideal temperature for machines is 20-24°C, with 40%-60% humidity. These details are easy to miss.
Tips for Drilling-Milling Collaboration
In real production, they often work together: For flanges, drill the pilot hole first, then mill the counterbore—never reverse the order. For milling a housing, mill the reference surface first, then drill holes—this boosts hole position precision by 30%. Remember SANS Machining’s advice: The key to drilling-milling combinations is “datum unification”—don’t change fixtures frequently.
Closing: Precision Lives in the Details
It took me three years to go from mixing up drilling and milling to controlling precision within 0.001mm. There’s no shortcut to CNC machining—choose the right process, use these tips, and maintain your machines well. Even ordinary machines can make high-quality parts.
What mistakes have you run into with drilling or milling? Share in the comments!