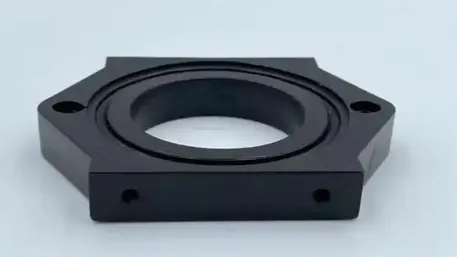
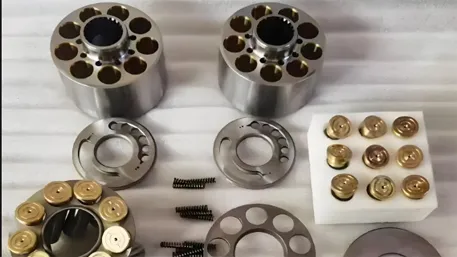
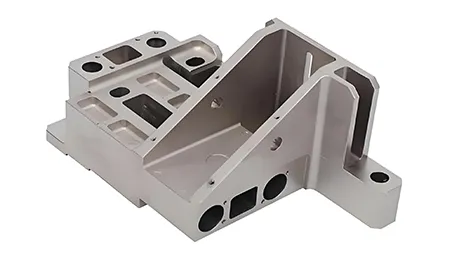
In the field of numerical control machining, the CNC Fixture Plate is an indispensable and important component. It not only provides stable clamping and positioning for the workpiece but also is a key factor in ensuring machining accuracy and improving production efficiency.
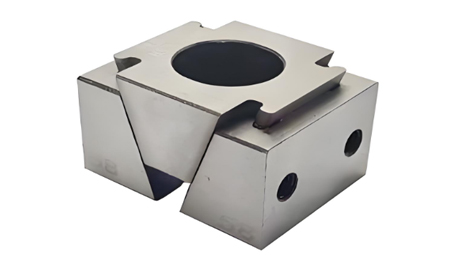
I. The Role of CNC Fixture Plate
Accurate Fixing: Ensure that the workpiece does not shift or shake during the machining process, thereby guaranteeing machining accuracy. For example, when conducting precision milling, the displacement deviation needs to be controlled within 0.01mm to meet the high-precision requirements.
Repeat Positioning: Allow the workpiece to accurately return to the same position in different machining operations, achieving consistency in multi-process machining. The repeat positioning accuracy is usually required to be below 0.005mm.
Improve Efficiency: Quickly install and disassemble the workpiece, reduce the clamping time, and increase the actual machining time of the machine tool. An efficient fixture plate design can shorten the clamping time to within a few minutes.
II. Material Selection of CNC Fixture Plate
Aluminum Alloy: It has a good strength-to-weight ratio. The lighter weight is convenient for operation, and it also has certain strength and wear resistance. The hardness of aluminum alloy 7075 can reach about HB150, and the tensile strength is above 500MPa.
Tool Steel: It has high hardness and good wear resistance, and is suitable for long-term and high-intensity machining. Common tool steels such as Cr12MoV can reach a hardness of above HRC60 after heat treatment.
Cast Iron: The cost is relatively low, and the shock absorption performance is good, which can effectively absorb the vibration during the machining process. The compressive strength of gray cast iron HT300 can reach above 900MPa.
III. Design Key Points
Selection of Positioning Datum: It is necessary to ensure accurate matching with the machine tool coordinate system and reasonable correspondence of the workpiece machining features. The flatness error of the positioning datum should be controlled within 0.01mm/m.
Clamping Method: Various methods such as mechanical clamping, vacuum adsorption, and electromagnetic adsorption can be adopted, and the selection is based on the shape, material, and machining requirements of the workpiece.
Mechanical Clamping: The clamping force is usually between several hundred Newtons and several thousand Newtons, depending on the size of the workpiece and the machining force.
Vacuum Adsorption: The vacuum degree generally needs to be maintained above -0.08MPa to ensure sufficient adsorption force.
Electromagnetic Adsorption: The magnetic force depends on the power of the electromagnet and the pole area.
Chip Removal and Cooling: The reasonable structure design should facilitate the removal of chips and the circulation of coolant to prevent chip accumulation from affecting machining accuracy and damaging the tool. The coolant flow rate is usually between 10 – 30L/min.
IV. Manufacturing Process
Machining Accuracy: Conduct milling, drilling and other machining operations through high-precision CNC machine tools to ensure the accuracy requirements of key dimensions such as flatness and parallelism. The flatness generally needs to reach within 0.01mm, and the parallelism is within 0.02mm.
Surface Treatment: Such as quenching, nitriding, etc., to improve the surface hardness and wear resistance and prolong the service life. The hardness increase range after quenching varies depending on the material, and it can generally increase by HRC10 – 30.
V. Installation and Debugging
During installation, ensure a firm connection between the fixture plate and the machine tool worktable to ensure its stability. The levelness error after installation should be less than 0.02mm/m.
During the debugging process, it is necessary to check the positioning accuracy, the uniformity of the clamping force, etc., to ensure that it meets the machining requirements. The detection of positioning accuracy can use tools such as micrometers.
VI. Maintenance and Upkeep
Regular Cleaning: Remove chips and oil stains to prevent corrosion and affect positioning accuracy.
Check for Wear: Regularly inspect the parts that are in frequent contact with the workpiece and the tool. If there is wear, repair or replace it in time. When the wear exceeds 0.1mm, it may be necessary to repair or replace the relevant components.
In conclusion, although the CNC fixture plate may seem simple, its role in numerical control machining cannot be underestimated. Correct selection, design, manufacturing, installation and maintenance of the fixture plate are of great significance for improving machining quality, efficiency and reducing costs.

