Intro
This guide skips the fancy jargon—just step-by-step help to get your CNC part programming done. Whether you’re new to this or just need a refresher, follow along, and you’ll get it.
1. Prep Work: Gather Your Tools First
First, use the drawing to figure out the key details of the part. It’s easy—just focus on a few simple things.
1.1 Learn 3 Basic Things About the Part
From the drawing, find these three key pieces of info (they’re the most important):
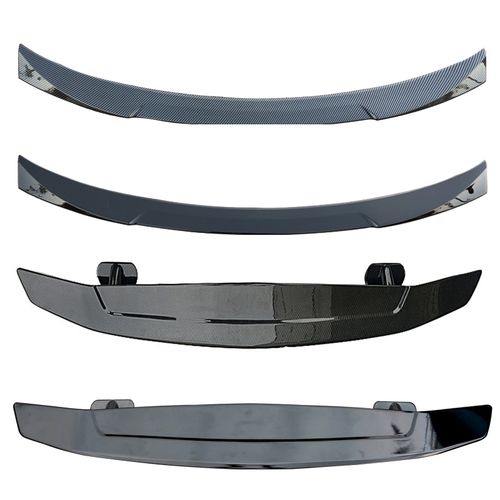
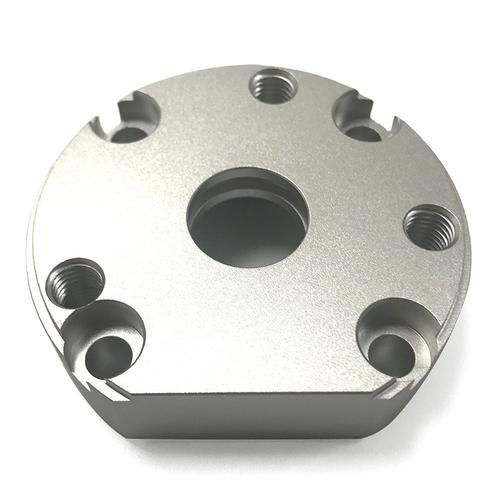
Dimensions: These are the part’s size. For example, “20mm diameter” (how thick a round part is, like a small rod) or “50mm length” (how long the part is). Get these numbers right—if you mix them up, the part will be useless.
Which parts need to be extra smooth: Look for “tolerances” (this just means “how much error is allowed”). A tolerance like “±0.01mm” means the part can only be 0.01mm bigger or smaller than the standard size. Small tolerances = this part needs to be super smooth and precise—even a tiny mistake won’t work.
What material it’s made of: Is it steel? Aluminum? The material matters because it decides what tools you’ll use and how fast you can work later.
1.2 If You’re Confused, Ask for Help – Don’t Guess!
If something on the drawing doesn’t make sense (like a symbol or a number), ask a mentor or someone who knows how to read drawings.Guessing is a bad idea—if you guess wrong, the part will turn out bad, and you’ll just waste time having to make it again.
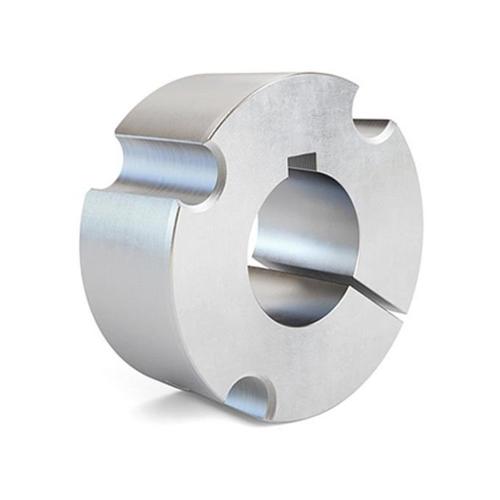
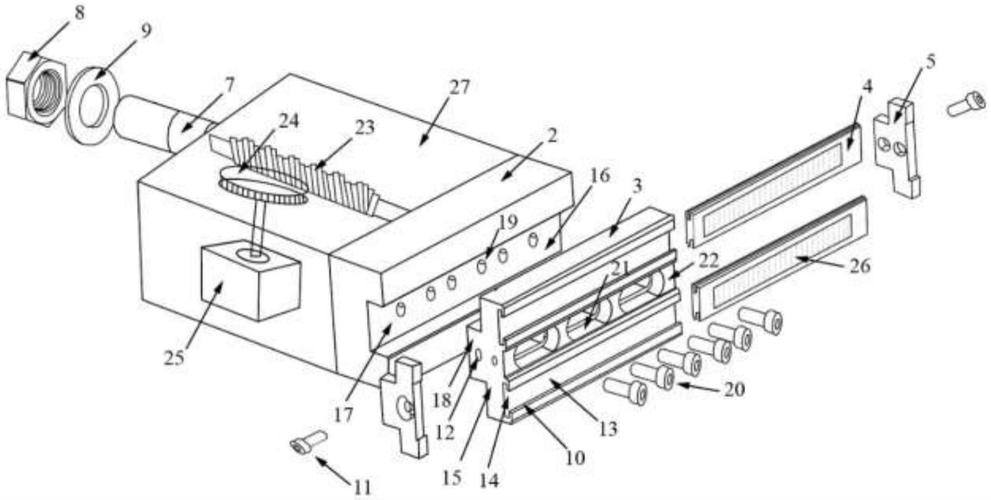
Pick the right machine and fixtureMatch the part size to the machine: small parts work with vertical mills; long, rod-shaped parts need lathes. Don’t force a part onto a machine that’s too big or small.Fixtures matter too: round parts clamp with 3-jaw chucks; square parts use vises. Make sure it’s tight—loose parts can fly off during machining, and that’s dangerous.
Get tools and measuring gear readyUse face mills for flat surfaces, drills for holes, boring tools for smoothing holes—don’t mix these up, or you’ll end up with a lumpy part.Grab measuring tools too: calipers, micrometers. You’ll need them to check sizes later—don’t wait until you’re done to realize you forgot them.
2. Programming Steps: Take It One Step at a Time
Step 1: Plan the machining order (like cooking—prep first, then cook)
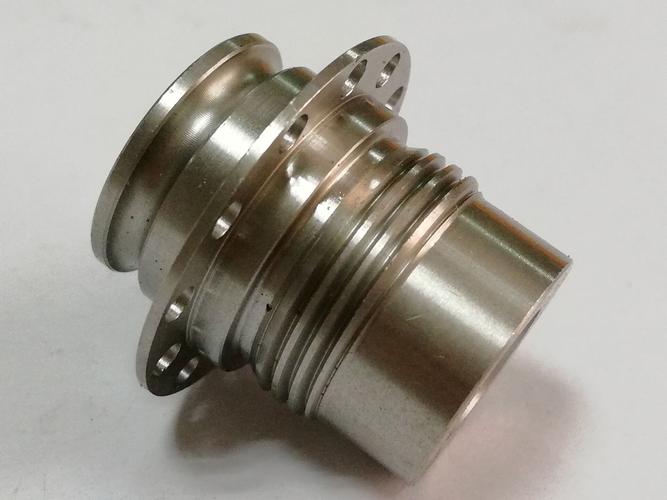
There’s a logic to it:Roughing first (chop off extra material quickly, no need for perfection) → semi-finishing (smooth it out a bit) → finishing (nail the exact size and surface).Example: For a block with a hole: mill all six sides (rough → finish) → drill a center hole → drill the main hole → bore it (to make it round and precise).
Step 2: Choose tools and cutting settings (tools + “heat” matter)
Tools: Hard materials (steel) need carbide tools; soft stuff (aluminum) can use cheaper high-speed steel. Keep tools short—long ones wiggle during cutting, and sizes get off.
Settings: Speed, feed rate, depth of cut. No need to memorize—check the machine manual or ask a pro. For steel milling, 800-1500 RPM, 100-300 mm/min feed is a good start. Adjust during test cuts if needed.
Step 3: Use software to draw and map tool paths (let the computer help)
Common software: UG, Mastercam, Caxa—they work similarly. Here’s how:
Model the part: Build a 3D model in the software (like stacking digital blocks) that matches the drawing’s dimensions.
Pick the machining type: Click “milling” or “turning,” then get specific (e.g., “face milling,” “profile milling”). Tell the software which part of the model to cut.
Enter settings: Plug in the tool, speed, and feed rate you picked. Set where the tool starts and stops.
Generate tool paths: Hit “calculate”—the software will draw the tool’s path (like a snake moving).
SIMULATE! Critical step! Always click “simulate” to check if the tool hits the fixture, machine, or misses the part. A single collision can cost thousands—don’t skip this.
Step 4: Send the program to the machine (let the machine “read” it)
In the software, click “post-process” to turn the tool path into code the machine understands (it’s all G-codes and M-codes—like G01 for straight lines, M03 to start the spindle. You don’t need to memorize them; just know they’re commands).
Transfer the code to the CNC machine using a USB, network, or cable—like sending a file to your phone.
Step 5: Set the tool offset (teach the tool where the part is)
This is make-or-break—wrong tool position = wrong part size.Simple version: Touch the tool tip gently to the part’s edge or surface, note that position (the machine screen shows coordinates), and tell the machine, “This is the starting point.”
Manual setup: Use the handwheel to move the tool close to the part. Slow down when you’re almost touching—no crashing.
If there’s a tool setter: Just place the tool on it. It’ll auto-spit out coordinates—copy those to the machine.
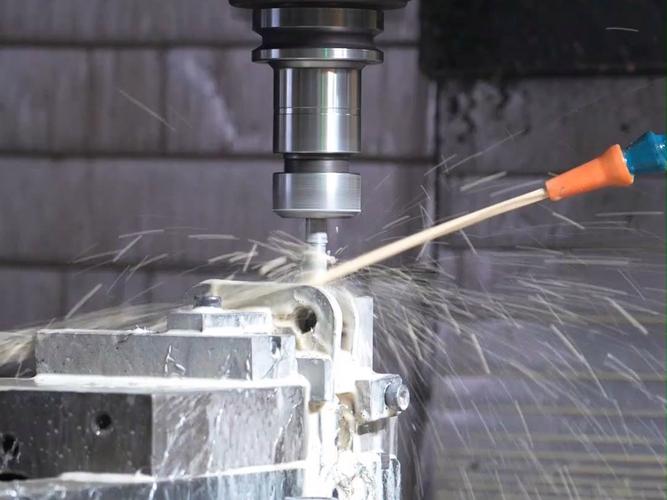
Step 6: Test cut and machine (taste before serving—play it safe)
Start with “single-block mode” (press once, cut one step). Check the first few moves. If they look good, switch to continuous run.
Cut slowly at first. After a section, stop and measure with calipers. If it’s off (e.g., supposed to be 50mm but it’s 50.2mm), adjust the program to make the tool cut 0.2mm more next time.
Once it’s all done, measure everything. If the size and surface look good—you’re done!
3. Safety & Tips: Don’t Cut Corners
Safety first—alwaysWear safety glasses (metal chips fly!), snug work clothes (loose stuff can get caught), and no gloves near spinning parts (they’ll wrap around).Keep hands out of the cutting area when the machine’s running. Hit “pause” if you need to adjust something.
Back up your programsSave the finished program to a USB and your computer. If the machine loses it, you won’t have to start over—no late nights redoing work.
Check oftenListen while machining: A smooth “hiss” is good. A loud “clank” means trouble—stop! Could be a loose tool or part.Replace dull tools—they make rough surfaces and can break.
4. Common Fixes (Don’t Panic—Here’s What to Do)
Wrong dimensions? Probably a bad tool setup—recheck the offset.
Rough surface? Maybe the speed’s too low or feed too fast—crank up speed, slow down feed.
Broken tool? You cut too deep, or the part was loose—shallow the cut, reclamp the part.
That’s it. Practice makes it click. Take it slow, stay safe, and you’ll get the hang of it!