Hi everyone! Today we’re going to talk about something super basic but essential for CNC machining—G54 coordinates. Don’t worry, I won’t hit you with jargon right away. Let’s start with a simple question: How does a CNC machine “find” the part it needs to machine?
1. First, Why Do We Need G54?
Think of a CNC machine as a blind chef:
- The machine’s “hands” (spindle, cutting tools) are extremely precise, but it can’t “see” where the part is;
- The machine has its own “home base” (called the machine coordinate system)—a fixed point (like the bottom-left corner of the machine table) set by the manufacturer, similar to a chef’s “stove position”;
- But parts aren’t always placed right on the “stove”! One day you might machine a phone case, the next a small gear—parts come in different sizes and positions. The machine can’t re-learn “how to find the part” every time, right?
That’s where G54 comes in—it’s like drawing a custom map for each part, telling the machine: “The part’s center/starting point is here—start machining from this spot!”
2. What Is G54, in One Sentence?
G54 is a workpiece coordinate system command in CNC machines. Simply put:
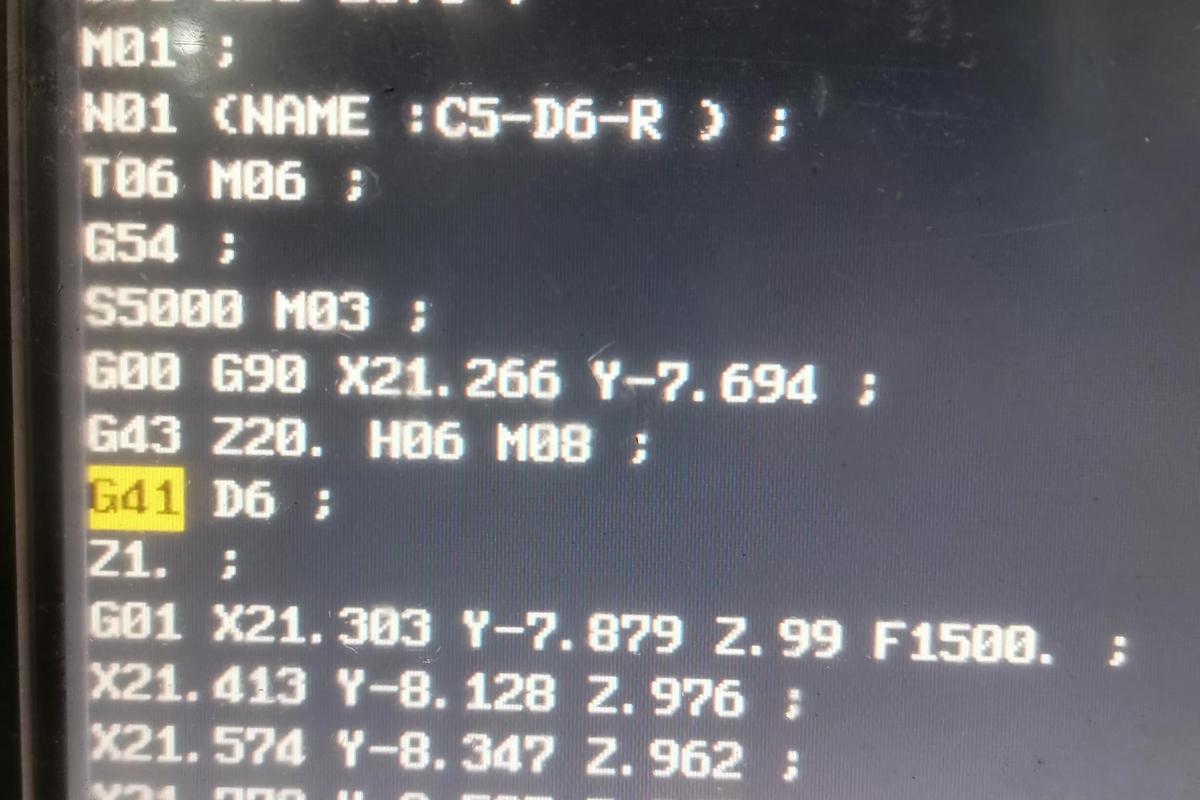
You tell the machine the “key position of the part” in advance. Then, just add the line “G54” to your program, and the machine knows exactly which part to machine.
Here’s a concrete example:
Suppose you place a part on the machine table. Using a ruler, you measure that the part’s center is:
- 100mm from the machine’s home base in the X-direction,
- 50mm in the Y-direction,
- 0mm in the Z-direction.
Enter these three values (X100, Y50, Z0) into the machine’s “G54 parameters.” From then on, every time you machine this part, just add “G54” at the start of your program. The machine will automatically move to the part’s center and machine accurately—no need to re-measure or edit the program every time!
3. How to Set Up G54? 3 Easy Steps (Tool Setting)
Setting up G54 is called “tool setting” in the industry—it’s just the process of “telling the machine where the part is.” Let’s use the most common tool, an edge finder (for locating part edges), to walk through the steps:
Step 1: Let the Machine “Return Home” (Homing)
First, press the machine’s “Homing” button to move the cutting tool back to the machine’s home base (machine coordinate system origin). This step is critical—it’s like a chef confirming where their stove is before cooking. If you skip this, the machine might “misidentify its home” later.
Step 2: Locate the Part’s Edges and Record Positions
- Mount the edge finder on the machine’s spindle. Slowly move the tool until the edge finder gently touches the left edge of the part (in the X-direction);
- Check the machine’s screen—let’s say the “X-coordinate” shows “X180” (this means the current position is 180mm from the machine’s home base in the X-direction);
- Since the edge finder touched the part’s edge, the part’s X-center will be at “edge position + half the part’s width” (e.g., if the part is 80mm wide, add 40mm to the edge position);
- So the part’s X-center position is: 180 + 40 = 220mm—write down “X220”;
- Repeat the same process for the part’s Y-direction edge to calculate the Y-center (e.g., Y150) and write that down too;
- The Z-direction is simple: Move the tool until it gently touches the part’s top surface. The Z-coordinate shown on the screen is “Z0” (we use the part’s top surface as the starting point for the Z-direction).
Step 3: Enter the Values into G54
Open the machine’s “parameter screen,” find the section labeled “G54,” and enter the values you just wrote down (X220, Y150, Z0). Press “Confirm”—you’re done!
Next time you machine this part, just include “G54” in your program, and the machine will recognize this position.
4. The Most Common Use for G54: Batch Processing
G54 shines when you need to machine multiple identical parts (e.g., 100 small components):
- For the first part, spend 5 minutes setting up G54;
- For the next 99 parts, just place each part in the same position as the first (use a fixture to hold it in place). Call up the program with “G54,” and the machine will machine automatically—no retooling or parameter changes needed!
That’s G54’s biggest advantage: Set it once, reuse it many times. Saves time and reduces errors.
5. 3 Critical Tips for Beginners Using G54
- Always home the machine first! If you use G54 without homing, the machine will “misidentify its home base,” which almost always causes tool collisions (the tool hits the part or machine table);
- Double-check your number entry! Typing X200 instead of X220 will make the machine machine 20mm off-target—ruining the part;
- Don’t move the part after setup! Once G54 is set, touching or shifting the part will make G54 inaccurate.
Final Summary: G54 Is Simple
You don’t need to memorize complex formulas. Just remember:
G54 is the machine’s “part positioning code”—tell the machine where the part is in advance, add “G54” to your program, and the machine knows exactly which part to machine.
It’s okay to go slow when you’re starting out. Practice a few times, and you’ll get the hang of it. If any step confuses you, we can break it down further!
Disclaimer
- All information, opinions, and data contained in this article are for the purpose of information transmission only and do not constitute any advice on investment, transactions, law, medical care, or other matters.
- The content of the article is compiled based on public information or created based on the author’s personal understanding. Although every effort is made to ensure accuracy, it does not guarantee the completeness, accuracy, and timeliness of the information, nor does it bear any responsibility for any losses caused by the use of the content of this article.
- If the article involves third-party opinions, pictures, data, and other content, the copyright belongs to the original author. In case of infringement, please contact us for deletion.
- Readers should make independent decisions based on their actual situation and combined with professional opinions. The user shall bear all consequences arising from the use of the content of this article.