Turning a picture into a 3D model is achievable with 3 main methods—the right choice depends on your:
- Picture type (single photo, multiple photos, or 2D illustrations);
- Precision needs (concept prototype vs. industrial-grade accuracy);
- Tool familiarity (AI tools for beginners, professional software for experts).
The three mainstream approaches are:
- AI-Powered Single-Image Conversion (fast, no skills needed—best for quick prototypes);
- Photogrammetry (Multiple Images) (higher accuracy—best for real objects like products or artifacts);
- Manual 2D-to-3D Modeling (industrial precision—best for engineering parts or detailed designs).
Below, we break down each method with step-by-step instructions, tool recommendations, and pro tips to avoid common mistakes.
1. Preparatory Work: What You Need Before Starting
Before converting your picture to a 3D model, ensure your images and tools are optimized—poor preparation is the #1 cause of low-quality models.
A. Picture Requirements (Critical for Success)
|
Method
|
Image Type
|
Image Quality Rules
|
|
AI Single-Image
|
Single photo/illustration
|
– High resolution (≥1920x1080px); – Even lighting (no harsh shadows/overexposure); – Clear edges (avoid blurry details).
|
|
Photogrammetry
|
15–30 photos of 1 object
|
– 360° coverage (shoot object from top, bottom, sides); – 60%+ overlap between photos (so software can match features); – No moving objects / 反光 (e.g., avoid glass or metal glare).
|
|
Manual 2D-to-3D
|
2D blueprint/illustration
|
– High contrast (black lines on white background); – Multiple views (front/side/top if possible); – Labeled dimensions (for precision).
|
B. Tool Selection (Free vs. Professional)
|
Skill Level
|
Method
|
Free Tools
|
Professional Tools
|
|
Beginner
|
AI Single-Image
|
Luma AI (mobile), Meshy (web), Adobe Firefly (web)
|
MidJourney (with 3D export), Daz3D Bridge
|
|
Intermediate
|
Photogrammetry
|
COLMAP (desktop), Polycam (mobile), Meshroom
|
Agisoft Metashape, RealityCapture
|
|
Expert
|
Manual 2D-to-3D
|
Blender (desktop), SketchUp Free
|
SolidWorks, Rhino, Autodesk Fusion 360
|
2. Method 1: AI-Powered Single-Image Conversion (For Beginners)
This method uses AI to “guess” 3D depth from a single 2D image—no modeling skills needed. It’s perfect for quickly turning illustrations, photos, or concepts into 3D prototypes (e.g., a sketch of a toy into a 3D model for 3D printing).
Step-by-Step with Luma AI (Free Mobile Tool):
- Download & Set Up: Install Luma AI (iOS/Android) and create a free account.
- Upload Your Image: Tap “Create” → “From Photo” → Select your high-res image (e.g., a photo of a coffee mug).
- Customize Model Settings:
-
- Choose “Model Type”: “Object” (for physical items) or “Scene” (for environments like rooms).
-
- Adjust “Detail Level”: “Low” (fast, small file) or “High” (more polygons, better for close-ups).
- Generate the 3D Model: Tap “Generate” → Wait 5–10 minutes (AI processes depth and geometry).
- Optimize & Export:
-
- Use the app’s “Simplify” tool to reduce polygon count (for 3D printing, aim for 10k–50k polygons).
-
- Export as .GLB (for rendering) or .STL (for 3D printing).
Pros & Cons:
- Pros: Fast (5–30 minutes), no skills needed, free tier available.
- Cons: Low precision (AI guesses depth—may have distorted areas), not suitable for industrial parts.
Best For:
- Concept art (e.g., turning a character sketch into a 3D model for game development).
- Quick 3D printing prototypes (e.g., a simple toy or decorative item).
3. Method 2: Photogrammetry (Multiple Images for Higher Accuracy)
Photogrammetry uses 15–30 overlapping photos of a real object to reconstruct a 3D model—this method is far more accurate than single-image AI (±1mm precision for small objects). It’s ideal for scanning physical items like products, artifacts, or furniture.
Step-by-Step with Polycam (Free Mobile Tool):
- Prepare the Object:
-
- Place the object on a plain background (white/black) to avoid background noise.
-
- Use soft lighting (e.g., two lamps) to eliminate harsh shadows (shadows confuse the software).
-
- For small objects (e.g., a key), use a tripod to keep camera stable.
- Take 15–30 Overlapping Photos:
-
- Start at eye level with the object → Take a photo.
-
- Move 10–15° around the object → Take another photo (ensure 60% of the previous photo’s content overlaps).
-
- Cover all angles: Top, bottom, front, back, and sides (e.g., 5 photos around the middle, 5 from the top, 5 from the bottom).
- Import to Polycam:
-
- Open Polycam → Tap “Photogrammetry” → Select all photos.
- Reconstruct the Model:
-
- Tap “Process” → Choose “Accuracy”: “Medium” (10–15 minutes) or “High” (20–30 minutes).
-
- The software will:
① Sparse Reconstruction: Identify key points (e.g., edges of the object) across photos.
② Dense Reconstruction: Fill in millions of small points to create a “point cloud.”
③ Mesh Generation: Convert the point cloud into a 3D mesh (the final model).
- Clean Up & Export:
-
- Use the “Erase” tool to remove background mesh (e.g., the table the object was on).
-
- Use “Smooth” to fix rough areas (e.g., uneven surfaces on a scanned cup).
-
- Export as .STL (3D printing) or .OBJ (editing in Blender).
Pro Tips for Better Results:
- Avoid reflective objects (e.g., metal cups): Cover them with matte tape to reduce glare.
- For large objects (e.g., a chair), use a DSLR camera (higher resolution than a phone).
- Use COLMAP (free desktop tool) for industrial-grade precision (but requires a powerful computer).
Best For:
- Product design (scanning a physical prototype to edit in CAD software).
– 文物 preservation (scanning a small artifact for digital archives).
- 3D printing replicas (e.g., scanning a broken part to print a replacement).
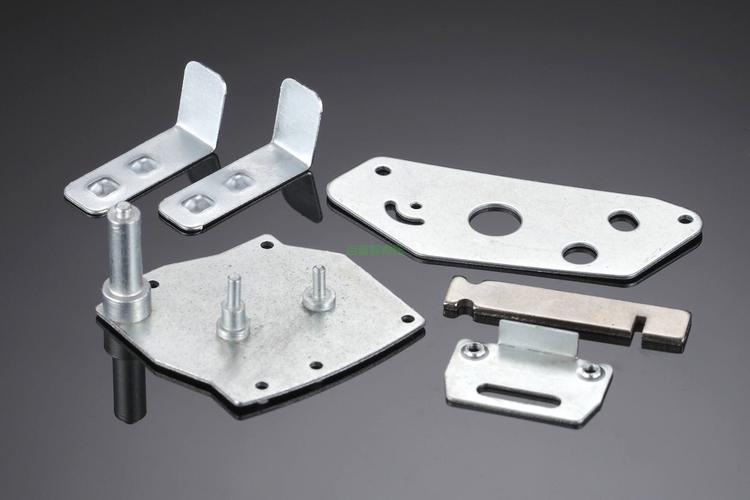
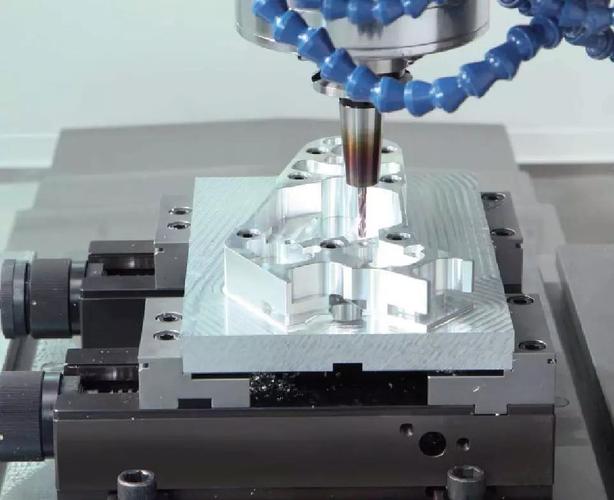
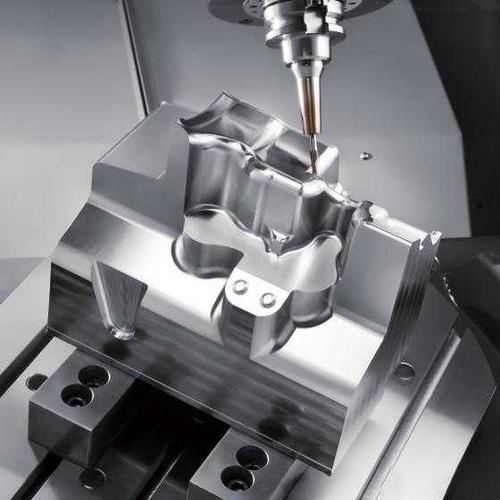
4. Method 3: Manual 2D-to-3D Modeling (Industrial Precision)
For engineering parts, architectural designs, or parts that need exact dimensions (±0.1mm), manual 2D-to-3D modeling is the only reliable method. This approach uses CAD software to trace 2D images (e.g., blueprints) and extrude them into 3D—requires basic modeling skills.
Step-by-Step with Blender (Free Desktop Tool):
- Import the 2D Image as a Reference:
-
- Open Blender → Delete the default cube → Go to “Add” → “Image” → “Reference.”
-
- Select your 2D image (e.g., a blueprint of a gear) → Align it to the “Front” view (press “1” on the numpad).
-
- Add a second reference image (if available) for the “Side” view (press “3” on the numpad) to ensure depth accuracy.
- Trace the 2D Outline:
-
- Go to “Edit Mode” → Select the “Line” tool → Trace the outer edges of the image (e.g., the circle of the gear).
-
- Use the “Snap” tool (enable in the top bar) to align lines to the image’s edges (avoids uneven curves).
-
- Close the outline (ensure the last point connects to the first) to create a “closed loop” (required for extrusion).
- Extrude the 2D Outline into 3D:
-
- Go to “Object Mode” → Select the traced outline → Press “E” (extrude) → Drag the mouse to set the depth (e.g., 5mm for a thin gear).
-
- Type the exact depth (e.g., “5mm”) in the bottom bar for precision (critical for engineering parts).
- Add Details:
-
- For holes (e.g., the center of the gear), trace a smaller circle in the middle of the outline → Extrude it through the gear (press “E” then “Enter” to extrude through).
-
- Use the “Loop Cut” tool to add edges for strength (e.g., adding a loop cut around the gear’s teeth).
- Validate & Export:
-
- Use the “Measure” tool to check dimensions (e.g., ensure the gear’s diameter is 50mm as per the blueprint).
-
- Fix “non-manifold geometry” (common error: overlapping edges) using Blender’s “Clean Up” tool → “Delete Loose Geometry.”
-
- Export as .STEP (for CAD software like SolidWorks) or .STL (3D printing).
Best For:
- Industrial parts (e.g., gears, brackets, or machine components from blueprints).
- Architectural designs (e.g., turning a 2D floor plan into a 3D model of a room).
- High-precision 3D printing (e.g., replacement parts for machinery).
5. Scene 化选择指南: Which Method Should You Use?
Use this table to match your needs to the right method:
|
Your Goal
|
Best Method
|
Tool Recommendation
|
Expected Precision
|
|
Quick prototype of a sketch/photo
|
AI Single-Image
|
Luma AI (mobile)
|
±5–10mm
|
|
Scan a physical object (e.g., a mug)
|
Photogrammetry
|
Polycam (mobile) or COLMAP (desktop)
|
±1–3mm
|
|
Engineering part from a blueprint
|
Manual 2D-to-3D
|
Blender (free) or SolidWorks (pro)
|
±0.1–0.5mm
|
|
3D print a replacement part (e.g., a hinge)
|
Photogrammetry (scan the old part)
|
Polycam
|
±1mm
|
|
Game asset from a character illustration
|
AI Single-Image + Blender edit
|
Meshy (AI) + Blender (optimize)
|
Visual accuracy (no exact dimensions)
|
6. Common Mistakes & How to Fix Them
Mistake 1: Blurry/Overexposed Photos
- Problem: AI/photogrammetry software can’t detect edges, leading to a distorted model.
- Fix: Retake photos in natural light (avoid direct sunlight) with a high-resolution camera (≥12MP). Use the camera’s “grid” mode to ensure straight shots.
Mistake 2: Not Overlapping Photos Enough (Photogrammetry)
- Problem: Software can’t match features between photos, leading to missing parts of the model.
- Fix: Ensure 60%+ overlap—if you’re unsure, take more photos (30 vs. 15) to cover gaps.
Mistake 3: Single-Image AI for Industrial Parts
- Problem: AI guesses depth, so the model won’t match exact dimensions (e.g., a 10mm thick part becomes 8mm).
- Fix: Use photogrammetry (scan the physical part) or manual modeling (trace the blueprint) for precision.
Mistake 4: Ignoring Model Clean-Up
- Problem: The model has “non-manifold geometry” (gaps/overlaps) that causes 3D printing failures.
- Fix: Use Blender’s “Clean Up” tool or Meshlab (free) to:
① Delete loose vertices (unconnected points).
② Fix non-manifold edges (edges shared by more than two faces).
7. Post-Processing: Make Your Model Ready for Use
No matter which method you use, post-processing ensures your model works for its final purpose (3D printing, rendering, or CAD editing):
- Simplify Polygon Count:
-
- For 3D printing: Use Meshlab’s “Quadric Edge Collapse Decimation” tool to reduce polygons to 10k–50k (too many polygons slow slicing).
-
- For rendering: Keep 100k–500k polygons (more details for close-ups).
- Fix Topology:
-
- Ensure the model is “watertight” (no gaps): Use Blender’s “Select Non-Manifold” tool to find gaps → Fill them with the “Fill” tool.
- Assign Materials:
-
- For rendering: Add textures (e.g., wood grain for a table) using Blender’s “Material Properties” tab.
-
- For 3D printing: No materials needed—just export as .STL (slicers like Cura handle material settings).
8. Practical Example: Turning a Coffee Mug Photo into a 3D Print
- Method: Photogrammetry (Polycam).
- Steps:
-
- Take 20 photos of the mug (5 around the middle, 5 top, 5 bottom, 5 sides).
-
- Import to Polycam → Process in “Medium” accuracy.
-
- Erase the table background → Smooth the mug’s handle (rough from scanning).
-
- Export as .STL → Open in Cura (slicer) → Set 0.2mm layer height.
-
- 3D print with PLA filament.
- Result: A functional 3D print of the mug (±1mm precision) that fits the original mug’s lid.
Conclusion: Start Simple, Then Upgrade
If you’re new to 3D modeling:
- Begin with AI tools (Luma AI/Meshy) to learn how 2D images translate to 3D.
- Once you’re comfortable, try photogrammetry (Polycam) for scanning physical objects.
- For industrial needs, learn Blender/SolidWorks for manual 2D-to-3D modeling.
The key is to practice—even a simple sketch turned into a 3D model will teach you how depth, lighting, and edges affect the final result.
Got a specific project (e.g., “scan a vintage toy” or “turn a blueprint into a 3D part”)? Share your details in the comments, and we’ll help you pick the right method and tools!