1、Answer
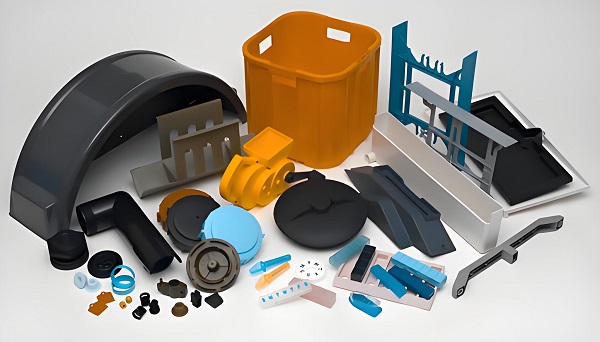
Check for mold lines (thin seams where mold halves meet), ejector pin marks (small circular indentations from part removal), and gate vestiges (small nubs where molten material entered the mold). Look for uniform thickness, surface texture consistency, and lack of tool marks from machining. Complex, symmetrical shapes (e.g., bottle caps, automotive parts) often indicate injection molding.
2、Expansion
Key Visual and Structural Indicators
-
Mold Lines/Weld Lines
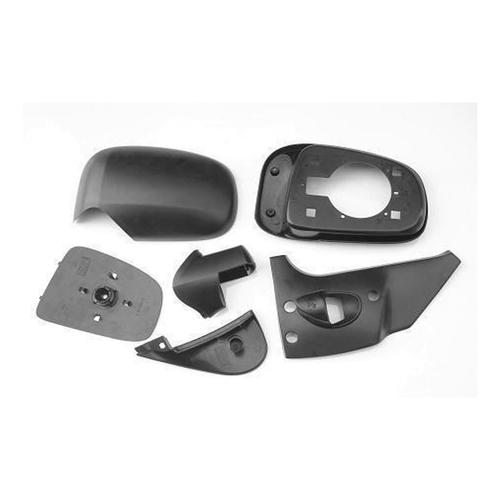
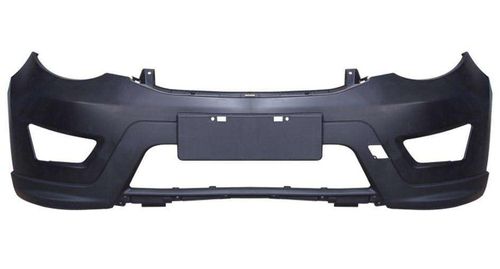
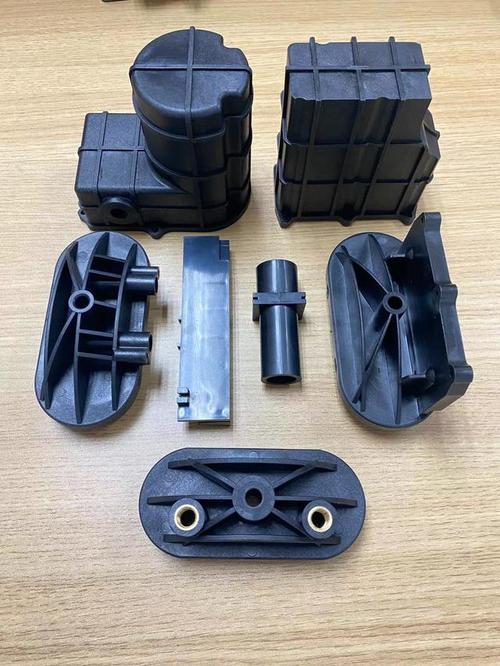
- Mold lines: Fine raised or recessed lines along part edges, visible where two mold halves (e.g., cavity and core) join. For example, a plastic bucket’s rim or a smartphone case’s side seam.
- Weld lines: Occur when molten plastic flows around obstacles (e.g., ribs or holes) and merges, creating faint linear marks (common in parts like gear housings).
-
Ejector Pin Marks
- Small, smooth depressions (often 2–10mm in diameter) on the part’s interior or hidden surfaces, left by pins that push the cooled part out of the mold. For instance, the inside of a plastic cup or the back of a toy figurine.
-
Gate Marks
– Residual sprue marks: During injection molding, the molten material enters the mold through the gate. After cooling, small bumps or depressions may remain. For example, the small circular bumps at the bottom of a yogurt cup, or the flat marks at the hook of a clothes hanger. -
Surface Consistency and Texture
- Uniform texture: Injection-molded parts often have consistent matte, glossy, or textured surfaces (e.g., a keyboard’s keycaps with uniform lettering texture).
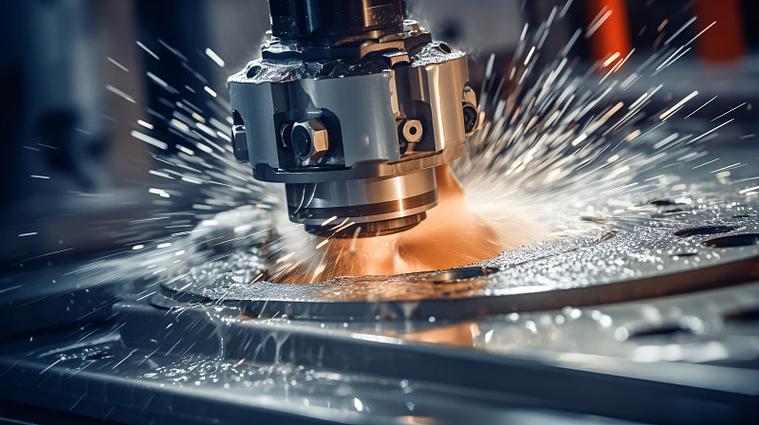
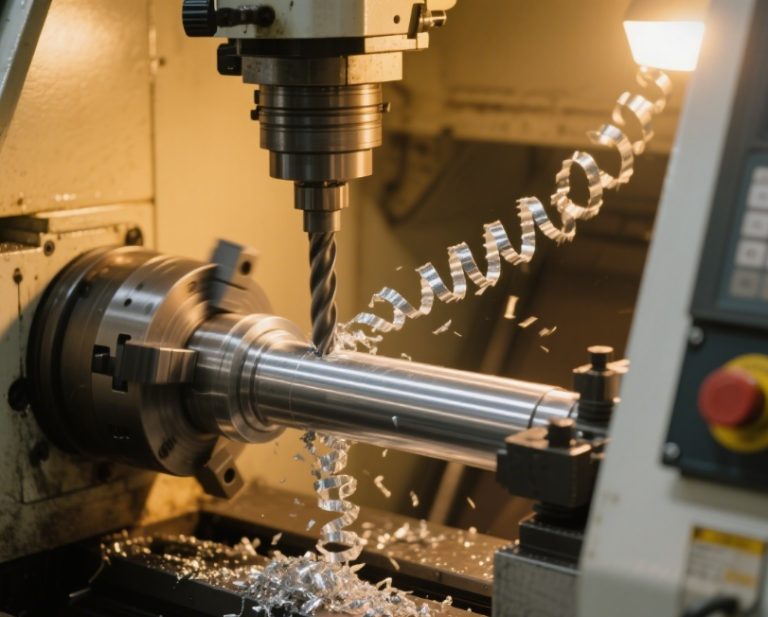
- Lack of tool marks: Unlike CNC-machined parts (which may show milling or lathe lines), injection-molded surfaces are smooth and free of linear tool paths, except for intentional texturing (e.g., grip patterns on a toothbrush handle).
-
Geometric Complexity and Symmetry
- Injection molding excels at producing complex, symmetrical shapes with undercuts, thin walls, or hollow interiors that would be difficult (or impossible) to machine. Examples include:
- Hinged containers (e.g., flip-top shampoo bottles, where the hinge is molded as part of the design).
- Interlocking parts like Lego bricks, with precise tabs and sockets formed in a single mold.
- Injection molding excels at producing complex, symmetrical shapes with undercuts, thin walls, or hollow interiors that would be difficult (or impossible) to machine. Examples include:
-
Material and Thickness Clues
- Uniform thickness: Most injection-molded parts have consistent wall thickness to avoid cooling issues (e.g., a plastic storage bin with 3mm-thick walls throughout).
- Plastic dominance: While metals (via metal injection molding, MIM) and ceramics can be molded, most injection-molded items are plastic (e.g., PET, ABS, or PVC).
Exceptions and Advanced Techniques
- Overmolding/Insert Molding: Parts with multi-material components (e.g., a toothbrush with a rubber grip over a plastic core) may hide mold lines but still show ejector marks on the primary material.
- Post-Processing: Some parts undergo trimming (e.g., removing gate vestiges) or painting, making marks less obvious. Use a magnifying glass to spot faint residue.
- 3D Printing vs. Injection Molding: 3D-printed parts often have layer lines or rough surfaces, while molded parts lack visible layering and have smoother transitions.
Practical Testing Methods
- Weight and Feel: Injection-molded parts are often lighter and more uniform in weight than cast or machined equivalents (e.g., a plastic molded gear vs. a CNC-machined metal gear).
- Batch Consistency: If multiple identical parts exist, slight variations in mold marks (e.g., ejector pin placement) may indicate different mold cavities, a hallmark of mass production via injection molding.
By examining these features, you can reliably distinguish injection-molded parts from those made via machining, casting, or 3D printing, even in complex or post-processed designs.