Key Insight: The laser’s focal point is where energy density peaks – mastering its position unlocks precise depth control across all materials.
This guide covers the physics behind focus positioning and provides material-specific strategies for carbon steel, stainless steel, and aluminum alloys.
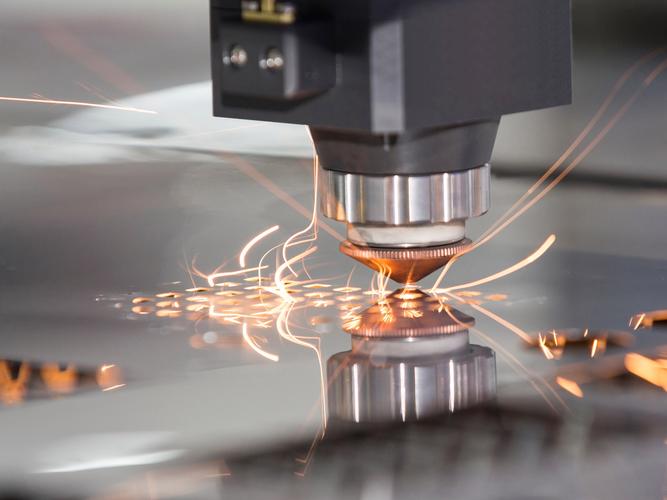
Core Physics of Focus Positioning
Zero Focus: Focal point exactly on material surface – maximum surface energy for thin materials
Positive Defocus: Focal point inside material – spreads energy through thickness for medium plates
Negative Defocus: Focal point above surface – reduces surface intensity for thick materials
Focus Position Formula
Defocus Distance (Δz) = Material Thickness × Focus Factor
Focus Factor ranges: 0.1-0.3 for thin sheets, 0.3-0.5 for medium plates, 0.5-0.8 for thick materials
Material-Specific Focus Strategies
Carbon Steel (Oxygen Cutting)
Thin Plates (1-3mm): Zero focus or +0.5mm positive defocus for narrow kerf
Medium Plates (4-12mm): +1-3mm positive defocus to position energy deeper
Thick Plates (12mm+): +3-6mm positive defocus ensuring bottom energy sufficiency
Stainless Steel (Nitrogen Cutting)
Thin Plates (1-3mm): Zero focus or -0.5mm negative defocus for minimal HAZ
Medium Plates (4-8mm): +0.5-1mm positive defocus balancing penetration and quality
Thick Plates (8mm+): +2-4mm positive defocus preventing bottom dross
Aluminum Alloys
Thin Plates (1-5mm): -1 to -1.5mm negative defocus for preheating effect
Thick Plates (5mm+): -1.5 to -2.5mm negative defocus with increased gas pressure
Practical Adjustment Methods
Step Focus Test Protocol
- Cut 100mm test line at current focus setting
- Adjust focus by 0.5mm increments (±3mm range)
- Evaluate cut quality: edge smoothness, dross, perpendicularity
- Select optimal focus producing cleanest edge with minimal taper
| Material | Thickness Range | Recommended Focus Offset | Key Indicator |
|---|---|---|---|
| Carbon Steel | 1-3mm | 0 to +1mm | Straight spark stream |
| Carbon Steel | 4-12mm | +1 to +3mm | Clean bottom edge |
| Stainless Steel | 1-3mm | -0.5 to 0mm | Bright silver edge |
| Stainless Steel | 4-8mm | +0.5 to +1mm | Uniform striations |
| Aluminum | 1-5mm | -1 to -1.5mm | Smooth, reflective edge |
Advanced Optimization Techniques
Temperature Compensation: Account for thermal lensing effects – focus position may shift 0.1-0.3mm during extended cutting sessions due to lens heating.
Beam Quality Monitoring: Use beam profilers to verify actual focal spot size matches theoretical calculations, ensuring consistent energy distribution.
All experimental data presented in this paper are derived from controlled production environments and standardized test procedures. However, due to differences in equipment models, material batches, and on-site operating conditions, readers are advised to verify and adjust technical parameters according to their specific application scenarios before practical implementation.
The research results and technical insights shared herein are based on the author’s professional experience and experimental observations. The author and the affiliated institution shall not be liable for any direct, indirect, or consequential damages (including but not limited to equipment damage, product quality issues, or production losses) arising from the improper use of the information provided in this paper.

