Screw Injection Molding: The Real Deal
Dude, this is how they make ALL your plastic stuff – from phone cases to car parts. Let’s break down the actual process
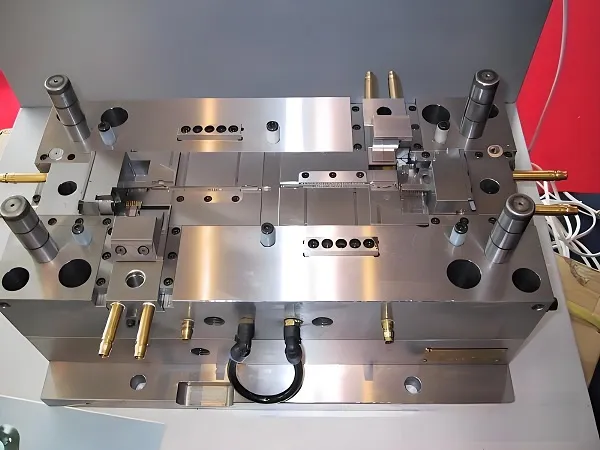
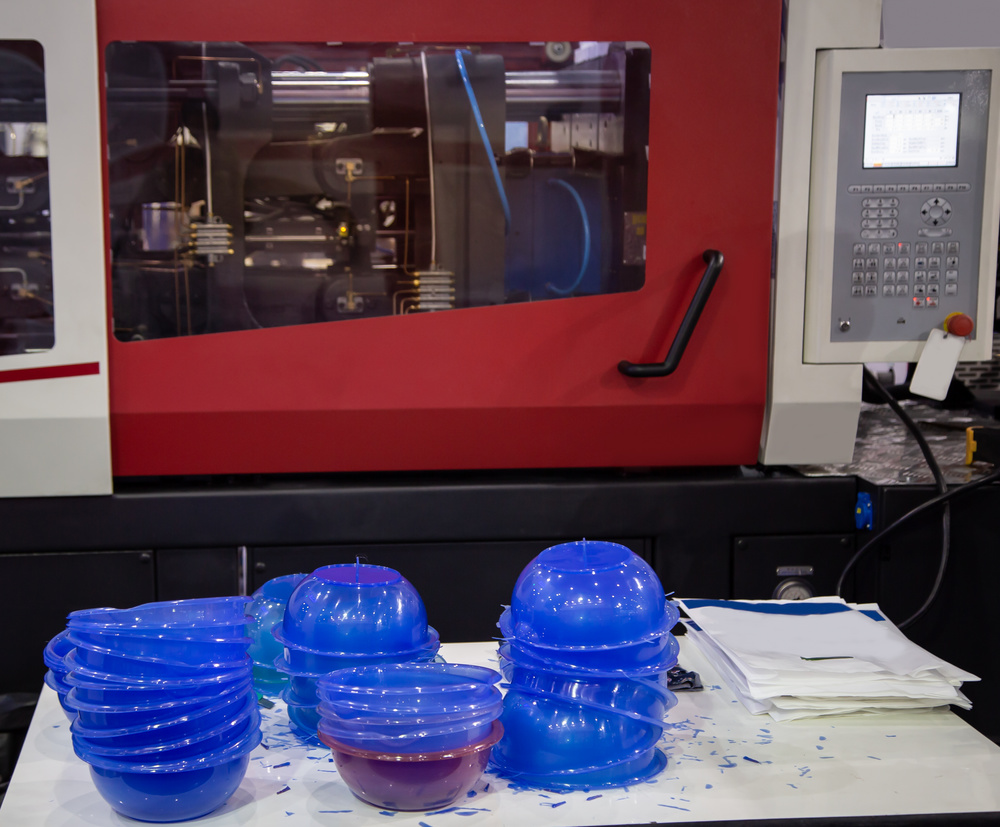
1. The Machine – What The Heck Is This Thing?
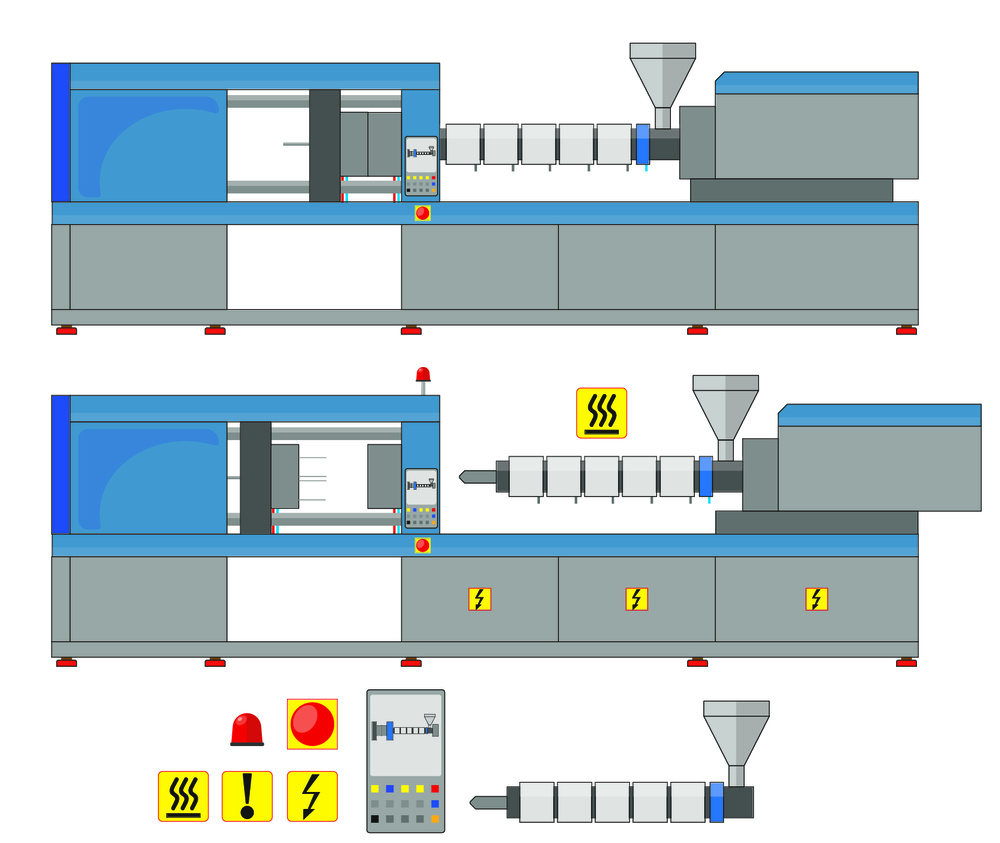
Bro, this machine is a BEAST!
Let me tell you – screw injection molding machines are the real deal in plastic manufacturing. They’re like the industrial version of a fancy 3D printer, but on steroids.
Main Components (The Important Stuff)
- Screw & Barrel: The heart of the machine – melts and pushes plastic
- Injection Unit: Controls the pressure and speed of plastic injection
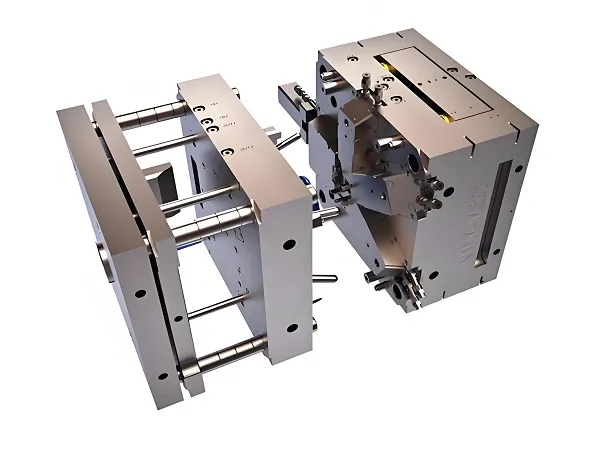
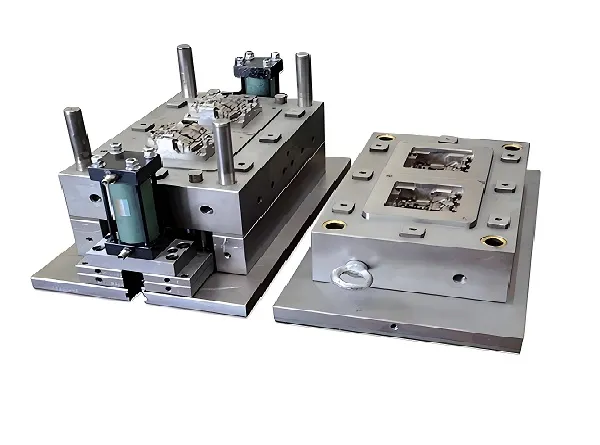
- Clamping Unit: Holds the mold shut with tons of force
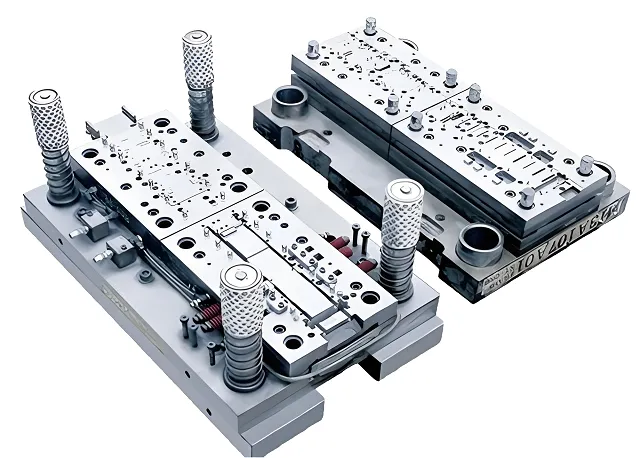
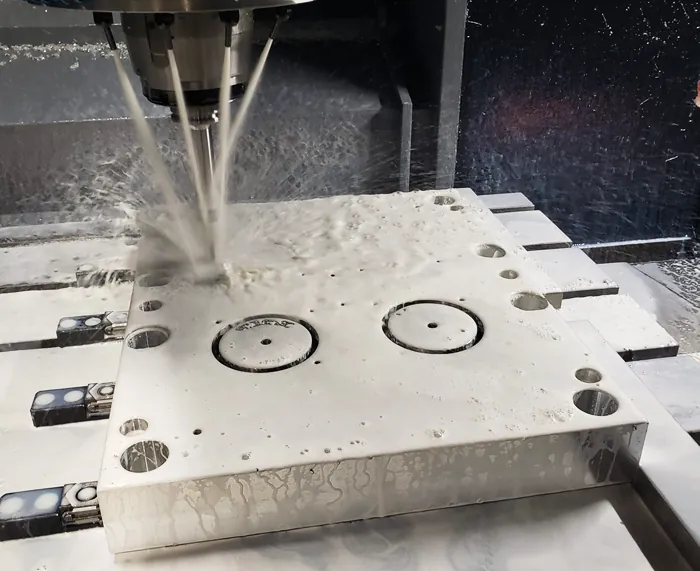
- Mold: The actual shape your plastic part takes
- Control System: The brain – runs all the parameters
Fun Fact About Machine Sizes
Tiny machines: 5-50 ton clamping force (for small parts)
Big boys: 500-5000 ton clamping force (for car bumpers and stuff)
*That’s like having 50 elephants sitting on your mold!
2. The Process – Step By Step (No Boring Stuff)
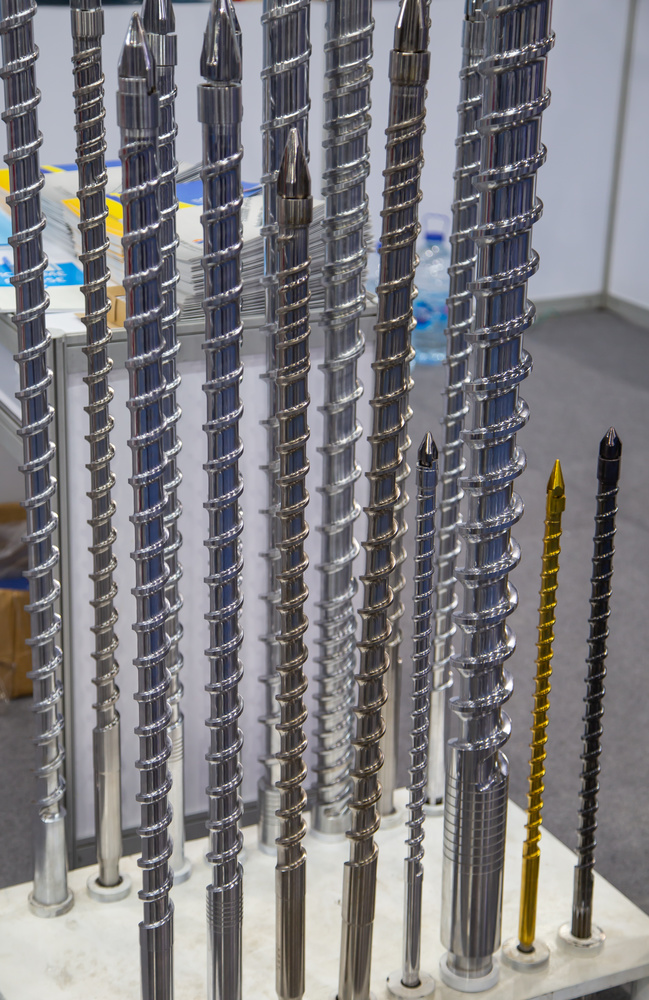
3. The Screw – This Thing Is More Complex Than You Think!
Dude, screws aren’t just metal rods!
The screw design is CRUCIAL to getting good parts. It’s like the engine of the whole machine – mess this up and your parts will suck.
Key Screw Parameters (The Nerd Stuff)
- L/D Ratio: Length to Diameter – usually 18-25:1 for general purpose
- Compression Ratio: 2.5-4:1 – how much plastic gets compressed
- Channel Depth: Deeper = more plastic, shallower = better mixing
- Flight Geometry: The shape of the screw threads
Pro Tip From A Veteran
“If you’re processing sticky materials like PVC, get a screw with a barrier flight. Trust me, you’ll thank me later when your parts don’t have burn marks.”
– Mike, 25-year injection molding engineer
Screw Types For Different Materials
| Material Type | Best Screw Design | L/D Ratio |
|---|---|---|
| General Purpose (PP, PE) | Standard | 18-22:1 |
| Engineering Plastics (ABS, PC) | Barrier | 22-26:1 |
| High Viscosity (PVC, PMMA) | Low Compression | 16-20:1 |
| Glass Filled | Wear Resistant | 20-24:1 |
4. Materials – Choosing The Right Plastic Is Make Or Break
Common Injection Molding Materials (With Actual Data)
Polypropylene (PP)
Melting Temp: 160-220°C
Density: 0.90-0.91 g/cm³
Tensile Strength: 20-30 MPa
Shrinkage: 1.0-2.5%
Used for: Food containers, toys, car parts
ABS
Melting Temp: 200-250°C
Density: 1.04-1.07 g/cm³
Tensile Strength: 40-50 MPa
Shrinkage: 0.4-0.9%
Used for: Lego, phone cases, tool handles
Nylon (PA6/PA66)
Melting Temp: 220-260°C
Density: 1.13-1.15 g/cm³
Tensile Strength: 70-90 MPa
Shrinkage: 0.8-1.5%
Used for: Gears, bearings, car parts
Material Processing Tips (From Someone Who’s F***ed Up Before)
- Drying is CRITICAL: Moisture = bubbles and defects. Dry PA for 4-6hrs at 80-100°C!
- Don’t overheat: Burned plastic smells like hell and ruins parts. Stick to recommended temps.
- Screw speed matters: Too fast = shear heating, too slow = poor mixing. Find the sweet spot.
- Colorants affect flow: Adding color can change how plastic flows – test first!
5. Common Defects – Why Your Parts Suck And How To Fix Them
Defects Happen – Here’s How To Fix Them
Flow Lines (The Streaky Ones)
Streaks or waves on part surface where plastic flows meet.
Fixes:
- Increase melt temperature
- Increase injection speed
- Optimize gate location
Sink Marks (The Dents)
Depressions where plastic shrinks too much during cooling.
Fixes:
- Increase packing pressure
- Extend packing time
- Optimize wall thickness
Flash (The Extra Plastic)
Plastic that squeezes out of mold parting lines.
Fixes:
- Decrease injection pressure
- Check mold alignment
- Clean mold surfaces
Bubbles (The Holes)
Air pockets or trapped gas in the part.
Fixes:
- Dry material thoroughly
- Decrease melt temperature
- Use venting in mold
Pro Troubleshooting Checklist (Save This!)
First Check:
- Material drying
- Mold temperature
- Injection pressure
Second Check:
- Screw speed
- Back pressure
- Cooling time
Last Resort:
- Mold modifications
- Screw changes
- Material changes
6. Industry Standards – The Rules You HAVE To Follow
Standards That Matter (And Why)
ISO Standards
- ISO 294: Plastics – Injection molding molds
- ISO 10350: Plastics – Tensile properties
- ISO 178: Plastics – Flexural properties
- ISO 180: Plastics – Izod impact strength
ASTM Standards
- ASTM D3641: Plastic materials injection molding
- ASTM D638: Tensile properties of plastics
- ASTM D790: Flexural properties of plastics
- ASTM D256: Izod impact testing
Industry Specific
- UL 94: Flammability of plastic materials
- IEC 60695: Fire hazard testing
- FDA 21 CFR: Food contact materials
- RoHS: Restriction of hazardous substances
Testing Requirements (The Expensive Part)
Dimensional Testing:
CMM, optical comparators, gauges
Mechanical Testing:
Tensile, flexural, impact strength
Environmental Testing:
Temperature cycling, humidity, UV exposure
Why Standards Matter (Spoiler: It’s Not Just Paperwork)
Customer trust: Standards show you know what you’re doing
Legal protection: Compliance prevents lawsuits
Quality control: Standards ensure consistent parts
*Based on 2025 industry data (For reference only)
7. Machine Sizes & Costs – How Much This Stuff Actually Costs
Machine Costs (The Real Numbers)
Small Machines (50-100 ton)
Price: $20,000-$50,000
Shot weight: 50-100 grams
Applications: Small parts, prototypes
Good for: Startups, small batches
Medium Machines (100-500 ton)
Price: $50,000-$200,000
Shot weight: 100-500 grams
Applications: Consumer goods, auto parts
Good for: Medium production runs
Large Machines (500+ ton)
Price: $200,000-$1,000,000+
Shot weight: 500+ grams
Applications: Car bumpers, large containers
Good for: High volume production
Operating Costs (The Ongoing Expenses)
Material costs:
$0.50-$3.00 per kg
Energy costs:
$5-$20 per hour
Labor costs:
$15-$30 per hour
Maintenance:
2-5% of machine cost annually
*Prices in USD, based on 2025 market rates (For reference only)
8. Future Trends – Where Is This Industry Going?
The Future Of Injection Molding Is Here
Smart Molding (Industry 4.0)
Real-time monitoring with IoT sensors that adjust parameters automatically.
- AI-driven process optimization
- Predictive maintenance
- Cloud-based data analytics
Sustainable Materials
Biodegradable and recycled plastics are becoming mainstream.
- Bio-based polymers (PLA, PHA)
- 100% recycled materials
- Carbon-neutral production
Advanced Technologies
New processes that push the boundaries of what’s possible.
- Micro-injection molding
- Gas-assisted injection molding
- Multi-material molding
What This Means For You
The injection molding industry is evolving FAST. If you’re in this business, you need to
adapt or get left behind. Invest in training, upgrade your equipment, and stay
ahead of the curve!
So, What Did We Learn?
Screw Injection Molding Is Awesome (But Complex)
The Good Stuff
- Super efficient for high volume production
- Consistent, high-quality parts
- Can make complex shapes
- Wide range of materials available
The Challenges
- High initial investment cost
- Requires skilled operators
- Mold costs can be expensive
- Setup time for new parts
Final Advice From A Pro
“Start small, learn the basics, and don’t be afraid to experiment.
Every molding expert started by making crappy parts – the difference
is they kept trying until they got it right.”
– Sarah, 18-year injection molding specialist