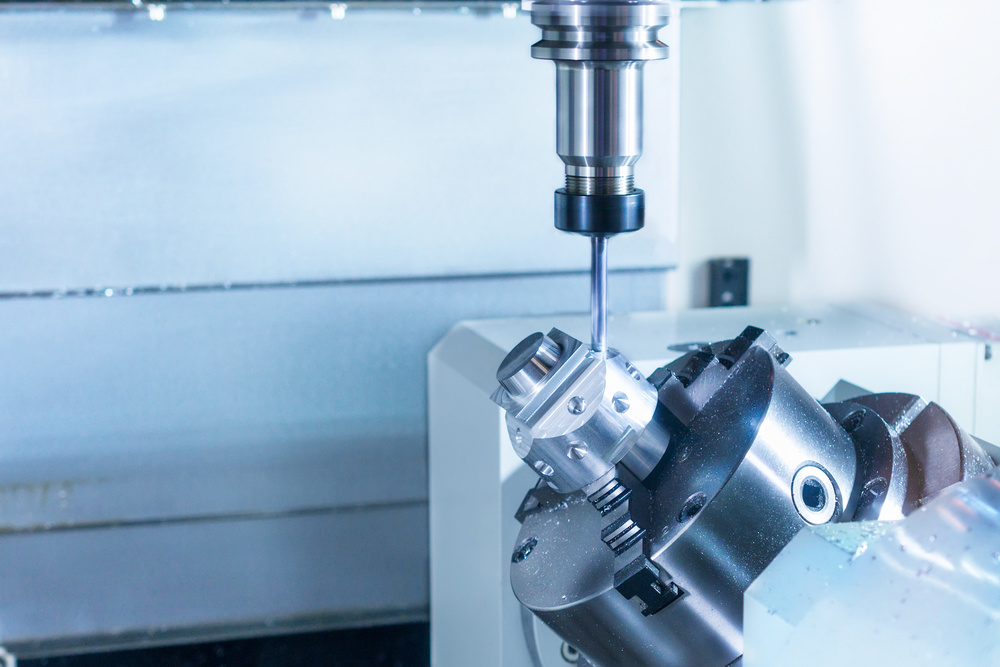
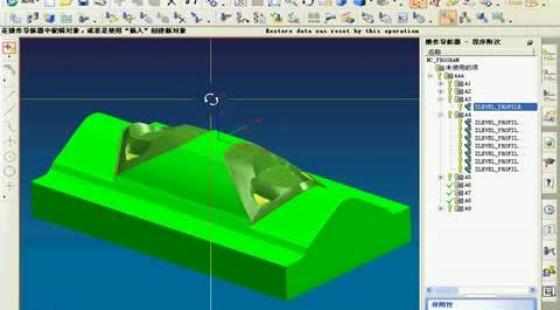
CNC milling contour lines, also known as Z-level machining or contour parallel toolpaths, are horizontal cutting paths generated at specific Z-heights that follow the surface geometry of a workpiece. This advanced machining strategy enables precise and efficient processing of complex 3D surfaces by breaking them down into manageable horizontal layers.
As a manufacturing technology specialist with over 15 years of experience in CNC programming and machining, I’ve witnessed the evolution of contour line machining from a specialized technique to a standard practice in modern manufacturing. In this article, I’ll provide an in-depth exploration of this critical machining concept, supported by industry standards and practical applications.
Understanding CNC Milling Contour Lines
Definition and Core Concept
CNC milling contour lines represent a fundamental machining strategy where the cutting tool follows horizontal paths at predetermined Z-heights, creating a series of parallel layers that collectively form the final 3D shape. This approach is often referred to as:
- Z-level machining or Z-level milling
- Contour parallel machining
According to ISO 13041-7:2004, which specifies test conditions for evaluating contouring performance in coordinate planes, contour lines are defined as “the intersection of horizontal planes with the workpiece surface at specific intervals.”
Historical Development
The concept of contour line machining has evolved significantly:
- Early 1980s: Manual programming of simple contour lines
- 1990s: Introduction of CAD/CAM systems enabling automatic contour generation
- 2000s: Development of advanced algorithms for high-speed contour machining
- 2010s-present: Integration with 5-axis machining and AI-driven optimization
Technical Principles of Contour Line Machining
Mathematical Foundation
Contour line machining is based on solid mathematical principles:
1. Plane-Surface Intersection
The core mathematical operation involves calculating the intersection between horizontal planes and the workpiece surface:
- Horizontal planes are defined at specific Z-heights (Z = constant)
- Surface geometry is represented using CAD models (NURBS, meshes, etc.)
- Intersection curves form the contour lines that guide the cutting tool
2. Parametric Curve Representation
Contour lines are typically represented as parametric curves:
- Parameterization using u-v parameters for each contour segment
- Continuity conditions ensuring smooth transitions between segments
- Tolerance control for maintaining machining accuracy
Machining Strategy Implementation
Modern CAD/CAM systems implement contour line machining through sophisticated algorithms:
1. Layer Generation Process
The process of creating contour lines involves several key steps:
- Step 1: Define cutting parameters
-
- Cutting depth per layer (ΔZ)
-
- Stepover distance between parallel paths
-
- Machining tolerance requirements
- Step 2: Generate horizontal planes
-
- Create a series of horizontal planes at Z = Z₀, Z₀-ΔZ, Z₀-2ΔZ, …
-
- Planes extend beyond the workpiece boundaries for safe tool entry/exit
- Step 3: Calculate intersections
-
- Compute intersection curves between each plane and the workpiece surface
-
- Sort and organize curves to form closed or open contours
- Step 4: Generate toolpaths
-
- Offset contours by tool radius to create actual tool center paths
-
- Add lead-in/lead-out moves and connect multiple contours
2. Toolpath Optimization Techniques
Advanced systems incorporate various optimization strategies:
- Adaptive stepover: Adjusting stepover based on surface curvature
- Smooth transitions: Using arcs instead of sharp corners between passes
- Link optimization: Minimizing rapid movements between contour layers
- Tool orientation: Optimizing tool tilt for 5-axis applications
