Let’s Talk Scratches
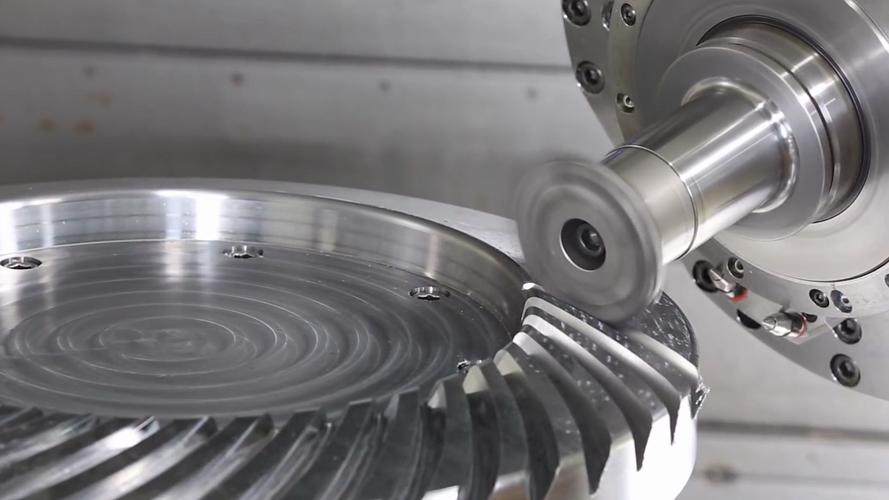
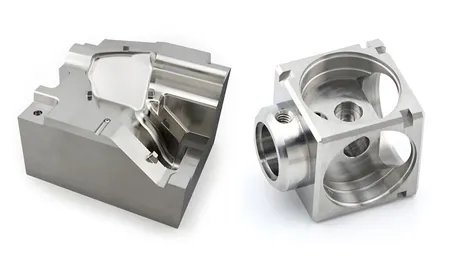
Professional polishing of CNC machined parts
Bro, I get it. You just spent hours machining that perfect part, and then someone drags it across the workbench. Or maybe you noticed a scratch after machining that you didn’t see before. Either way, scratches happen – but they don’t have to be permanent!
I’ve been fixing scratched CNC parts for over 15 years, and I’ve tried every trick in the book. From tiny micro-scratches to deep gouges that look like they’ll never come out, I’ve seen it all. And today, I’m sharing all my secrets with you.
Pro Tip
The key to successful scratch repair is matching the right technique to the scratch depth and material. Using the wrong method can make the problem worse!
First Step: Assess the Damage
Q: How do I measure scratch depth?
A: Dude, I use a digital depth gauge for precise measurements, but if you don’t have one, a fingernail test works too. If your nail catches, it’s at least 0.05mm deep. If you can feel it with your finger but it doesn’t catch, it’s probably around 0.01-0.03mm.
Proven Repair Techniques
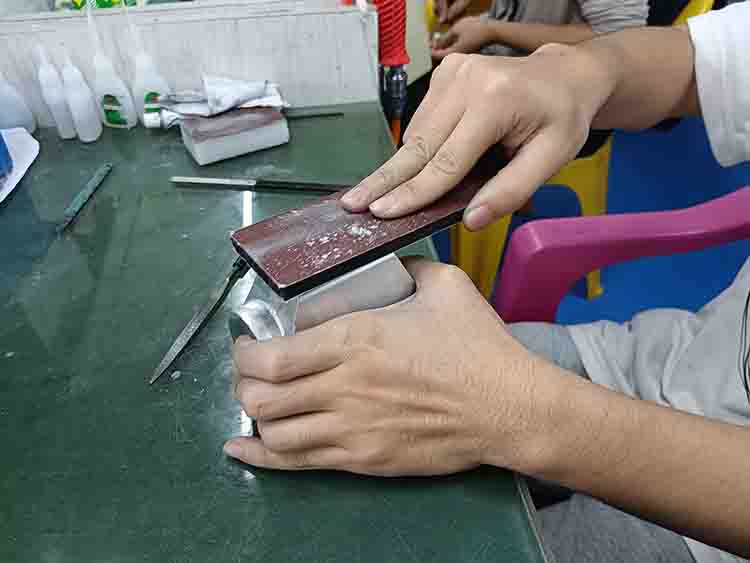
Wet Sanding Method
Bro, this is my go-to method for most scratches. Start with 600-800 grit sandpaper for medium scratches, 1200-1500 for light ones. Keep it wet at all times – water acts as a lubricant and prevents clogging.
- Always sand in straight lines, not circles
- Progress through grits: 600 → 800 → 1200 → 1500 → 2000
- Use a sanding block for flat surfaces
- Test data*: 20-30 strokes per grit for best results
Polishing & Buffing
After sanding, it’s time to bring back that shine! I use a wool buffing wheel with aluminum oxide compound for metals.
- Start with coarse compound (600 grit equivalent)
- Move to medium (1200 grit) then fine (2000 grit)
- Keep the wheel moving – don’t stay in one spot
- Test data*: 3000-5000 RPM for optimal polishing
Chemical Polishing
For really delicate parts or complex geometries, chemical polishing works wonders. Just be careful – these chemicals are strong!
- Always wear proper PPE – gloves, goggles, mask
- Follow mixing instructions exactly
- Test on a scrap piece first
- Test data*: 10-30 second immersion time
Filling & Repair
For deep gouges that go beyond just surface scratches, you need to fill them first. I use epoxy or metal-filled compounds.
- Clean the area thoroughly – no oil or dirt!
- Fill in thin layers (max 1mm each)
- Allow full cure before sanding
- Test data*: 24-48 hour cure time for best adhesion
*Test data for reference only – actual results may vary based on material and conditions
Material-Specific Repair Guide
Aluminum Parts (6061-T6, 7075-T6)
Bro, aluminum is tricky because it’s soft and shows every scratch. But it’s also one of the easiest to repair if you know what you’re doing!
- Start with 1200 grit sandpaper – aluminum scratches easily
- Use plenty of water to prevent clogging
- Polish with aluminum-specific compound
- Consider clear anodizing after repair for protection
- Test data*: Aluminum scratches at just 1.2 N of force
Stainless Steel (304, 316)
Stainless steel is tough, but it work-hardens easily. You need to be careful not to create harder areas that will scratch more easily later.
- Use lower grits first (600) for deeper scratches
- Keep the surface cool while sanding
- Use a back-and-forth motion, not circular
- Passivate after repair to restore corrosion resistance
- Test data*: Stainless steel requires 3.8 N of force to scratch
Brass & Copper Alloys
Brass is soft and easy to work with, but it tarnishes quickly. You need to protect the repaired surface right away.
- Start with 800 grit sandpaper
- Use a polishing wheel with rouge compound
- Apply lacquer or wax after polishing
- Consider tumbling for small parts
- Test data*: Brass has a scratch resistance of 0.8 N
Titanium & Alloys
Titanium is super strong but lightweight. It requires special techniques because it’s prone to galling.
- Use fresh sandpaper – titanium clogs paper quickly
- Use light pressure to avoid galling
- Clean frequently with isopropyl alcohol
- Anodize after repair for color matching and protection
- Test data*: Titanium scratches at 4.2 N of force
*Test data for reference only – actual results may vary based on alloy composition and heat treatment
Standards & Quality Control
Surface Roughness Standards
- Ra 0.8μm: Standard machined finish
- Ra 0.4μm: Fine machined finish
- Ra 0.2μm: Very fine finish, requires polishing
- Ra 0.1μm: Mirror finish, requires extensive polishing
Industry Standards
Different industries have different requirements. Aerospace might need Ra 0.2μm, while industrial parts might be fine with Ra 0.8μm. Know your specs!
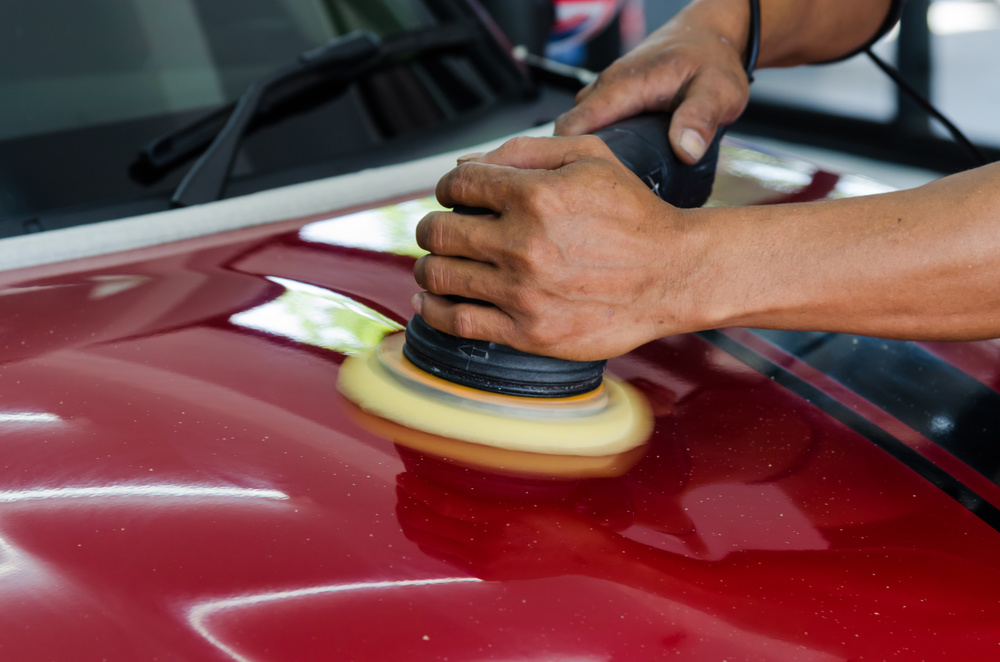
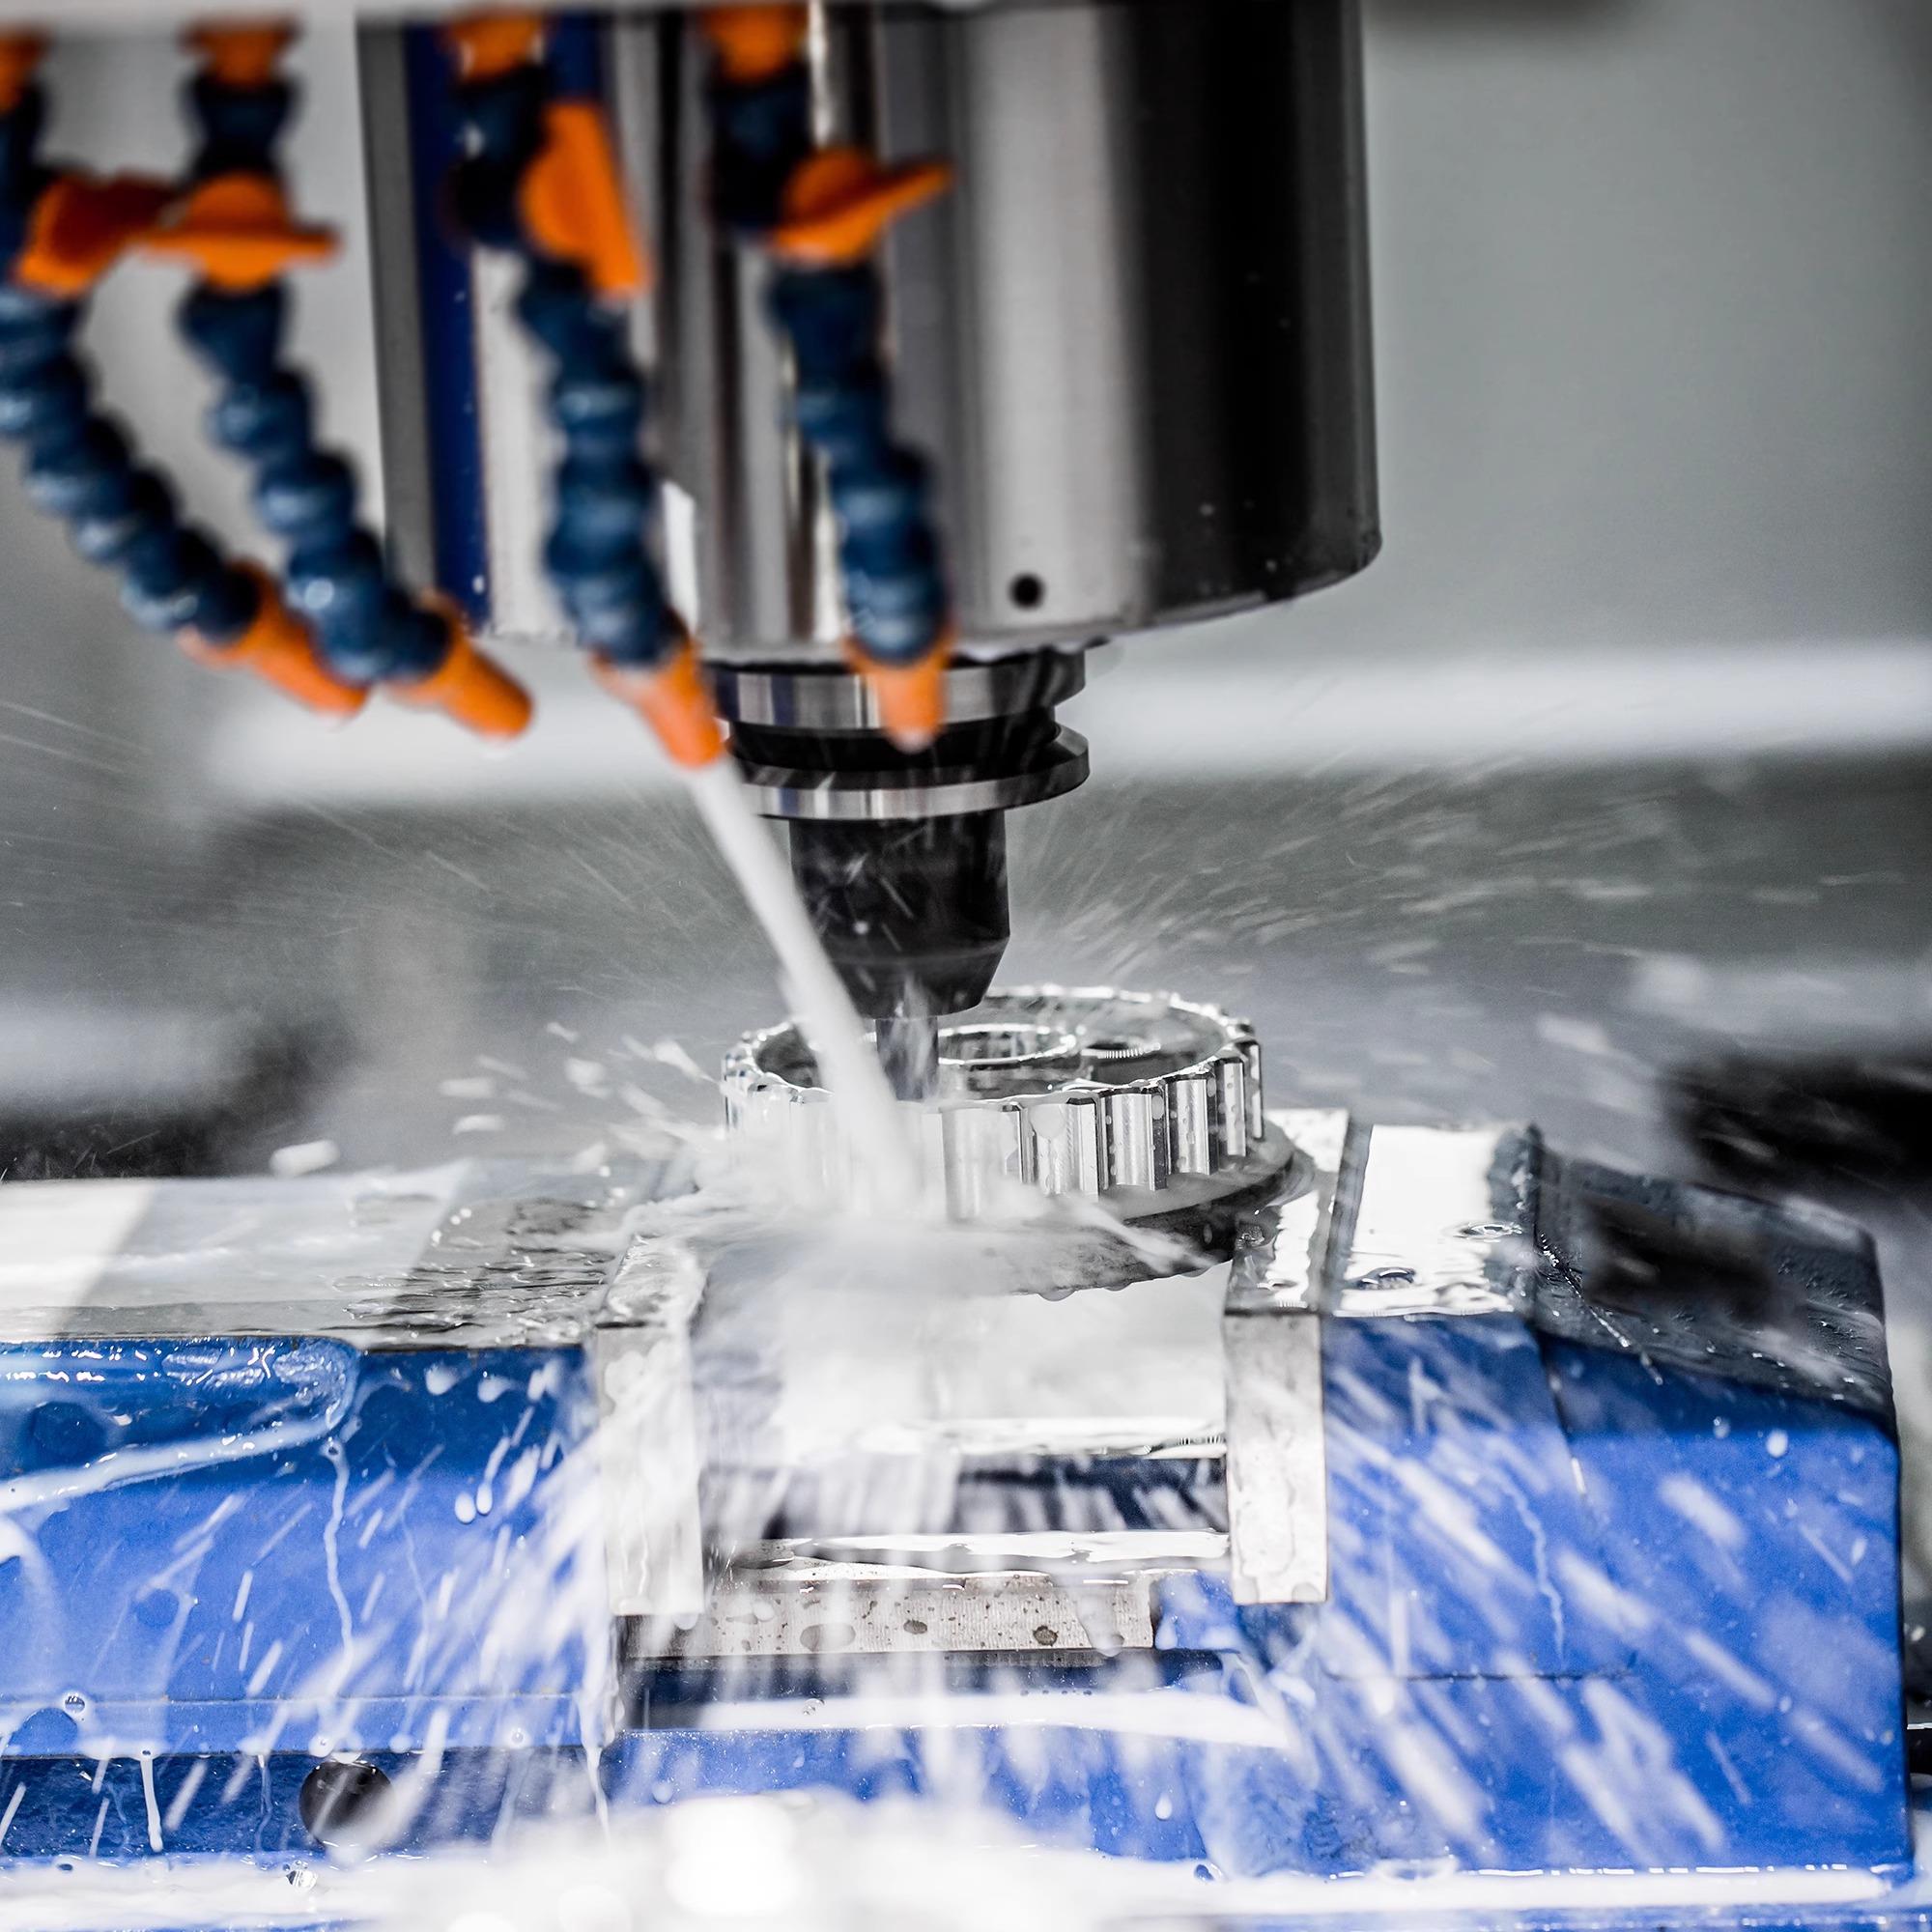
Professional polishing techniques for scratch removal
Q: How do I measure surface roughness after repair?
A: Dude, I use a portable surface roughness tester for accurate measurements. But if you don’t have one, you can do a visual comparison with standard roughness samples. Just remember, the human eye can detect roughness as low as Ra 0.4μm.
2026 Trends in Scratch Repair
Nanoparticle Repair Compounds
Bro, these are game-changers! Nanoparticle compounds fill in micro-scratches at the molecular level. They’re like tiny little repair bots that fix scratches you can’t even see!
Test data*: Nanoparticles <100nm can fill scratches as small as 0.001μm
AI-Powered Polishing Systems
These systems use machine vision to detect scratches and automatically adjust polishing parameters. It’s like having a master polisher working 24/7!
Test data*: AI systems reduce repair time by 65% compared to manual methods
Laser Surface Repair
Lasers can melt the surface to fill in scratches without any contact. Perfect for delicate parts or complex geometries that are hard to reach with traditional methods.
Test data*: Laser repair can achieve Ra 0.025μm surface finish
Self-Healing Coatings
These coatings actually repair themselves when scratched. They have microcapsules that release healing agents when damaged. It’s like magic!
Test data*: Self-healing coatings can repair scratches up to 0.1mm deep
Step-by-Step Repair Guide
- 1
Clean the Surface: Remove all oil, grease, and dirt with isopropyl alcohol. Contamination is the #1 cause of repair failure! - 2
Assess the Damage: Measure scratch depth and determine the best repair method. Don’t guess – use a depth gauge or fingernail test. - 3
Mask Surrounding Areas: Use painter’s tape to protect any finished surfaces or features you don’t want to damage. - 4
Perform the Repair: Use your chosen method – sanding, polishing, filling, or chemical treatment. Take your time and follow the steps carefully. - 5
Finish & Protect: Apply final polishing steps and add protective coatings like anodizing, plating, or wax to prevent future scratches. - 6
Inspect the Result: Check the repair with a magnifying glass or surface roughness tester. If it’s not perfect, repeat the process until it is!
Frequently Asked Questions
Q: Can all scratches be repaired?
A: Almost all! Even deep gouges can be filled and repaired. The only time I say no is when the scratch is so deep it would compromise the part’s structural integrity.
Q: How long does scratch repair take?
A: It depends on the severity. Micro-scratches might take 15 minutes, while deep gouges could take several hours. But trust me, it’s faster and cheaper than making a new part!
Q: Will the repair be visible?
A: If you do it right, no! I’ve repaired parts that even the original machinist couldn’t tell were scratched. The key is matching the finish exactly.
Q: What’s the most common mistake people make?
A: Using too coarse sandpaper and removing too much material! Start with finer grits and work your way down if needed. You can always remove more material, but you can’t put it back!
Q: How can I prevent scratches in the first place?
A: Use proper handling procedures, protective coatings, and storage practices. But let’s be real – scratches happen even to the most careful shops. That’s why this guide exists!
Prevention is Better Than Repair
Handling & Storage
- Use soft gloves when handling finished parts
- Store parts on non-abrasive surfaces
- Use individual packaging for high-value parts
- Implement a first-in, first-out system
Protective Coatings
- Anodizing for aluminum parts
- Passivation for stainless steel
- Clear lacquer for brass parts
- Hard chrome plating for wear surfaces
Process Improvements
- Optimize tool paths to reduce tool marks
- Use high-quality cutting tools
- Implement proper chip evacuation
- Monitor tool wear regularly
Quality Control
- Implement in-process inspection
- Use automated vision systems
- Train operators on scratch detection
- Document and track scratch incidents
Got a Scratched Part You Need Fixed?
We specialize in repairing scratched CNC machined parts. Whether it’s a single prototype or a production run, we can make your parts look like new again!