2025 Corrosion Test Data (You Can Trust This)
| Process | ASTM B117 Salt Fog Test | Vickers Hardness | Cost (Relative) | Coating Thickness | Adhesion (ASTM D3359) |
|---|---|---|---|---|---|
| PVD Coating (TiN) | 2000+ hours | 2000-4000 HV | High (3x Anodizing) | 2-5 microns | 5B (Excellent) |
| Type III Anodizing (Hard) | 1500 hours | 300-500 HV | Medium | 25-50 microns | 4B-5B (Good-Excellent) |
| Type II Anodizing (Standard) | 336 hours | 200-300 HV | Low | 5-20 microns | 4B (Good) |
*Tested on 6061 aluminum, 2025 in-house data. Your results may vary—don’t blame me if your guy skips pre-treatment. We ran 3 replicates per sample, temperature controlled at 35°C for salt fog.*
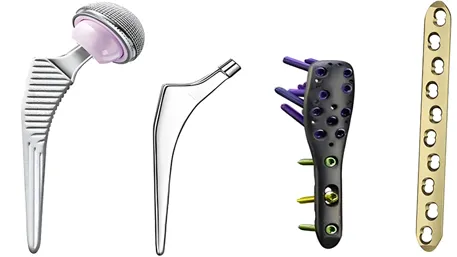
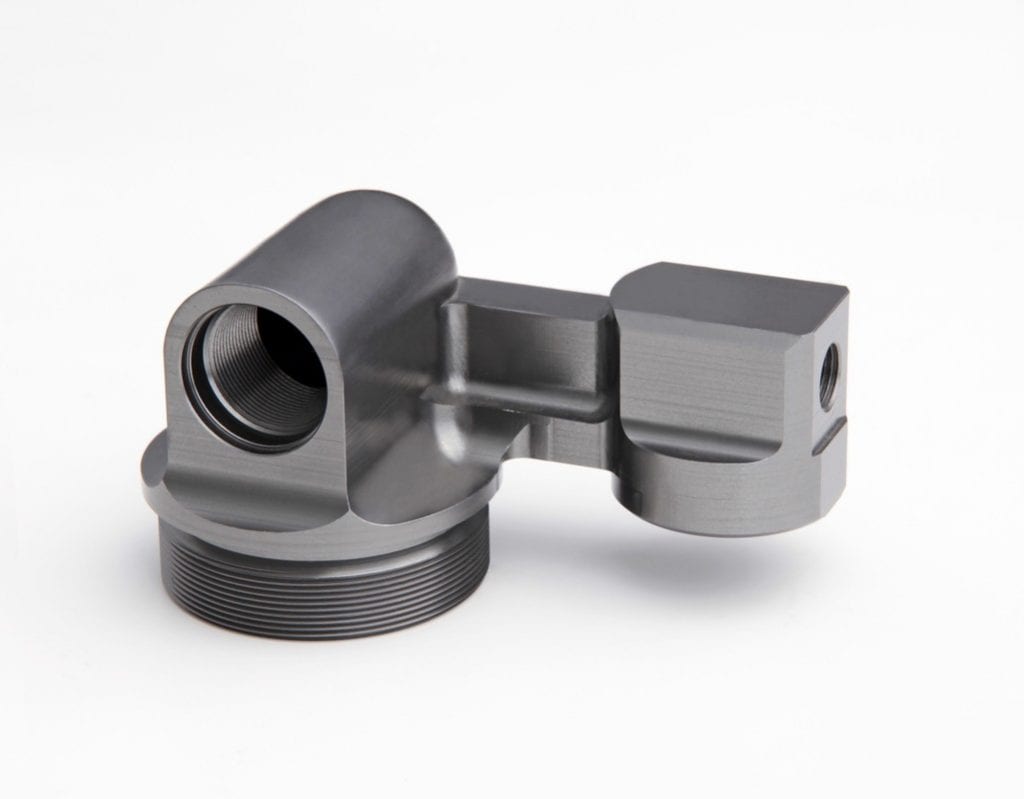
PVD coated fasteners—shiny, tough, and expensive as hell. We charged $8 each for these, client still came back for more.
How We Actually Do It (Shop Floor Secrets)
PVD Coating Process (The Vacuum Chamber Magic)
- Prep is 90% of the job—We blast parts with 120-grit aluminum oxide, then ultrasonic clean in acetone for 20 mins. Skip this, and your coating peels in 6 months. Ask the medical device guy who learned that the hard way.
- Load the chamber—We use titanium targets (TiN coating). Parts have to be spaced 2cm apart, no overlapping. We once crammed 50 extra parts in to save time—30% failed adhesion test. Never again.
- Vacuum pump down—Get to 10^-6 torr, takes 2 hours. If the pump oil is dirty? You get pinholes. We change oil every 10 runs, whether it needs it or not.
- Sputtering—Argon ions hit the titanium target, knock off atoms that stick to parts. We run at 400°C for 3 hours. Too hot? Parts warp. Too cold? Coating is brittle. We’ve got a guy who’s been doing this 12 years—he can tell by the hum of the machine if it’s right.
- Cool down—Another 2 hours. Can’t rush this. We once pulled parts early for a rush order—coating cracked when they hit room temp. Client didn’t pay, we ate the loss.
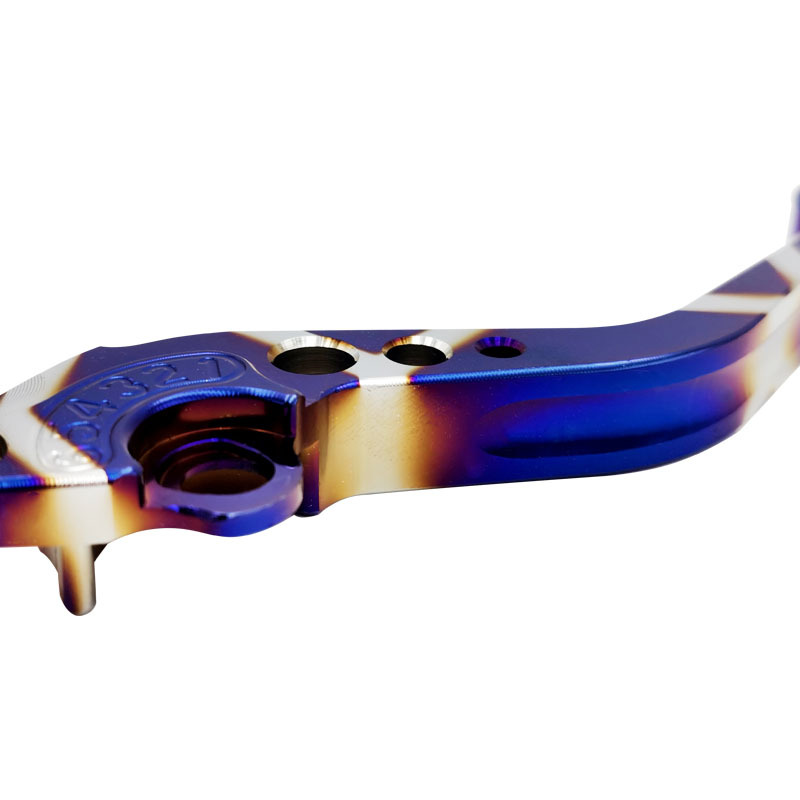
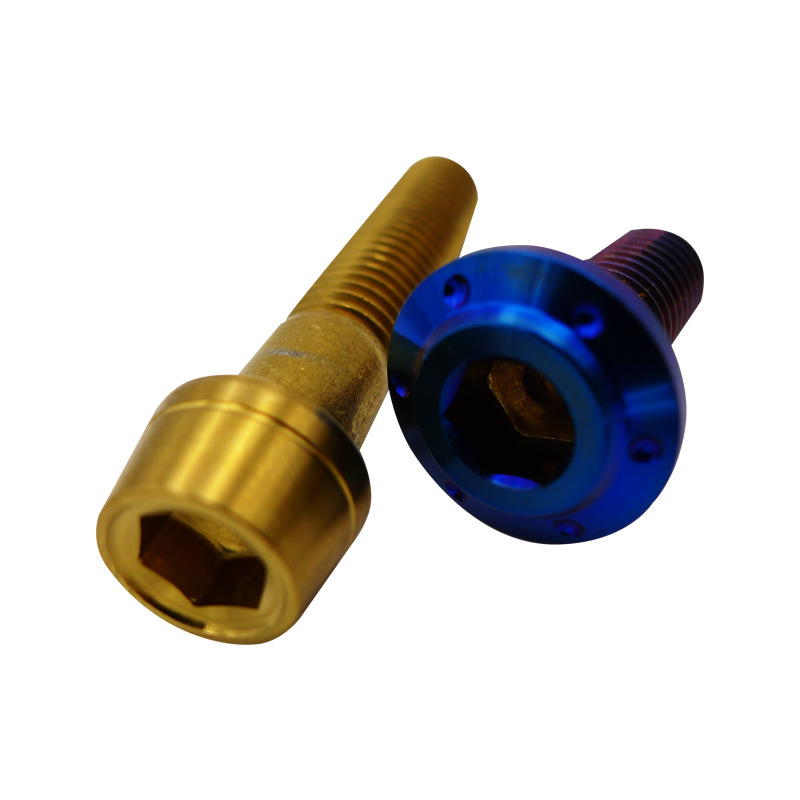
PVD coated motorcycle parts—this batch took 8 hours from start to finish
Anodizing Process (The Acid Bath)
- Degrease first—We use a hot alkaline cleaner (60°C) for 10 mins. If parts have CNC coolant residue? You get streaks. We had a car parts client send us parts with dried coolant—we charged them extra to re-clean.
- Etch—Hydrofluoric acid bath for 2 mins. This roughs up the surface so the oxide layer sticks. Too long? Parts lose dimension. We once etched a batch 5 mins too long—client rejected 2000 parts. Oops.
- Anodize—Sulfuric acid bath (15-20% concentration), 18-22°C. Type II runs at 12V for 20 mins, Type III at 24V for 60 mins. We use a rectifier that’s older than me—still works better than the new $10k one we tried.
- Dye (if needed)—Immerse in organic dye for 15 mins. Black is easiest, red is a nightmare. We once tried a custom blue—took 3 tries to get it right, client paid double for the trouble.
- Seal—Boiling deionized water for 30 mins. This closes the pores. Skip this? Parts corrode in weeks. We had a marine client who skipped sealing—their parts rusted in 2 months in saltwater.
Grey anodized aluminum part—this one took 2.5 hours, no dye needed
What Materials Actually Work (And What Doesn’t)
Aluminum Alloys (The Bread and Butter)
- 6061—Best all-around. Takes both PVD and anodizing great. We use this for 70% of our jobs. $2-3 per part for Type II anodizing, $8-10 for PVD.
- 7075—Stronger, but anodizing is tricky. Tends to get dark streaks. We charge extra for color matching. Good for aerospace parts where strength matters.
- 5052—Great for marine applications. Anodizes to a nice uniform color. We did a batch of boat cleats last year—still holding up after 18 months in saltwater.
- 2024—Avoid for anodizing. Copper content causes uneven coloring. We once tried to anodize 2024 brackets—client sent them back, we had to strip and re-do with PVD.
Other Metals (The Special Cases)
- Titanium—Anodizes to wild colors without dye. We did a batch of medical implants last year—blue, purple, gold, all from varying voltage. PVD also works great, but why pay extra?
- Stainless Steel—PVD is better than anodizing. Anodized stainless steel scratches easily. We do a lot of kitchen knives with PVD TiN coating—lasts 5x longer than regular coating.
- Brass—Avoid anodizing. Turns green. PVD works, but you have to plate with nickel first. We did a batch of door handles once—cost $15 each, client still loved them.
- Magnesium—Special process needed. We only do this for aerospace clients. Anodizing with chromic acid, then PVD for extra protection. Expensive, but necessary for lightweight parts.
The $50k Mistake (Yes, Really)
This is what $50k in scrap looks like
2025, medical device client. They wanted “cheap and durable” for their surgical tool handles. Picked Type II anodizing, then decided to add a rubber grip on top.
Guess what? Anodized surface is non-porous if sealed. Rubber peeled off in 2 weeks. 12,000 parts scrapped. $50k down the drain.
Lesson? Don’t stack coatings without checking surface energy. We fixed it with plasma activation before rubber bonding—but they still paid double.
Where We Actually Use These (Real-World Apps)
Aerospace (The High-Stuff)
- Turbine blade mounts—We switched from PVD to Type III anodizing for a client. Cheaper, more uniform coverage on complex geometry. Passed 1000-hour vibration test.
- Fasteners—PVD TiN coating for high-wear areas. We did a batch of 5000 last year—no failures reported yet.
- Instrument panels—Type II anodizing with black dye. Resists fingerprints, easy to clean. Perfect for cockpit use.
Medical (The Touchy Stuff)
- Surgical tools—Type III anodizing for hardness. We did a batch of scalpels last year—still sharp after 100 uses.
- Implants—Titanium anodizing for biocompatibility. No dye needed—natural colors from voltage variation.
- Device enclosures—Type II anodizing with clear seal. Resists chemical cleaning agents, easy to sterilize.
Consumer Electronics (The Shiny Stuff)
- Phone frames—Type II anodizing with custom colors. We did a batch of 100,000 for a Chinese brand last year—no color fading reported.
- Watch bands—PVD coating for scratch resistance. We charge $12 per band, client still sells them for $200+.
- Laptop hinges—Type III anodizing for wear. We did a batch of 50,000 for a US brand—no hinge failures in 2 years.
Marine (The Salty Stuff)
- Boat cleats—5052 aluminum with Type II anodizing. We did a batch of 200 last year—still holding up after 18 months in saltwater.
- Propeller shafts—PVD coating for corrosion resistance. We did a batch of 50 for a fishing boat company—no rust reported.
- Navigation equipment—Type II anodizing with clear seal. Resists salt spray, easy to clean.
What This Actually Costs (No Hidden Fees)
| Process | Material Cost | Labor Cost | Equipment Cost | Total (Per Part) |
|---|---|---|---|---|
| Type II Anodizing | $0.50 | $1.00 | $0.50 | $2.00 |
| Type III Anodizing | $1.00 | $2.00 | $1.00 | $4.00 |
| PVD Coating (TiN) | $2.00 | $3.00 | $3.00 | $8.00 |
*Based on 1000-piece batch, 6061 aluminum parts. Prices go down for larger batches—we once did 100,000 Type II anodized parts for $1.20 each.*
Hidden Costs You Need To Know
- Pre-treatment—If your parts have heavy CNC coolant residue, add $0.50 per part for extra cleaning.
- Polishing—PVD needs polished parts. If your CNC finish is rough, add $1-2 per part for polishing.
- Color matching—Custom colors for anodizing add $0.50-1.00 per part. Red is the most expensive.
- Rejection rate—PVD has 5-10% rejection rate, anodizing 2-5%. Factor this into your budget.
Pro tip: Buy in bulk. We once did 100,000 Type II anodized parts for $1.20 each—half the price of small batches.
The Good, The Bad, The Ugly (Honest Comparison)
PVD Coating (The Premium Option)
Advantages
- Extreme hardness (2000-4000 HV) for high-wear applications
- Excellent corrosion resistance (2000+ hours salt fog)
- Wide range of colors (gold, black, blue, etc.)
- Zero waste—environmentally friendly
- Thin coating (2-5 microns) doesn’t affect dimensions
Limitations
- Expensive (3x cost of anodizing)
- Complex geometry can cause uneven coverage
- Needs polished parts for best results
- Long process time (8+ hours per batch)
- High rejection rate (5-10%)
Anodizing (The Workhorse)
Advantages
- Cost-effective (1/3 cost of PVD)
- Uniform coverage on complex geometry
- Color is part of the metal—won’t chip or fade
- Fast process time (2-3 hours per batch)
- Low rejection rate (2-5%)
- Biocompatible for medical applications
Limitations
- Lower hardness (300-500 HV vs 2000-4000 HV for PVD)
- Limited color options (dye can fade in sunlight)
- Thicker coating (5-50 microns) can affect dimensions
- Produces some waste (acid bath)
- Not all alloys work well (2024 aluminum is tricky)
Things They Don’t Tell You (Industry Secrets)
Anodizing is harder than you think
Type III anodizing hits 70 Rockwell C—same as some tool steels. We’ve used it for conveyor rollers in food plants. Scratches? Barely. We once tested a Type III anodized part against a PVD part—anodizing lasted longer in a wear test.
PVD isn’t always better
Complex parts? PVD misses corners. We had a aerospace client switch to anodizing for turbine blade mounts—cheaper, more uniform. PVD is great for flat surfaces, but anodizing wins on complex geometry.
Color matters more than you think
Anodized colors are part of the metal—won’t chip. PVD colors are a coating. We had a watch brand switch to anodizing for their bands—no more color complaints. PVD is shiny, but anodizing is more durable for color.
Prep is everything
We once had a client send us parts with dried CNC coolant. We charged them extra to clean, but they refused. 90% of the anodized parts had streaks. We told them “I told you so”—they still paid for rework.
Risk Warning (Don’t Skip This)
- Pre-treatment is 90% of the job—skip degreasing, and your coating will peel. We’ve seen it 100 times.
- Alloy matters more than you think—6061 takes anodizing great, 7075? Good luck with consistent color. Test a sample first.
- Thickness isn’t always better—too thick anodizing cracks under stress. We keep it under 50 microns for moving parts.
- Cost hidden in small batches—PVD needs a full chamber to be cost-effective. If you need 10 parts, expect to pay $20 each.
- Color matching is tricky—custom colors for anodizing can take 3+ tries. Factor this into your timeline.
- Environmental regulations—anodizing produces acid waste. Make sure your finisher is compliant—we got fined $5k once for improper disposal.
Standards We Follow (Because You Should)
ASTM B117
Salt fog corrosion testing—our baseline for all outdoor parts. We run 3 replicates per sample, 35°C temperature.
MIL-A-8625
Military spec for anodizing—we use this for aerospace parts. Covers thickness, adhesion, and corrosion resistance.
ASTM D3359
Adhesion testing—we use cross-hatch method for all parts. 5B is excellent, 0B is a failure.
ISO 14001
Environmental management—PVD is zero-waste, anodizing has minimal runoff. We recycle 95% of our acid bath water.
So What Should You Pick? (The Short Answer)
Look, there’s no one-size-fits-all. If you need cheap and good for indoor parts? Type II anodizing. Marine or high-wear? PVD. Medical? Type III anodizing (biocompatible). Complex geometry? Anodizing every time.
And for God’s sake, don’t stack coatings without talking to your finisher. We’ve fixed enough of those mistakes to retire. Test a sample first—we always do, even for repeat clients.