Manufacturing Route Decision Guide · Updated September 2026
3D-Printed Injection Molds vs. Metal Tooling for Low-Volume Production
If you need custom parts in low volume, the real decision is not “3D printing or injection molding” as two competing processes. It is which tooling route gets you the parts: print them directly, print a mold, machine an aluminum tool, or build a steel tool. This guide shows how to choose — and how to calculate the break-even yourself.
The question buyers actually ask
Most “3D printing vs injection molding” articles hand you a pros-and-cons table and a volume threshold. That framing breaks down the moment you have a real part and a real date. A buyer in low-volume production is rarely choosing between printing a part and molding a part as abstract ideas — they are choosing between four ways to get the same part:
- Route A Direct 3D printing — print the finished part, no tool at all.
- Route B 3D-printed mold + molding — print a cavity, then injection-mold parts on a standard press.
- Route C Aluminum tooling — CNC-machine a mold from aluminum, then mold.
- Route D Steel tooling — build a hardened steel production mold, then mold at volume.
The first two routes are often grouped under “additive,” but they behave very differently: Route A has no tool life limit of its own yet high per-part cost; Route B introduces a tool that wears out. Confusing them is where most bad sourcing decisions start.
The four routes at a glance
Route A · Direct 3D Printing
The part is built layer by layer from a digital file. No mold, no machining queue, no tooling invoice.
- Best for
- Prototypes, very low volume, complex geometry
- Upfront cost
- Lowest — only the print
- Per-part cost
- Highest of the four
- Tool life
- N/A — no tool
Route B · 3D-Printed Mold
A mold cavity is printed (usually photopolymer, or printed/sintered tool steel), loaded into a press, and parts are molded.
- Best for
- Bridge runs, pre-steel validation
- Upfront cost
- Low — no machining
- Per-part cost
- Lower than printing
- Tool life
- Prototype scale, material-dependent
Route C · Aluminum Tooling
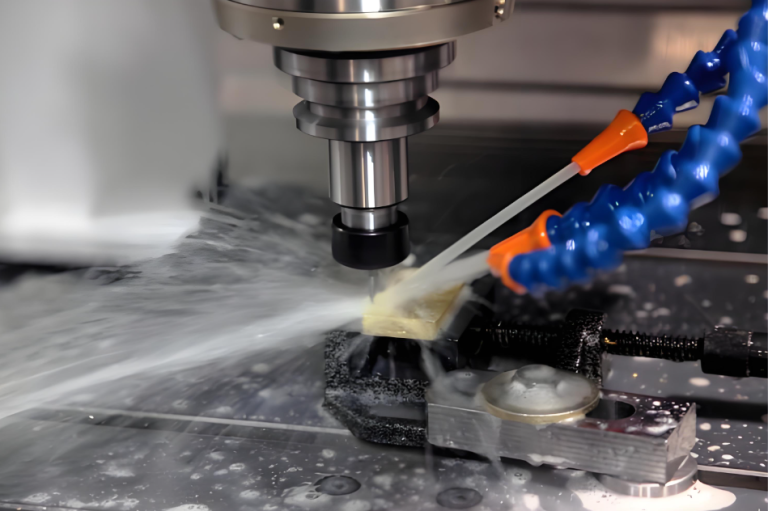
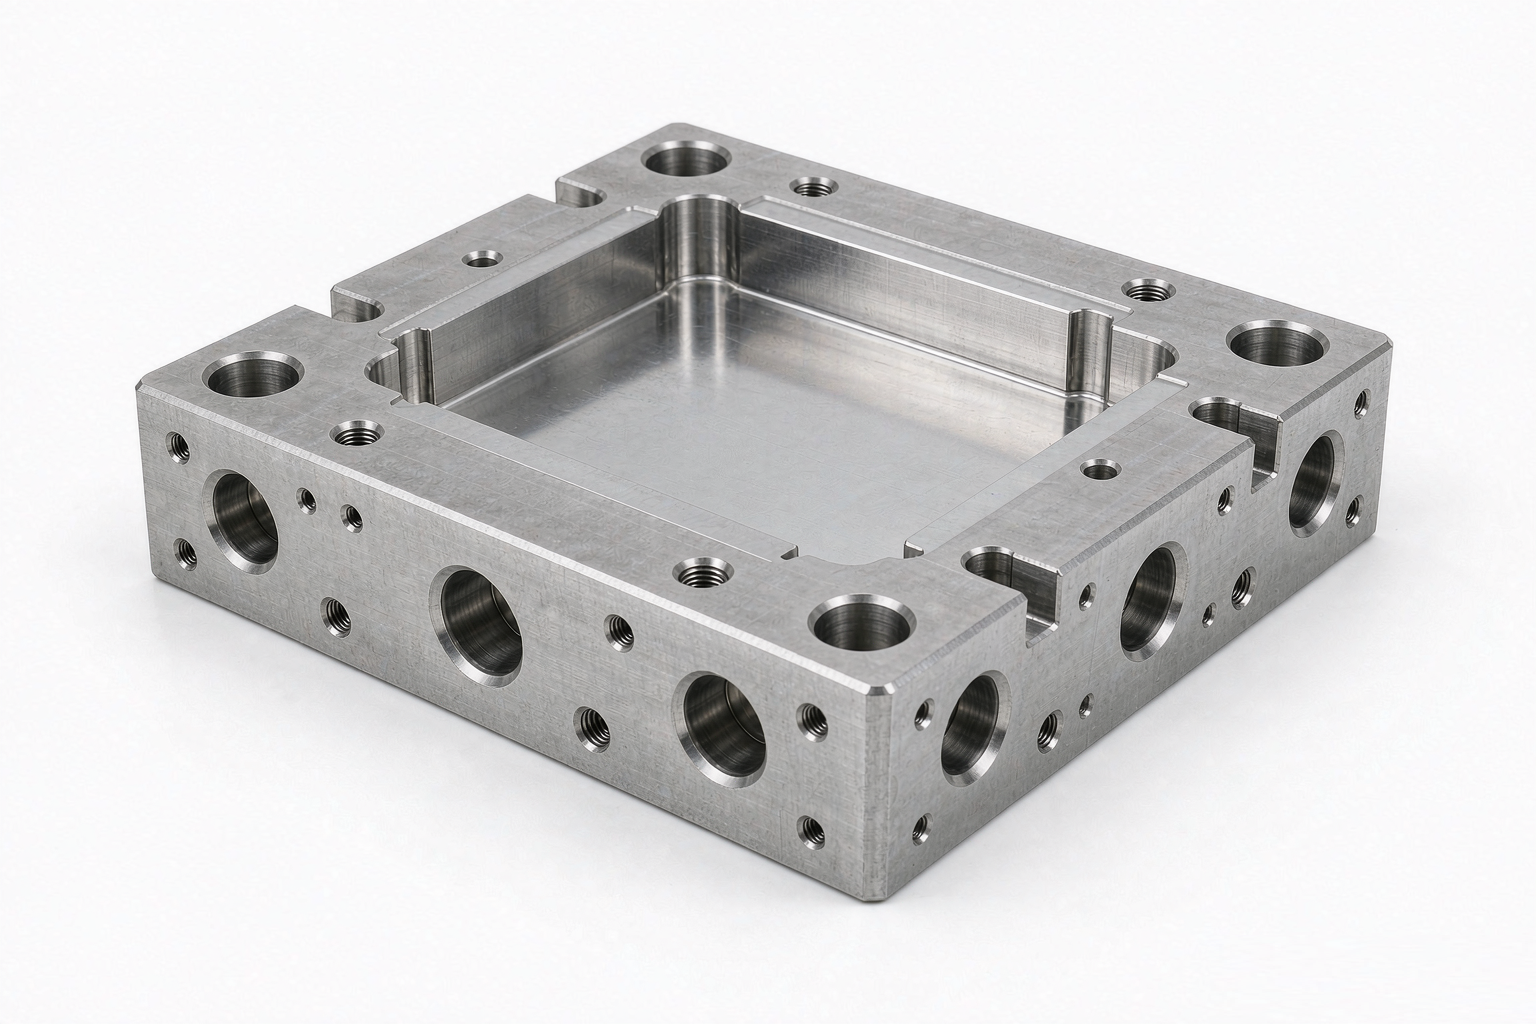
A mold is CNC-machined from solid aluminum. Real molded parts, faster and cheaper to tool than steel.
- Best for
- Bridge to mid volume
- Upfront cost
- Moderate
- Per-part cost
- Low
- Tool life
- Bridge tier, run-dependent
Route D · Steel Tooling
A hardened steel production mold. Highest upfront cost, lowest per-part cost, longest life.
- Best for
- Production volume
- Upfront cost
- Highest
- Per-part cost
- Lowest
- Tool life
- Production tier
Manufacturing Route Decision Matrix
Use this matrix to shortlist routes, then confirm with a break-even calculation (next section). Ranges are typical and shift with geometry, material and press conditions — they are a starting point, not a quote.
| Criterion | A · Print | B · Printed mold | C · Aluminum | D · Steel |
|---|---|---|---|---|
| Upfront cost | Lowest | Low | Moderate | Highest |
| Per-part cost | Highest | High | Low | Lowest |
| Tool / lead time | None | Short | Medium | Longest |
| Tool life tier | N/A | Prototype | Bridge | Production |
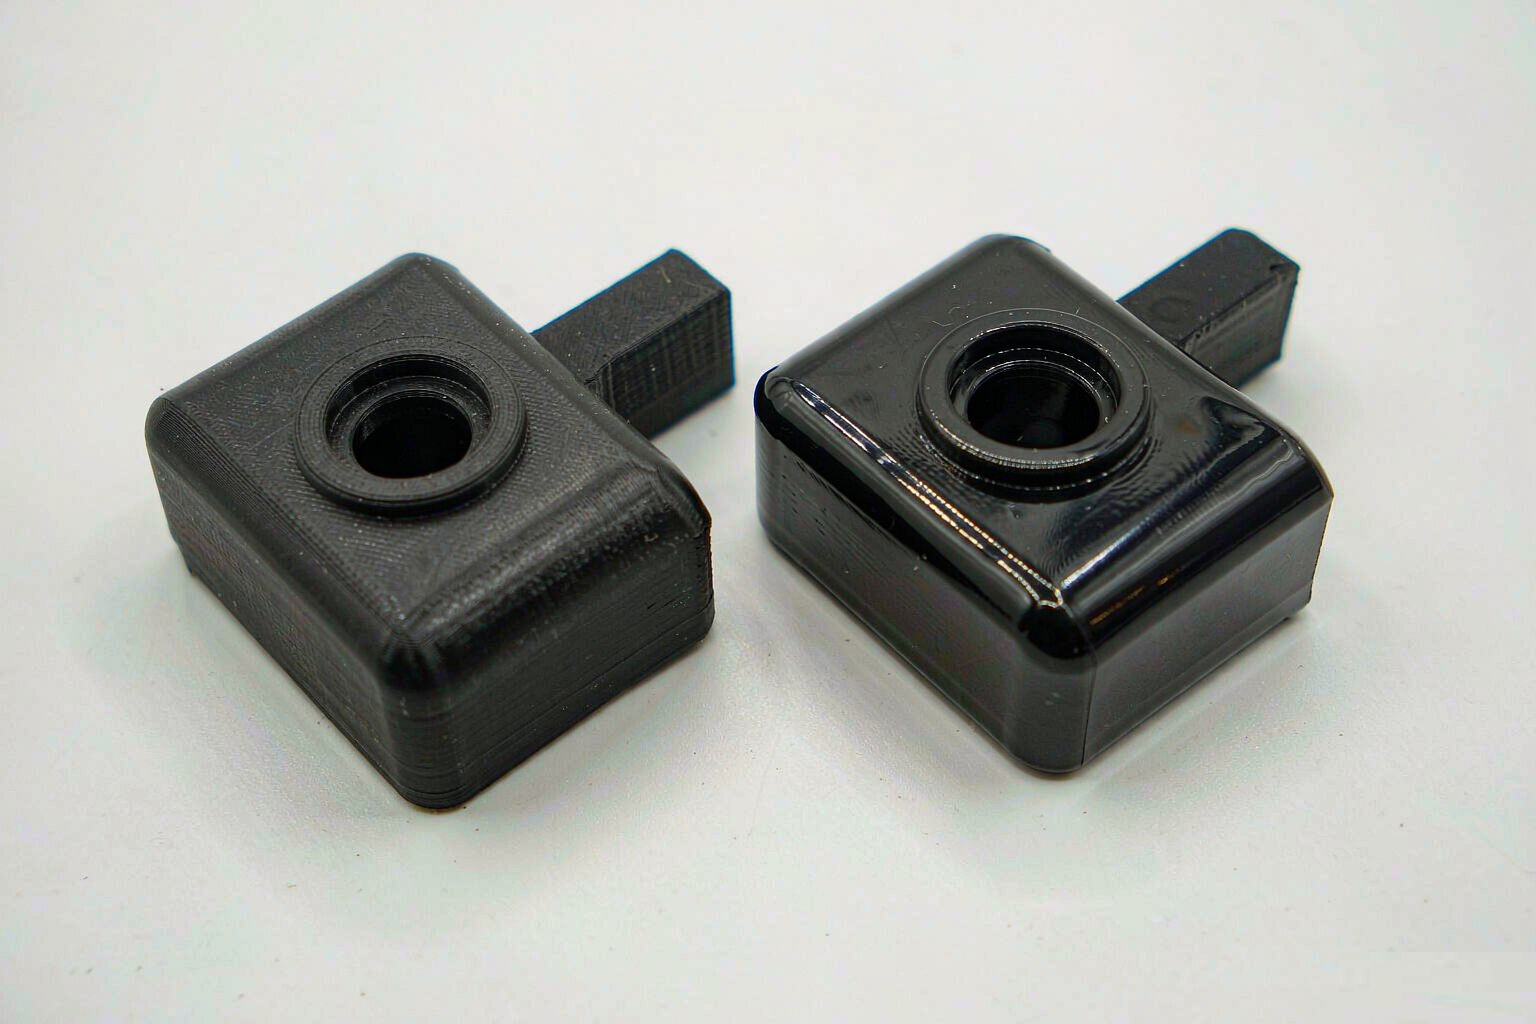
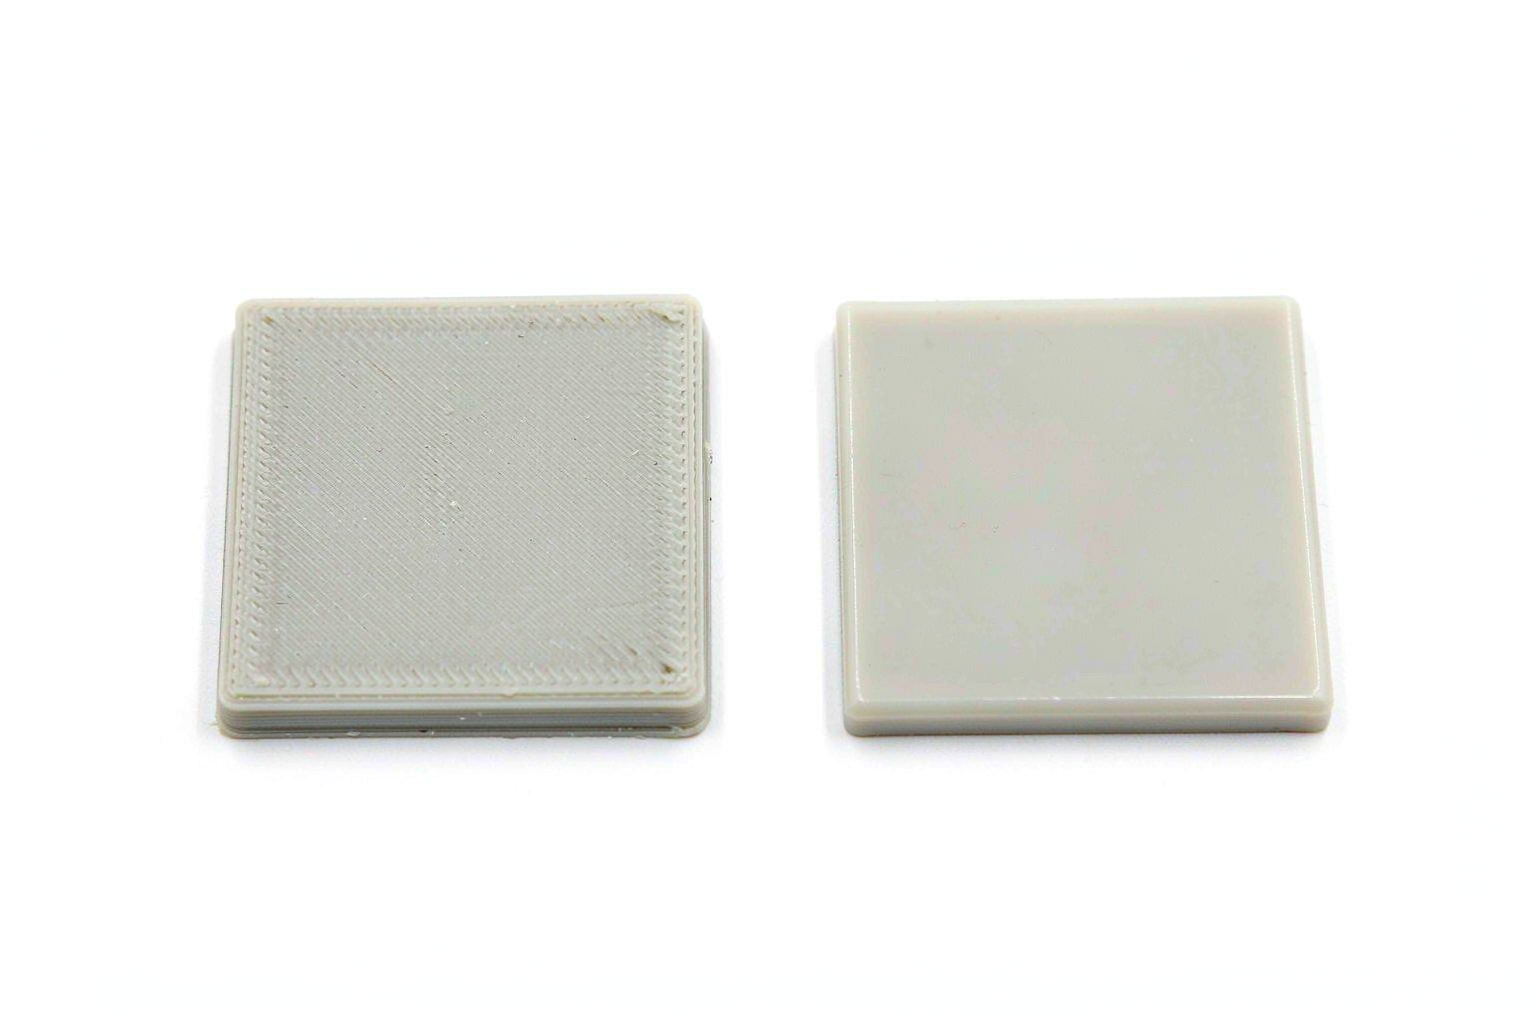
| Surface finish | Layer lines | Molded | Molded | Molded |
| Geometry freedom | Highest | High | Medium | Medium |
| Material range | Broad (AM) | Limited resins | Broad | Broadest |
| Sweet-spot volume | 1–very low | Low | Low–mid | Mid–high |
How to calculate your own break-even
Forget fixed rules like “under 1,000 parts, print it.” The right crossover is math you can do from two quotes.
Break-even volume = Tooling cost differencePer-part cost difference
Take the two routes you are weighing — say a 3D-printed mold (Route B) versus aluminum tooling (Route C). Subtract their tooling costs to get the tooling cost difference. Then subtract their per-part costs to get the per-part cost difference (how much you save per part with the more expensive tool). Divide. The result is the number of parts at which the two routes cost exactly the same. Below it, the cheaper-tool route wins; above it, the better-tool route wins.
If you only have one quote, ask the supplier for the alternative-route number. A capable shop quotes more than one route on purpose — that comparison is the decision input.
Worked example (illustrative)
The numbers below are illustrative ranges to show the method. Your real figures come from a quote and will differ with geometry, resin and finish.
If the aluminum tool costs more up front but each part is cheaper, the break-even might land in the low thousands of parts — or the tens of thousands, depending on the resin. That is exactly why a fixed threshold misleads: the same part in a cheap commodity resin breaks even later than in an engineering resin where molding savings are larger per part.
Route A · Direct 3D printing
Choose it when the volume is genuinely low, the geometry is hard to mold (internal channels, conformal features, consolidation of assemblies), or you need the part yesterday. The trade-off is per-part cost and surface finish: printed parts show layer lines and cost more each than molded parts. For many engineering prototypes that is the right price to pay for speed and freedom.
Direct printing is also the safest “no commitment” route — you can iterate the file without touching a tool.
Route B · 3D-printed mold + molding
Here you print a mold cavity and run it on a standard injection press. You get molded parts — consistent material properties, no layer lines — without waiting for a machined tool. The cavity is typically a photopolymer (SLA) or printed/sintered tool steel, never aluminum. Life is prototype-scale and material-dependent: photopolymer cavities suit lower-temperature, shorter runs; printed tool steel extends life into the low thousands. It is the natural bridge between a printed prototype and a machined tool.
Route C · Aluminum tooling
A mold machined from aluminum gives you real molded parts with faster, cheaper tooling than steel and a bridge-tier life that covers many low-to-mid programs. It is the workhorse for bridge production and for validating a design in the actual molded material before committing to hardened steel. Abrasive or very high-temperature resins wear aluminum faster, so resin choice matters.
Route D · Steel tooling
Hardened steel is the production answer: highest upfront cost, lowest per-part cost, longest life, widest resin range including glass-filled and high-temperature grades. Choose it when the run is large, the program will repeat, or the part must meet tight, documented tolerances across a long life. The cost is time — machining and validation take longer than any additive route.
Surface finish & dimensional accuracy
Directly printed parts normally show layer lines and sit in a broader tolerance band than molded parts. Molded parts from qualified aluminum or steel tooling are smoother and more repeatable; typical nominal dimensions commonly hold within roughly ±0.05–0.15 mm, with tighter features possible through DFM and qualified inspection, confirmed per drawing. A 3D-printed mold still produces molded parts, so its surface quality follows the cavity finish, not the printing of the part directly.
When a 3D-printed mold wins
- You need molded parts fast, before a steel tool is ready.
- The run is prototype-scale and the resin is lower-temperature.
- You want to validate the molded material and gate feature before tooling investment.
- Design is still moving and you expect to revise the cavity.
When metal tooling wins
- The volume clears the break-even and keeps climbing.
- The resin is abrasive, glass-filled or high-temperature.
- Tolerances and surface must hold across a long, repeating run.
- The tool will be reused across programs or customers.
Bridge tooling: the hybrid that settles most debates
You do not have to pick one route forever. Bridge tooling — often a 3D-printed or soft aluminum mold — launches production while the hardened steel tool is built. You start shipping molded parts now and switch to the production tool later with no redesign. It is the pragmatic answer when “wait for steel” costs you market window but “print forever” costs you margin. See our bridge tooling overview for how the hand-off works.
Design for the mold you will grow into
A part that prints beautifully may need Draft, radii or gate changes to mold cleanly. If you expect to scale, design with the steel tool in mind from the start: sensible parting lines, uniform wall thickness, and features that survive tool wear. Good DFM means your printed prototype and your production mold are the same part family, not two redesigns. Our prototyping injection molding solutions cover that migration.
Terminology watch: there is no “3D-printed aluminum mold”
You will see the phrase “3D-printed aluminum mold” used loosely. It mixes two different things. Aluminum molds are CNC-machined from solid aluminum — subtractive, not additive. A 3D-printed mold is produced by additive manufacturing, typically in photopolymer or printed/sintered tool steel. The two are not the same object. When a source says “3D-printed aluminum,” ask which one they mean; the answer changes the cost, life and material range you should expect.
How Xiamen Goldcattle supports the decision
We run the routes, not just one of them, so the recommendation is not biased by a single capability. Under one ISO 9001:2015 quality system we offer 3D printing services, injection mold making in aluminum and steel, and custom injection molding. For the “should I print the part or mold it?” question specifically, see our companion guide on 3D-printed vs injection-molded parts.
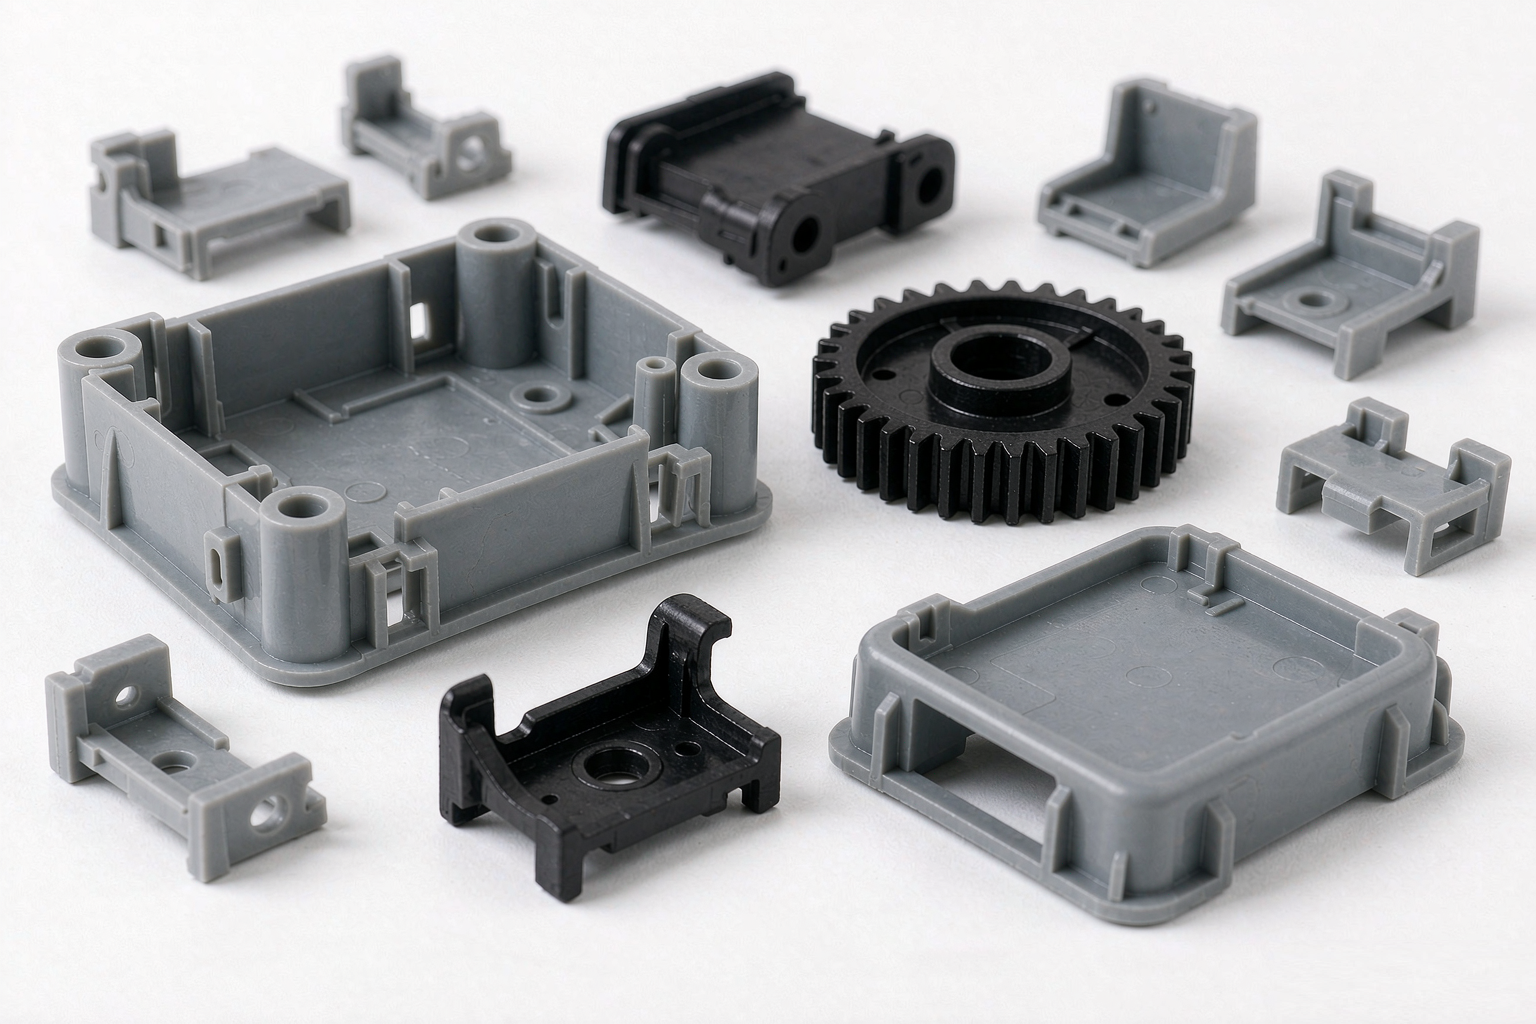
What to send for a real route comparison
- A manufacturable 3D model (STEP or STL) — not just a render.
- Target material and any grade or regulatory notes.
- Expected volume range and how it may grow.
- Required surface finish and tolerance bands.
- Needed-by date and any bridge-tooling intent.
- Whether the tool may be reused across programs.
A complete model is the fastest path to a trustworthy break-even, because it lets a supplier quote two or more routes instead of guessing.
Frequently asked questions
Is 3D printing cheaper than injection molding for low volume?
Not automatically. Direct 3D printing avoids tooling cost but carries a higher per-part cost, so it usually wins only below a volume where the accumulated per-part saving of molding repays the tool. The crossover depends on your geometry, material and required finish, which is why you should calculate the break-even rather than trust a fixed threshold.
What is a 3D-printed injection mold?
It is a mold cavity produced by additive manufacturing instead of being machined from metal. Common routes print the cavity in a photopolymer (SLA) or print/sinter tool steel. It is then loaded into a standard injection press. It is not an aluminum mold, and it is not a production-grade steel tool.
Can a 3D-printed mold be made of aluminum?
No. Aluminum molds are CNC-machined from solid aluminum. Additive manufacturing does not produce aluminum mold blocks in this context. If you see the phrase “3D-printed aluminum mold,” treat it as mixed terminology: the part is either 3D-printed from polymer/steel or it is a machined aluminum tool, but not both at once.
How many parts can a 3D-printed mold make?
Tool life varies widely by material and process. Photopolymer-printed molds typically serve prototype-scale runs of tens to low hundreds of shots; printed or sintered tool steel can reach into the low thousands. These are material-dependent ranges, not guarantees, and should be confirmed against your resin and press conditions.
When should I choose aluminum tooling over steel?
Aluminum tooling fits bridge and low-to-mid volume where you want real molded parts and faster, lower-cost tooling than steel, and where the expected run stays within aluminum’s life tier. Steel is the choice when the run is large, the resin is abrasive or high-temperature, or the tool will be reused across programs.
How do I calculate the break-even between a 3D-printed mold and metal tooling?
Use break-even volume = tooling cost difference ÷ per-part cost difference. For example, if aluminum tooling costs more than a printed mold by a given amount, and each molded part from aluminum costs less than a printed-mold part by a given amount, the quotient is the number of parts at which the two routes cost the same. Replace the example figures with numbers from your own quote.
Is surface finish better with 3D printing or molding?
Molded parts from metal or aluminum tooling are normally smoother and more consistent than directly printed parts, which show layer lines. A 3D-printed mold still produces molded parts, so surface quality depends on the mold cavity finish, not on printing the part directly.
Does 3D printing replace injection molding?
No. They solve different problems. 3D printing excels at geometry freedom and no-tooling speed for prototypes and very low volume. Injection molding excels at repeatable, low per-part cost for production volume. The practical question is which tooling route delivers your parts at the right cost and quality for your quantity.
What is bridge tooling?
Bridge tooling is an intermediate route, often a 3D-printed or soft aluminum mold, used to launch production while a hardened steel tool is being built. It closes the gap between prototype and full production without waiting for the final tool.
Which materials can I mold with a 3D-printed mold?
Printed molds are most viable with lower-temperature thermoplastics and short runs. Higher-temperature or abrasive resins wear printed cavities faster. Metal and aluminum tooling support a far wider resin range, including glass-filled and high-temperature grades, within each material’s rated window.
How fast can I get first molded parts?
Lead time depends on the route. A 3D-printed mold can be ready quickly because there is no machining queue, while aluminum and steel tooling add machining and validation time. Exact timelines depend on geometry, tool complexity and shop load, so confirm against a current schedule rather than a fixed day count.
Should I send a finished 3D model or a concept?
Send a manufacturable 3D model (STEP or STL) plus material, quantity range and target finish. A complete model lets a supplier quote the right route and flag DFM changes early, which is the fastest way to a reliable break-even comparison.
Not sure which route is yours?
Send the model and your volume range. We will quote the routes that fit — printed, printed-mold, aluminum and steel — with a break-even you can read yourself.
Request a Manufacturing-Route Comparison
Tell us your part, volume and material. We reply with comparable route quotes and a break-even.
Open the quote form