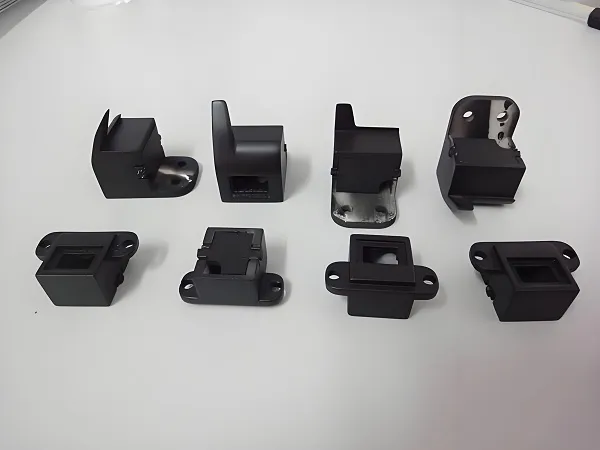
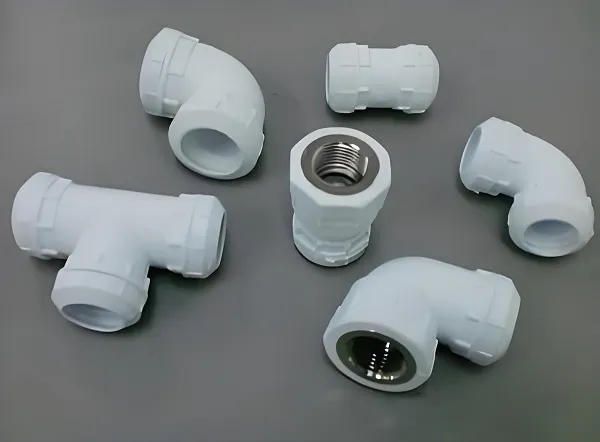
Anodized aluminum CNC machining service, through high – precision processing technology, integrated surface treatment design, and an intelligent production system, achieves control of dimensional tolerance at the ±0.01mm level, anodized film thickness uniformity within ±5%, and a 60% reduction in delivery time, providing a one – stop solution of “precision machining + surface optimization” for the high – end manufacturing industry.
I. Bottlenecks of Traditional Processing: Why is it Difficult to Balance Precision and Appearance for Anodized Aluminum Components?
Q&A: What are the core challenges in anodized aluminum CNC machining?
The coupled requirements of aluminum alloy characteristics and the anodizing process lead to three major pain points in traditional processing:
Limitations of material processing characteristics: Aluminum alloy has low hardness (6061 – T6 hardness is HB95) and high plasticity. During high – speed processing, it is prone to chatter and deformation. The dimensional tolerance after processing by a conventional machine tool reaches ±0.05mm, which cannot meet the requirements of precision assembly (such as an aerospace joint with a tolerance of ±0.01mm).
Stringent surface quality requirements: The anodized film thickness usually needs to be 10 – 25μm. Surface scratches (depth > 0.05mm) or tool marks will cause uneven anodized films. Local corrosion occurs during the salt – spray test (500 hours), affecting the component’s lifespan.
Low efficiency in process connection: In the traditional process, CNC machining and anodizing are processed separately. Multiple clampings lead to cumulative errors, and the pre – treatment before anodizing (such as chemical polishing) may change the size by 0.02 – 0.05mm, making it difficult to achieve closed – loop precision control.
Core advantages of the service:
Synergistic optimization of precision and surface quality: Through high – precision machining (tolerance ±0.01mm) and matching of anodizing process parameters, the dimensional stability after anodizing is ensured to be < ±0.005mm, and the film thickness uniformity reaches over 95%.
Full – process data – driven: From the generation of processing codes to the parameters of the anodizing bath, all process data is interconnected. The delivery cycle is compressed to 7 – 10 days, 60% faster than the traditional mode.
II. Core Process Innovations: How to Achieve Deep Integration of Machining and Anodizing?
High – Precision CNC Machining Technology
Equipment and tool upgrade:
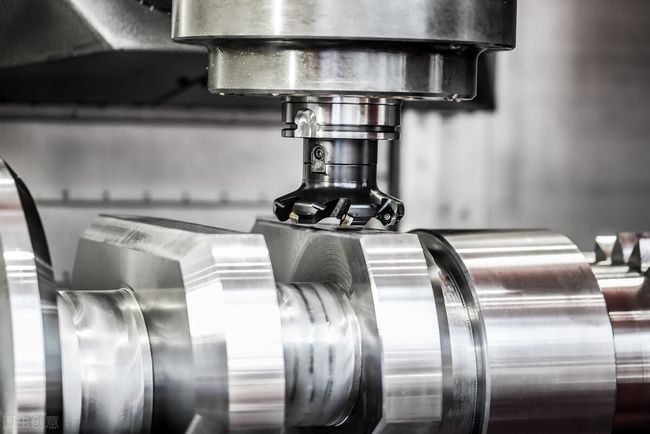
High – speed machining center: Equipped with an electric spindle (speed of 24,000 – 40,000rpm) and a linear motor (positioning accuracy of ±0.003mm), it enables high – speed milling of aluminum alloy (cutting speed of 300 – 500m/min), with a surface roughness of Ra≤0.8μm, reducing the pre – anodizing grinding process.
Diamond – coated tool: The edge radius is < 0.01mm, the cutting force is reduced by 30%, and the phenomenon of tool sticking during aluminum alloy processing is suppressed, avoiding surface plowing defects and providing a high – quality substrate for anodizing.
Fixture and process optimization:
Vacuum adsorption fixture: With a suction force of ≥80kPa, for thin – walled parts (wall thickness ≥ 0.5mm), an elastic support structure is adopted, and the clamping deformation is controlled within ±0.002mm.
Cryogenic Minimum Quantity Lubrication (MQL): – 20℃ cold air is combined with food – grade cutting fluid (flow rate of 0.05ml/min) to reduce the material expansion caused by cutting heat, ensuring that the dimensional stability after processing is < ±0.005mm.
Integrated Design of Anodizing Process
Precise control of pretreatment:
Matching of chemical polishing parameters: According to the surface roughness of the processed part (Ra≤1.6μm), the composition of the polishing solution (phosphoric – sulfuric acid system) is adjusted, and the corrosion rate is controlled at 0.005 – 0.01mm/min to avoid over – polishing affecting precision.
Defect repair technology: For minor scratches (< 0.05mm), Electrochemical Mechanical Polishing (ECMP) is used for local repair, and the surface roughness after repair is Ra≤0.4μm.
Optimization of anodizing process:
Pulse anodizing: Using a high – frequency pulse power supply (frequency of 1000Hz), the growth rate of the anodized film is increased by 20%, the film thickness uniformity reaches 98%, the porosity is < 5%, and the salt – spray resistance time is extended to more than 1000 hours.
Precise color control: The concentration of the colorant in the electrolyte (such as nickel sulfate ±0.1g/L) is monitored in real – time by a spectrometer, achieving a color deviation of the anodized film △E < 1, meeting the stringent requirements of high – end consumer electronics for appearance consistency.
Digital Full – Process Control
Closed – loop of machining – anodizing data:
When the CAM software automatically generates processing codes, it simultaneously marks the anodizing – sensitive areas (such as reserving 0.02mm of machining allowance on the mating surface) to ensure that the dimensions after anodizing meet the design requirements.
The MES system real – time transmits CNC machining parameters (such as feed rate, tool type) to the anodizing production line, automatically matching process parameters such as bath temperature (±1℃) and current density (±0.5A/dm²).
Intelligent quality traceability:
Each component generates an independent traceability code, associated with processing time, anodizing tank number, film thickness detection data (accuracy of ±1μm), supporting full – life – cycle quality traceback.
III. Quality Control: Stringent Verification of the Full Chain from the Base Material to the Film Layer
Multi – Dimensional Testing System
Material – level verification:
Spectral analysis ensures that the composition of the aluminum alloy (such as the Zn content of 7075 – T6 is 5.1% – 6.1%) meets the ASTM B221 standard, and the impurity Fe≤0.5% to avoid impurity spots on the anodized film.
Metallographic inspection of grain size (≥7 levels) and segregation degree ensures that the bonding force between the anodized film and the base material is ≥5N/mm².
Finished – product – level testing:
Dimensional accuracy: A coordinate measuring machine (accuracy of ±0.003mm) is used to detect key dimensions, and the tolerance of the mating surface after anodizing is controlled within ±0.01mm.
Anodized film performance:
A film thickness gauge (resolution of 0.1μm) is used to detect the film thickness uniformity, with a deviation in the target area ≤ ±5%.
A micro – hardness tester (accuracy of ±5HV) is used to measure the hardness of the anodized film (HV≥300) to ensure wear resistance.
The salt – spray test (NSS method, 5% NaCl solution) is used to verify corrosion resistance, with no red rust after 1000 hours.
Appearance quality: An AI vision system (resolution of 12000dpi) completes surface inspection in 0.2 seconds, identifying flaws at the 0.02mm level, with a missed – detection rate of < 0.001%.
Intelligent Defect Prevention Technology
First – piece twelve – inspection system: The engineer team verifies 40 indicators such as processing codes, anodizing bath parameters, and the film thickness of the first piece, intercepting 99% of the initial process risks.
Real – time process monitoring:
Processing stage: A vibration sensor (resolution of 0.1μm) gives real – time warnings of cutting chatter and automatically adjusts cutting parameters.
Anodizing stage: A conductivity sensor (accuracy of ±0.1μS/cm) monitors the composition of the electrolyte, and when it deviates from the threshold, it automatically replenishes the solution to ensure the stable performance of the anodized film.
IV. Balancing Efficiency and Cost: From Small – Batch Prototyping to Mass Production
Q&A: Does high – precision anodizing processing mean high cost?
Cost reduction and efficiency improvement are achieved through three innovations:
Modular process design:
Establish a library of over 200 standardized processing templates (such as thin – walled parts, deep – cavity parts) and anodizing formulations, shortening the development cycle of new projects by 40% and reducing the mold cost by 30%.
Automated production line:
A robot automatic loading and unloading system (change – over time < 3 minutes) connects the CNC machining and anodizing production lines, increasing the production efficiency of small – batch (50 – 500 pieces) by 50% and the equipment utilization rate to 85%.
Recycling of anodizing bath:
Using reverse osmosis membrane filtration (accuracy of 0.1μm) and electrolytic regeneration technology, the bath replacement cycle is extended to 3 months, chemical consumption is reduced by 40%, and the processing cost per kilogram is decreased by 25%.
V. Core Considerations for Choosing Anodized Aluminum CNC Machining Services
Process integration ability: The supplier should have the full – process capabilities from CNC machining (accuracy of ±0.01mm) to anodizing (film thickness control of ±5%), especially experience in handling the anodizing uniformity of complex structural parts (such as parts with blind holes and deep cavities).
Testing and certification:
Provide ISO 9001, AS9100 (aerospace – grade) or IATF 16949 (automotive – grade) certifications. In the medical field, it should meet ISO 13485 and biocompatibility tests (such as USP Class VI).
Have a CNAS – accredited laboratory that can issue third – party test reports for film thickness, salt – spray testing, etc.
Digital collaboration ability: Support connection with the customer’s PLM system, provide real – time viewing of processing data, digital twin simulation of anodized film performance, ensuring transparent and controllable project progress and quality.
Conclusion
The anodized aluminum CNC machining service solves the synergistic problem of aluminum alloy processing precision and anodizing quality through the deep integration of “precision machining technology” and “surface treatment process”. With the continuous increase in requirements for lightweight, corrosion resistance, and appearance precision in high – end manufacturing, a one – stop solution with “micrometer – level precision control + anodized film performance optimization + full – process digital control” is becoming the core manufacturing choice for aerospace structural parts, high – end consumer electronics housings, and medical device components. From rapid sample prototyping to large – scale mass production, this service empowers manufacturing upgrades with technological innovation, helping enterprises establish a differential competitive advantage in the precision machining and surface treatment track.
(Contact us now to get a customized anodized aluminum processing solution and free anodized film performance testing service)

