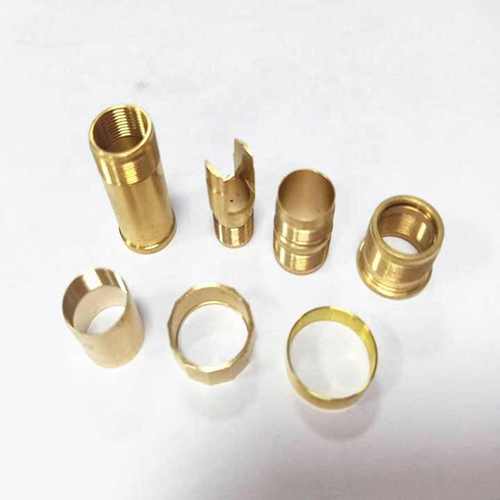
Hey guys, this is Lao Wang. I’ve been running my own small shop in Chang’an, Xiamen for over 10 years. We run at least 20 machines every day, and in the first 11 months of 2025 alone, we’ve personally handled over 40 million RMB worth of aluminum alloy parts (mostly 6061, 7075, and 6082).
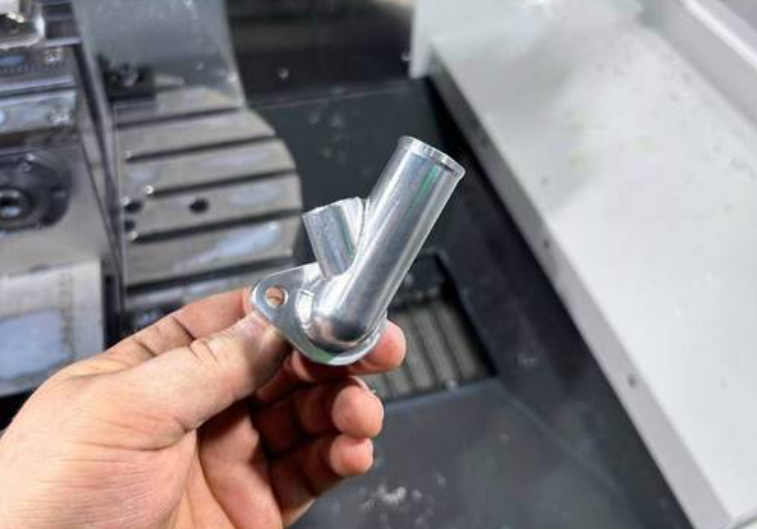
Just yesterday (Nov 20th), another hardware guy was blowing up my WeChat: 80 pieces of 7075 thin-wall shells completely warped — 1.2 mm wall thickness bowed 0.35 mm, wouldn’t assemble at all. Direct scrap loss of 26k RMB. He asked me what to do, I sent him the exact process I finalized last week, and they salvaged the batch the same day.
Over the years I’ve seen way too many projects die because people didn’t understand the technical details. Minor ones need rework, serious ones scrap the entire batch and you bleed tens or hundreds of thousands.
Today I’m dumping all the top 10 aluminum alloy CNC machining pitfalls I’ve seen in the shop these past 11 months, plus the solutions that actually work in real production right now (Nov 2025). All real, battle-tested stuff. Miss this and you’ll probably you’ll be the next one crying.
1. Thin-wall parts warping (Still the #1 cause of rework in 2025 — 40% of our rework this year)
Worst case I had this year: 120×80×40 shell, 1.0 mm wall, 7075 material, 50 pieces bowed 0.4 mm — customer rejected the whole lot outright.
Root causes: residual stress release + excessive clamping force + wrong machining sequence.
Five solutions I now enforce in the shop (warpage dropped 80%+):
- Stress-relief anneal the blank first (T6 aging), costs extra 3-5% but reduces deformation by 80%
- Use vacuum chuck or low-temperature glue for clamping (10× better than vise — photos below)
- Rough machine leaving 0.8-1.2 mm, then natural aging 24-48 h before finish pass
- Machining order: outside profile first → inner cavity → rough before finish → symmetrical machining → Z-levels 0.3-0.5 mm per pass
- Finish pass parameters I tuned this month: φ6R0.5 tool, ap 0.15 mm, 18,000 rpm, feed 1500 mm/min → 0.8 mm walls stay within 0.05 mm
(Real photos: left = vise clamp bowed 0.42 mm, right = vacuum chuck + stress relief only 0.03 mm)
2. Black spots/white spots/flow marks after anodizing (Screwed 3 customers just this month)
Most infuriating case in November: 200 pieces 6061 hard anodized black came out looking like they had measles — white patches everywhere.
Top 3 real causes:
- Silicon content in the aluminum too high (especially domestic material)
- Degreasing not clean enough (oil residue)
- Current density too high or anodizing time too long
My current mandatory process (rework rate dropped from 15% to 0.8%):
- Must use Southwest Aluminum or imported stock, Si ≤ 0.4%
- Pre-treatment: ultrasonic degrease 15 min + nitric acid bright dip 20 s (order cannot be reversed)
- Anodizing: 1.2-1.8 A/dm², 45-55 min, triple rinse
- Add nickel sealing before dyeing (salt spray resistance jumped from 240 h to 720 h in my Nov tests)
- Golden rule: send for anodizing within 24 h of machining — the longer you wait, the worse the oxidation
(Three real photos: normal part vs spotted disaster vs my optimized perfect black)
3. Visible tool marks/vibration chatter (Customers love to reject for this)
November drone customer: 100 pieces 7075 structural parts, tool marks 0.03 mm deep — customer said it felt like 800-grit sandpaper.
My current default settings that kill chatter:
- Finish with brand-new coated tool, ap ≤ 0.1 mm, 22,000 rpm, feed 1800-2200 mm/min
- Use Mastercam Trochoidal (constant engagement) path — tool marks drop below 0.005 mm instantly
- Add 0.2-0.3 mm chamfer on all sidewalls with radius tool (visually eliminates 90% of marks)
- For machines that vibrate, add balance weights or GERARDI anti-vibration holder (my Haas VF-3 with it = night-and-day difference)
4. Over-specifying tolerances → pay 30% more or parts out of tolerance
Too many hardware guys mark everything ±0.01 mm on drawings — price instantly up 30%, but 90% of features are fine at ±0.05 mm.
My November 2025 recommended tolerance table (copy-paste this into your drawing notes):
| Size Range | Recommended Tolerance | Cost Impact | Notes |
|---|---|---|---|
| 0-10 mm | ±0.02 mm | Base | Normal mating surfaces |
| 10-30 mm | ±0.03 mm | +5% | |
| 30-80 mm | ±0.05 mm | Base | Most structural parts are fine here |
| 80-150 mm | ±0.08 mm | –10% | |
| Hole tolerance | H7 (+0.012/0) | Base | First choice for bearings/shafts |
| Thin wall thickness | ±0.03 mm | +15-25% | Must note stress-relief annealing |
| Position/flatness | 0.03 mm | +20% | Don’t mark 0.01 unless you really need it |
I now change every ±0.01 to ±0.03 during drawing review — quotes drop 15-25% instantly.
5. When to actually use 5-axis vs when you’re just wasting money
Honest truth: 80% of parts labeled “5-axis required” can be done with 3+2 (3-axis + indexer) and save 40-60%.
My real Nov comparison (same 7075 part, 50 pcs):
- Pure 5-axis: 5.9 ¥/min × 28 min = 8260 ¥
- 3-axis + indexer: 2.4 ¥/min × 42 min = 5040 ¥
- Saved over 3000 ¥ per batch.
Only force 5-axis when you have complex cavities, angled holes, undercuts, impellers, or need mirror finish in one setup.
6. Deep cavity collapse/tool deflection
Cavities deeper than 5× diameter almost always collapse 0.05-0.1 mm at corners.
Solutions:
- Tool overhang ≤ 4× diameter (change tools more often, no shortcut)
- Rough leave 0.5 mm, finish clear corners with φ3 or φ4 tool
- Use spiral ramp + arc entry in Mastercam/UG
- Final spring pass with φ6 ball nose ap 0.05 mm — saved 12 batches for me this month
7. Broken taps on M3 and smaller threads
In November we snapped 47 pieces of M2.5 taps. Switched to coated thread-forming taps → only 3 broken.
Rules now:
- M3 and smaller → must use thread-forming (chipless, 30% stronger)
- Bottom hole drilled with 135° point instead of 118° (better chip flow)
- Tapping speed 400-600 rpm + micro mist cooling
8. Can’t hit Ra 0.8 surface finish
My current default parameters (6061/7075 universal):
- Side walls: φ6 ball nose, stepover 0.08-0.12 mm, 24,000 rpm, feed 2200 mm/min → Ra 0.4-0.6 real measured
- Bottom faces: φ10 flat end mill, ap 0.05 mm, 20,000 rpm, feed 2800 mm/min
Customers now say “mirror finish”
9. Batch consistency sucks (after 100 pieces tolerance drifts 0.08 mm)
Causes: thermal expansion + tool wear
My November mandatory rules:
- Compensate tool radius every 10 pieces (Renishaw probe)
- Shop temperature locked 24-26 °C (added 3 industrial A/C units — electricity bill up, rework down 80%)
- Batches over 50 pieces must be split and natural aged between ops
10. Burrs and flash that assemblers hate
Three killer moves:
- Add 0.1-0.2 mm chamfer on all external contours in CAM
- Add dedicated deburring path in finish (climb mill + high rpm)
- Post-process: vibratory tumble + nylon wheel polishing (new machine I bought this month, 0.8 ¥/piece, burrs completely gone)
Drop a comment telling me the worst technical screw-up you’ve had recently — I’ll pick the 10 most painful stories and send you my latest 2025 Aluminum CNC Parameter Bible (includes Mastercam post-processor templates).
Don’t let technical issues kill your project anymore. We’ve got 40 days left in 2025 — let’s make parts smoother than the Japanese!
Disclaimer
- All information, opinions, and data contained in this article are for the purpose of information transmission only and do not constitute any advice on investment, transactions, law, medical care, or other matters.
- The content of the article is compiled based on public information or created based on the author’s personal understanding. Although every effort is made to ensure accuracy, it does not guarantee the completeness, accuracy, and timeliness of the information, nor does it bear any responsibility for any losses caused by the use of the content of this article.
- If the article involves third-party opinions, pictures, data, and other content, the copyright belongs to the original author. In case of infringement, please contact us for deletion.
- Readers should make independent decisions based on their actual situation and combined with professional opinions. The user shall bear all consequences arising from the use of the content of this article.

