Custom Resin Casting Services for Prototype and Low-Volume Production
Silicone Mold Casting • Vacuum Casting • Urethane Prototyping
Quick Answer: What Is Resin Casting?
Resin casting is a low-volume manufacturing process that produces highly detailed plastic parts using silicone molds and polyurethane or epoxy resins. It is commonly used for:
When Should You Choose Resin Casting?
Need 20–500 Parts
Bridge production between prototype and mass manufacturing without expensive steel mold investment.
Prototype Before Injection Molding
Validate design, fit, and function with production-like parts before committing to hard tooling.
Reduce Tooling Cost
Silicone molds cost a fraction of steel injection molds—ideal for budget-conscious projects.
Validate Product Design
Test ergonomics, assembly, and aesthetics with real materials before final production.
Fast Product Launch
Compress development cycles from months to weeks with rapid silicone tooling.
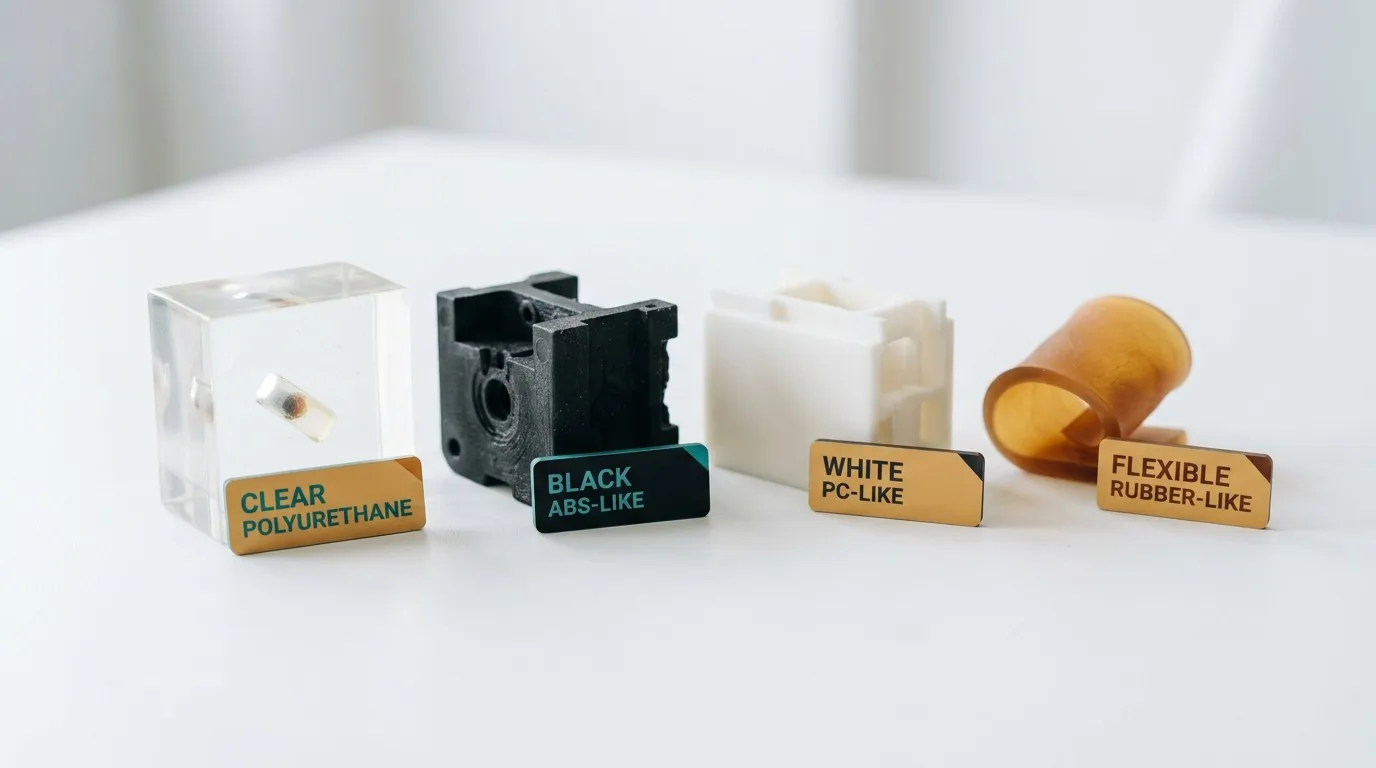
Resin Materials We Offer
| Material | Properties | Best For |
|---|---|---|
| PU Resin | Tough, impact-resistant, paintable | Functional prototypes, enclosures |
| ABS-like Resin | Rigid, good surface finish, machinable | Consumer products, housings |
| PC-like Resin | Transparent, UV-stable, high clarity | Transparent parts, lenses, covers |
| Rubber-like Resin | Flexible, elastomeric, tear-resistant | Seals, gaskets, soft components |
| High Temp Resin | Heat resistant up to 180°C, rigid | Automotive, under-hood parts |
| Fire-Retardant Resin | UL94 V0 rated, low smoke | Electrical enclosures, aviation |
DFM Tip: Choose ABS-like for parts requiring post-machining or threaded inserts. Select PC-like only when optical clarity is critical—it is more sensitive to mold surface finish.
Our Resin Casting Process
Review CAD Files
Engineers analyze geometry, wall thickness, and undercuts for moldability.
Design Silicone Mold
Master pattern is 3D printed or CNC machined; silicone mold is cast around it.
Produce Silicone Tooling
Mold cures for 12–24 hours; validated for dimensional accuracy.
Vacuum Resin Casting
Resin is mixed, degassed under vacuum, and poured into mold under controlled conditions.
Post Processing
Parts are demolded, trimmed, sanded, and finished to specification.
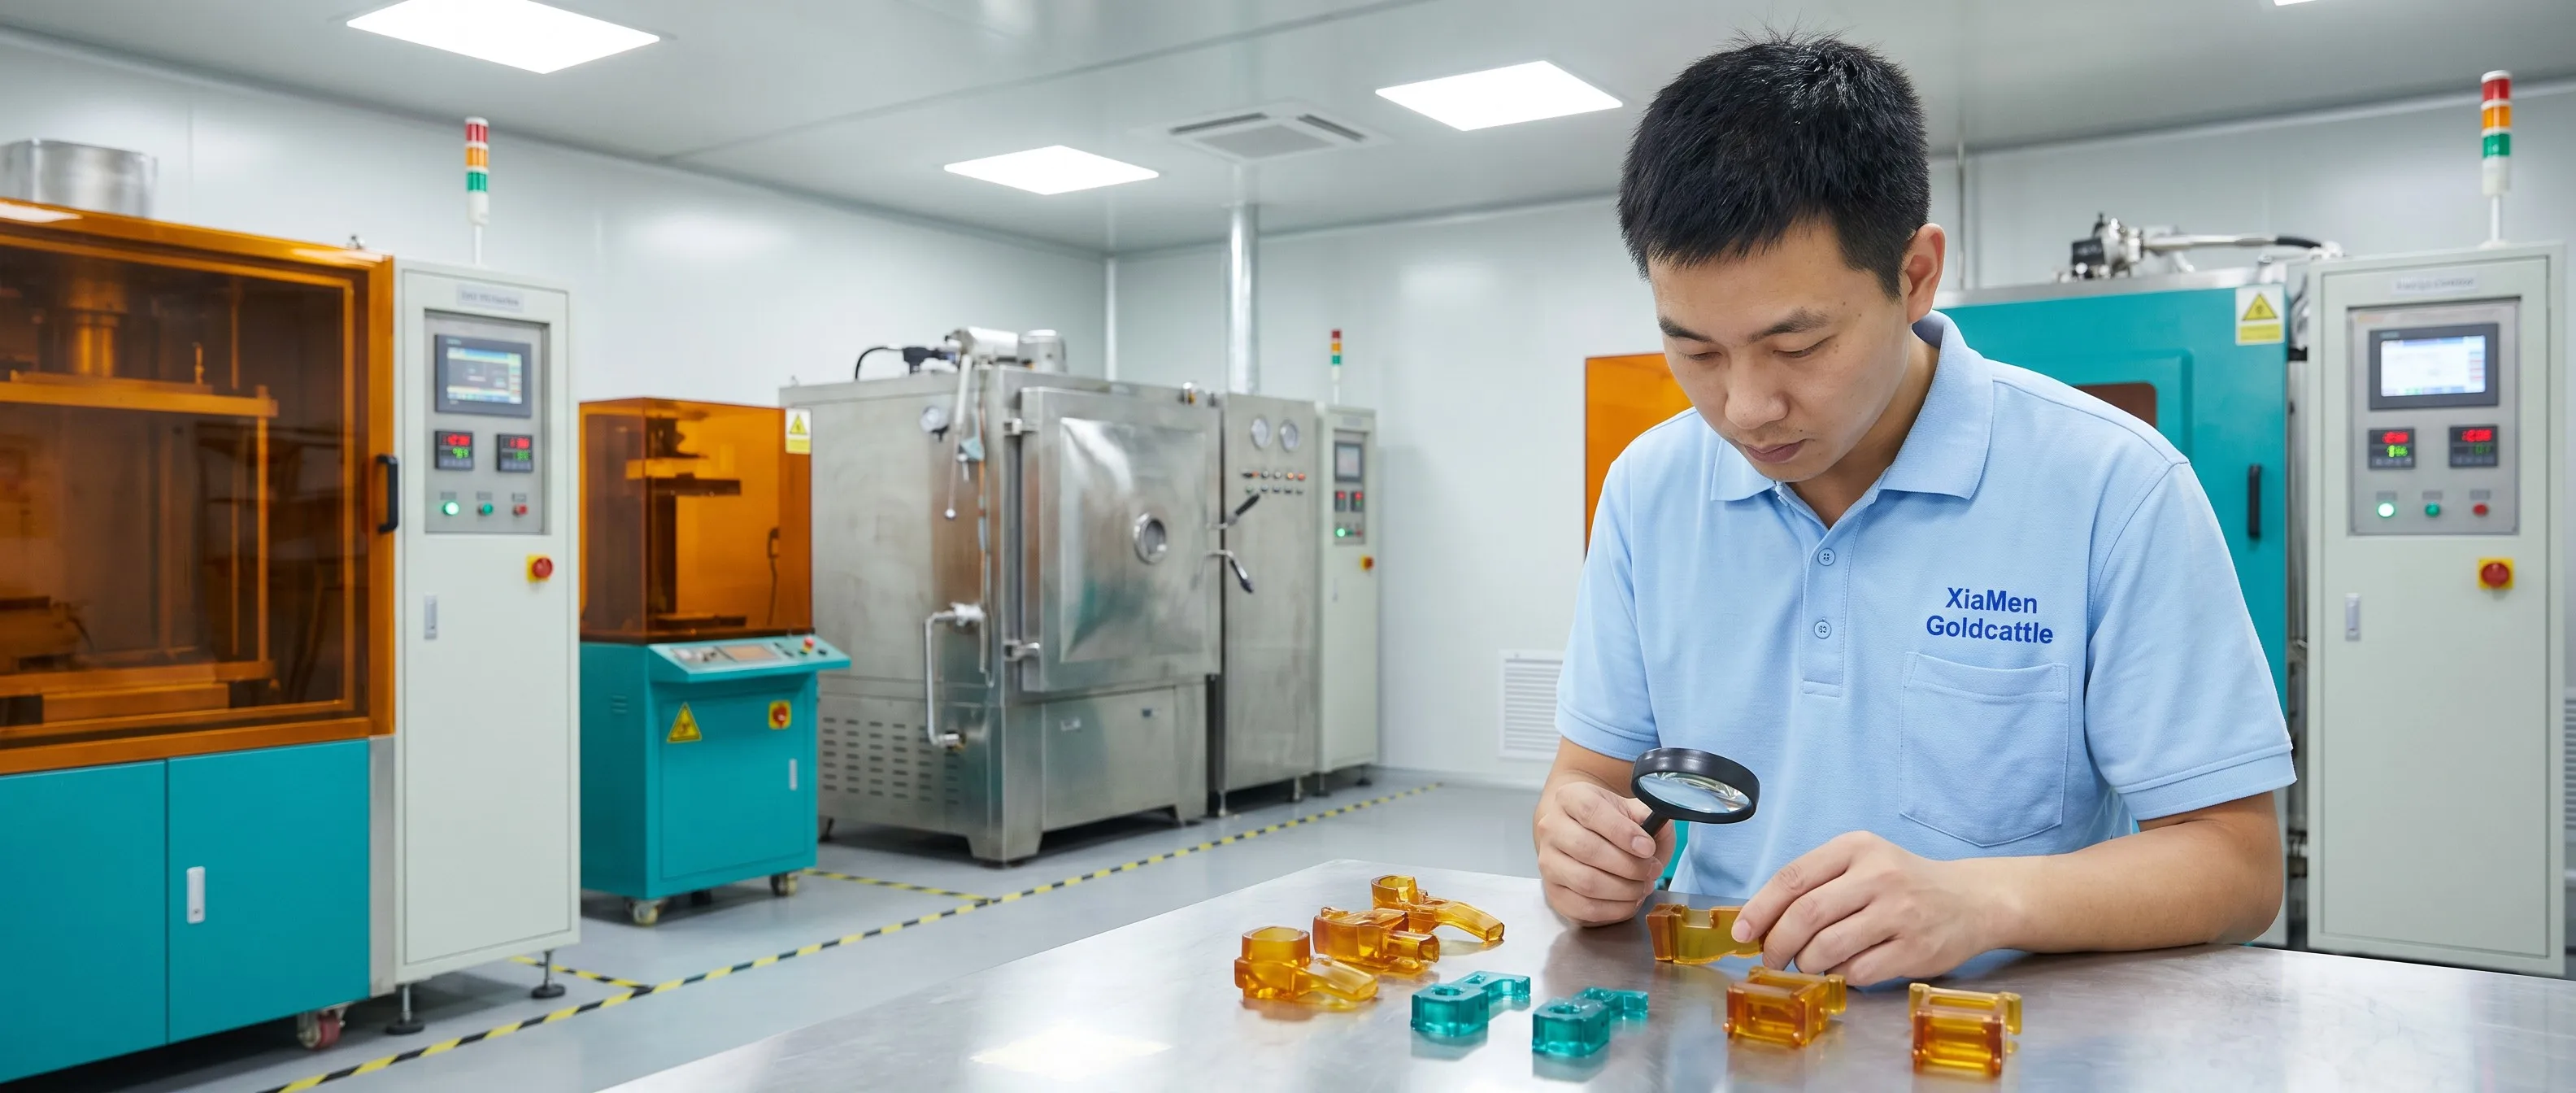
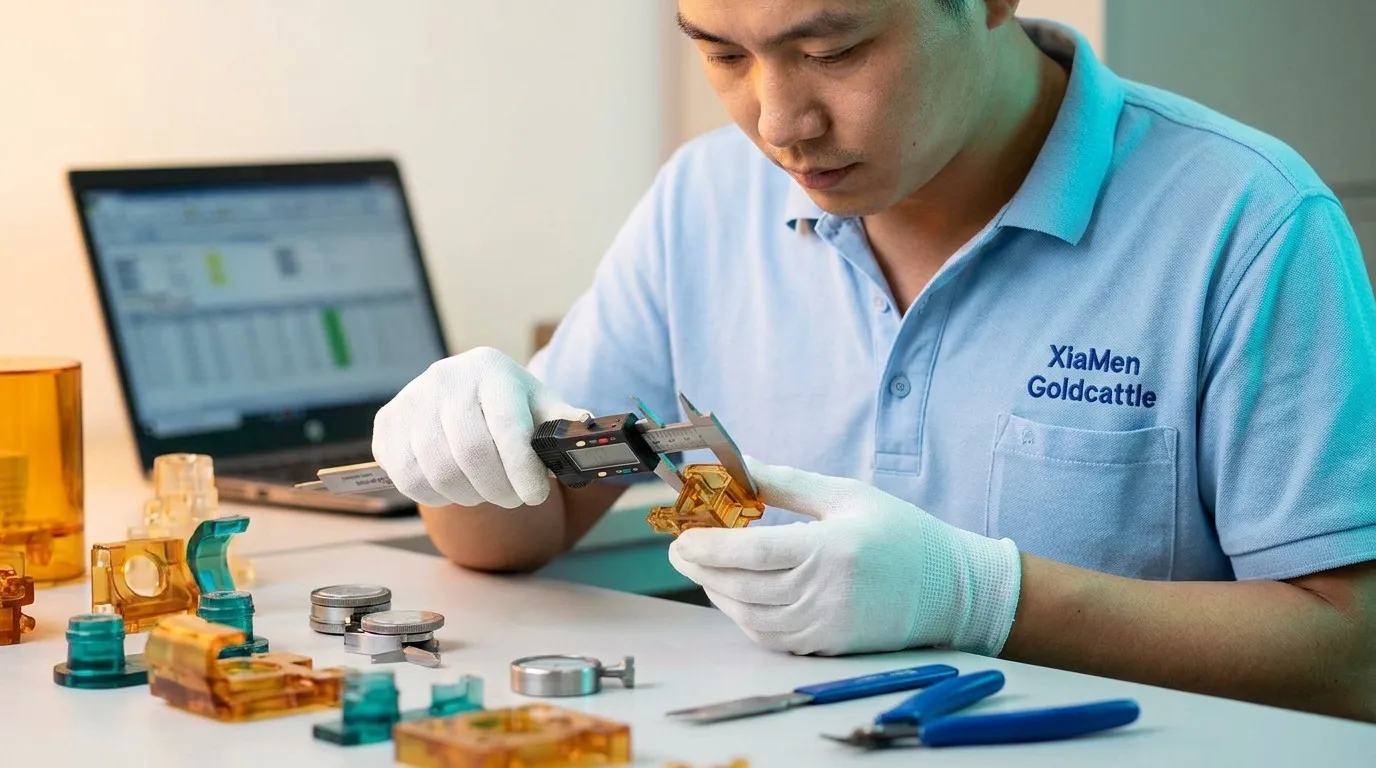
Inspection
Dimensional check, surface inspection, and functional testing per customer requirements.
Shipping
Protective packaging and express delivery to your door.
Resin Casting Capabilities
| Capability | Specification |
|---|---|
| Maximum Part Size | 500 x 400 x 300 mm |
| Mold Life | 20–50 castings per mold |
| Resin Types | PU, ABS-like, PC-like, Rubber-like, High Temp |
| Post-Processing | Sanding, Painting, Assembly, Insert Molding |
| Surface Finishes | SPI-B, Sandblast, Paint, Texture |
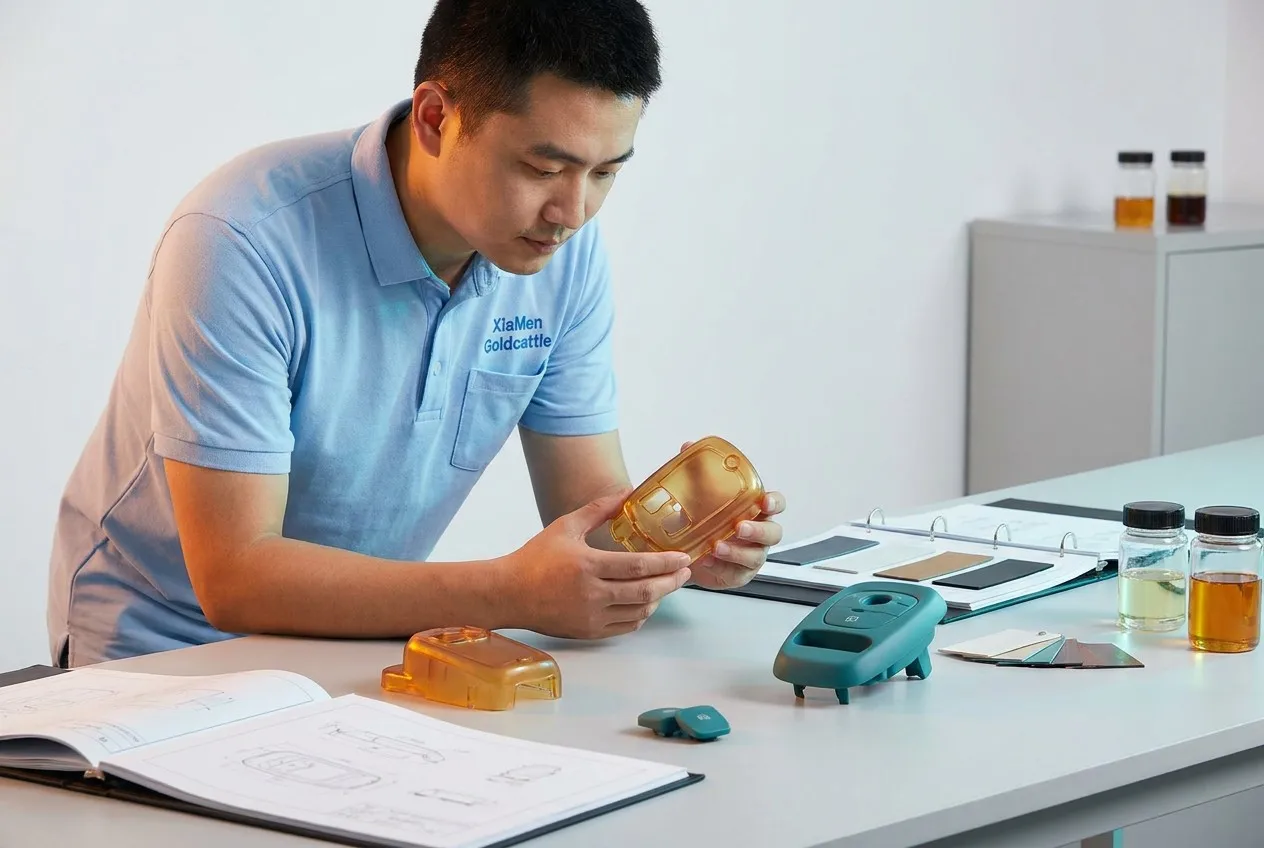
| Color Matching | Pantone / RAL custom colors |
| Packaging | Anti-static, foam, custom crates |
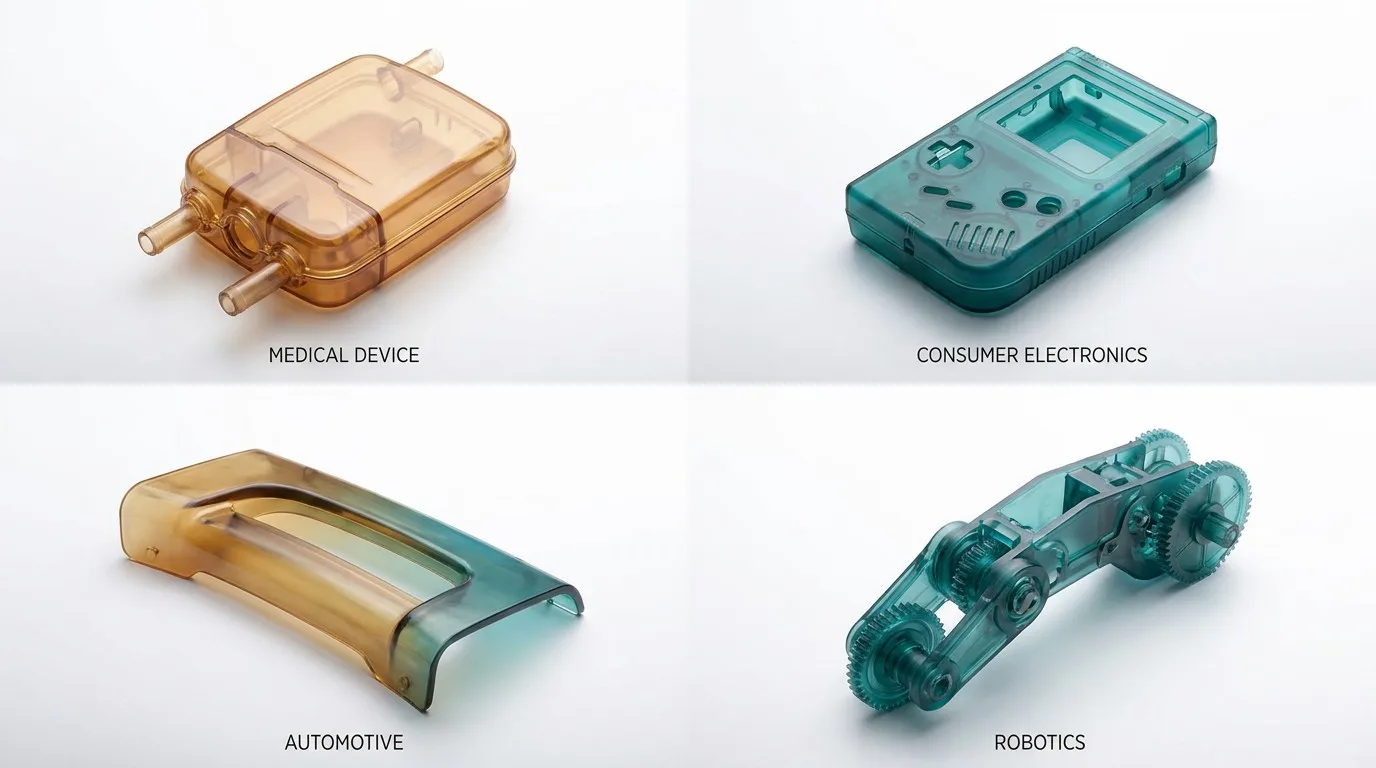
Industry Applications
Medical Devices
Housings, enclosures, and prototype parts for diagnostic equipment and surgical tools.
Consumer Electronics
Smart device housings, wearable casings, and IoT enclosure prototypes.
Automotive
Interior panels, dashboard buttons, and trim prototype parts for fit validation.
Robotics
Functional prototypes, gripper components, and sensor housings for R&D testing.
Industrial Equipment
Control housings, junction boxes, and protective covers for machinery.
Resin Casting vs Injection Molding
| Factor | Resin Casting | Injection Molding |
|---|---|---|
| Tooling Cost | Low ($500–$2,000) | High ($5,000–$50,000+) |
| Production Volume | 1–500 parts | 1,000+ parts |
| Lead Time | 3–10 days | 4–8 weeks |
| Part Complexity | Moderate to high | Very high |
| Material Range | PU, ABS-like, PC-like, rubber | All thermoplastics |
| Surface Finish | SPI-B, paintable | SPI-A3, high gloss |
| Best Use Case | Prototypes, low volume | Mass production |
| Design Changes | Fast, low cost | Slow, expensive |
When to Choose Resin Casting: Select resin casting for prototypes, bridge production, and low-volume runs where tooling cost and speed matter more than per-part economy.
Case Studies
Medical Housing Prototype
Medical
Result: Prototype approved before injection mold commitment, saving 3 weeks in development cycle.
Automotive Dashboard Button
Automotive
Result: Reduced development cycle by 40% with functional prototypes for interior testing.
Why Choose Goldcattle for Resin Casting?
🌟 10+ Years Experience
Serving European and American clients since 2012 with consistent quality.
🌟 ISO 9001 Certified
Full traceability and documented quality systems for every project.
🌟 In-House Tooling
Silicone mold design and fabrication done internally for faster turnaround.
🌟 Material Expertise
Wide range of polyurethane resins matched to your application requirements.
🌟 DFM Support
Free design-for-manufacturing review to optimize parts for resin casting.
🌟 Fast Quotes
Receive detailed quotations within 24 hours of receiving your CAD files.
| Service | Capability |
|---|---|
| CAD Review | Free DFM analysis within 24h |
| Master Pattern | 3D printed or CNC machined |
| Silicone Mold | In-house fabrication, 12–24h cure |
| Vacuum Casting | Controlled environment, ±0.2mm |
| Post-Processing | Sanding, painting, assembly |
| QC Inspection | Dimensional, visual, functional |
| Packaging | Anti-static, foam, custom crates |
| Shipping | DHL, FedEx, sea freight |
| MOQ | 1 piece prototype, 20+ production |
| Lead Time | 3–10 days standard |
| Payment | T/T, L/C, PayPal |
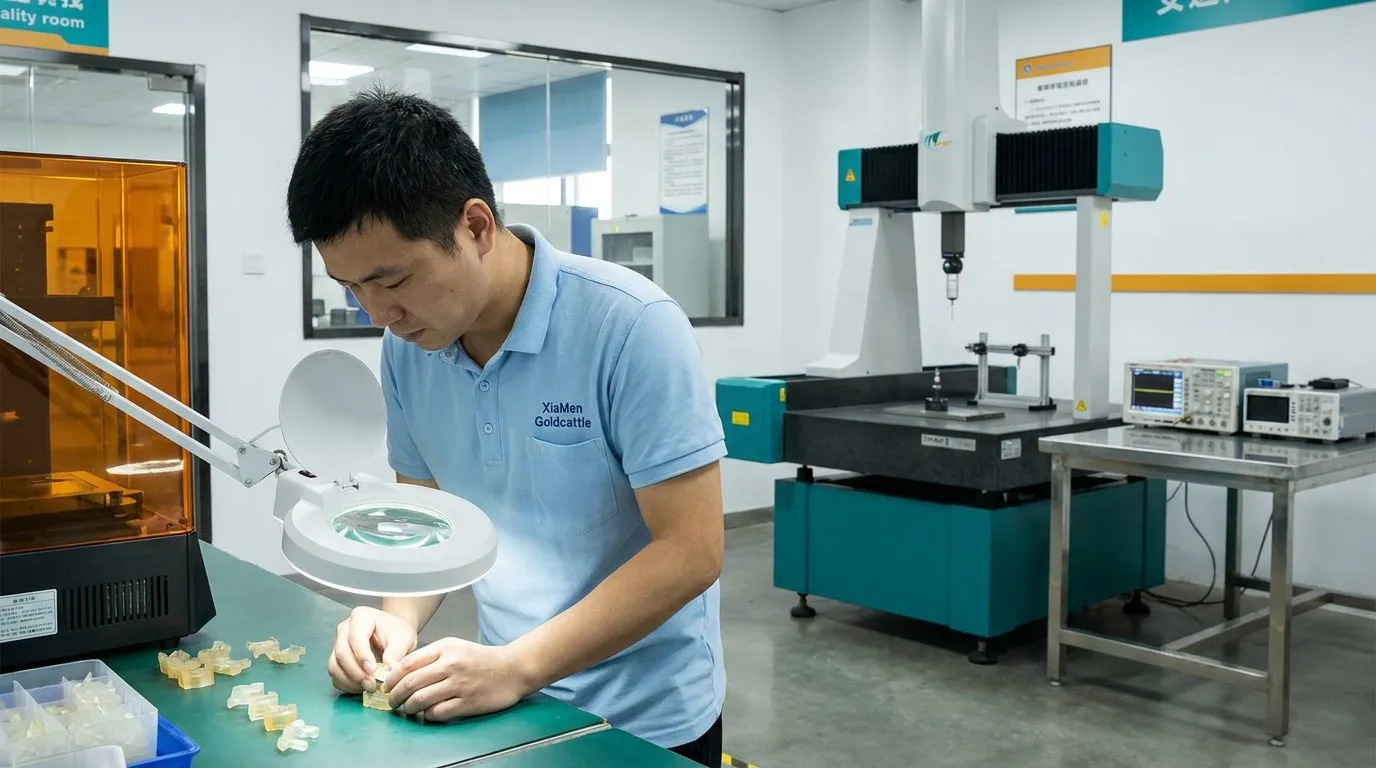
Quality Assurance
| Stage | Inspection | Method / Equipment |
|---|---|---|
| 1. Incoming Material | Resin batch verification | Certificate of analysis, viscosity test |
| 2. Mold Validation | Dimensional accuracy | CMM, first article inspection |
| 3. In-Process | Casting parameters | Vacuum level, temperature, mixing ratio |
| 4. Post-Cast | Visual and dimensional | Digital caliper, visual inspection |
| 5. Final Inspection | Full specification check | CMM, surface roughness tester |
| 6. Packaging | Protection verification | Anti-static, foam, custom crates |
Quality Tip: Every resin casting project receives a first article inspection (FAI) report before production approval. Full inspection reports are available upon request.
Design for Manufacturing Tips
Additional DFM Guidelines
- Avoid deep undercuts—silicone molds have limited flexibility for complex geometries.
- Design uniform wall thickness to prevent warping during curing.
- Include venting channels for air escape in deep cavities.
- Specify surface finish requirements early—SPI-B is standard, higher finishes require additional processing.
- Consider split-line placement to minimize visible parting lines.
Frequently Asked Questions
When should I choose resin casting over injection molding?
Choose resin casting for quantities of 1–500 parts, prototype validation, or when you need parts within days rather than weeks. Injection molding is more economical for volumes above 1,000 units.
How many parts can resin casting produce?
A single silicone mold typically produces 20–50 castings. For larger quantities, multiple molds are produced. We routinely deliver 100–500 parts per order.
Can resin casting replace injection molding?
For low volumes and prototypes, yes. Resin casting produces production-quality parts with similar material properties. For mass production (1,000+ units), injection molding is more cost-effective.
How accurate is polyurethane casting?
Typical tolerances are ±0.2 mm. With optimized molds and controlled processes, we can achieve ±0.1 mm on critical dimensions.
What file formats do you support?
We accept STEP, IGES, STL, and native CAD formats (SolidWorks, Pro/E, CATIA). 2D drawings in PDF or DWG are also welcome for tolerance specifications.
How long does tooling take?
Silicone mold fabrication takes 1–3 days after master pattern approval. Total lead time from CAD to first parts is typically 3–10 days.
Can you paint the parts?
Yes. We offer painting, silk-screening, and texture matching to achieve your desired aesthetic. Pantone and RAL color matching is available.
Do you provide vacuum casting?
Yes. All our resin casting is done under vacuum conditions to eliminate bubbles and ensure consistent material properties.
About Resin Casting Manufacturing
Resin casting—also known as vacuum casting, polyurethane casting, or silicone mold casting—is a versatile low-volume manufacturing process ideal for prototypes, functional testing, and bridge production. At Goldcattle, we specialize in custom resin casting services for clients across medical, automotive, electronics, and industrial sectors.
Our capabilities include PU resin, ABS-like, PC-like, rubber-like, high-temperature, and fire-retardant formulations, with tolerances of ±0.2 mm and lead times as short as 3 days. Every project benefits from free DFM review, in-house silicone mold fabrication, and ISO 9001 certified quality systems.
Contact Goldcattle today for a free quotation on your resin casting project.
Technical Specifications
| Parameter | Specification |
|---|---|
| Process | Vacuum-assisted silicone mold casting |
| Materials | PU, ABS-like, PC-like, Rubber-like, High Temp, Fire Retardant |
| Max Part Size | 500 x 400 x 300 mm |
| Tolerance | ±0.2 mm (±0.1 mm achievable) |
| Min Wall Thickness | 0.5 mm |
| Min Hole Diameter | 1.0 mm |
| Surface Finish | SPI-B, Sandblast, Paint, Texture |
| Mold Life | 20–50 castings per mold |
| Lead Time | 3–10 days |
| Quantity Range | 1–500 parts per order |
| Color Matching | Pantone / RAL |
| Post-Processing | Sanding, Painting, Assembly, Insert Molding |
| Quality Certification | ISO 9001 |
| File Formats | STEP, IGES, STL, SolidWorks, Pro/E, CATIA |
| Shipping | DHL, FedEx, Sea Freight |