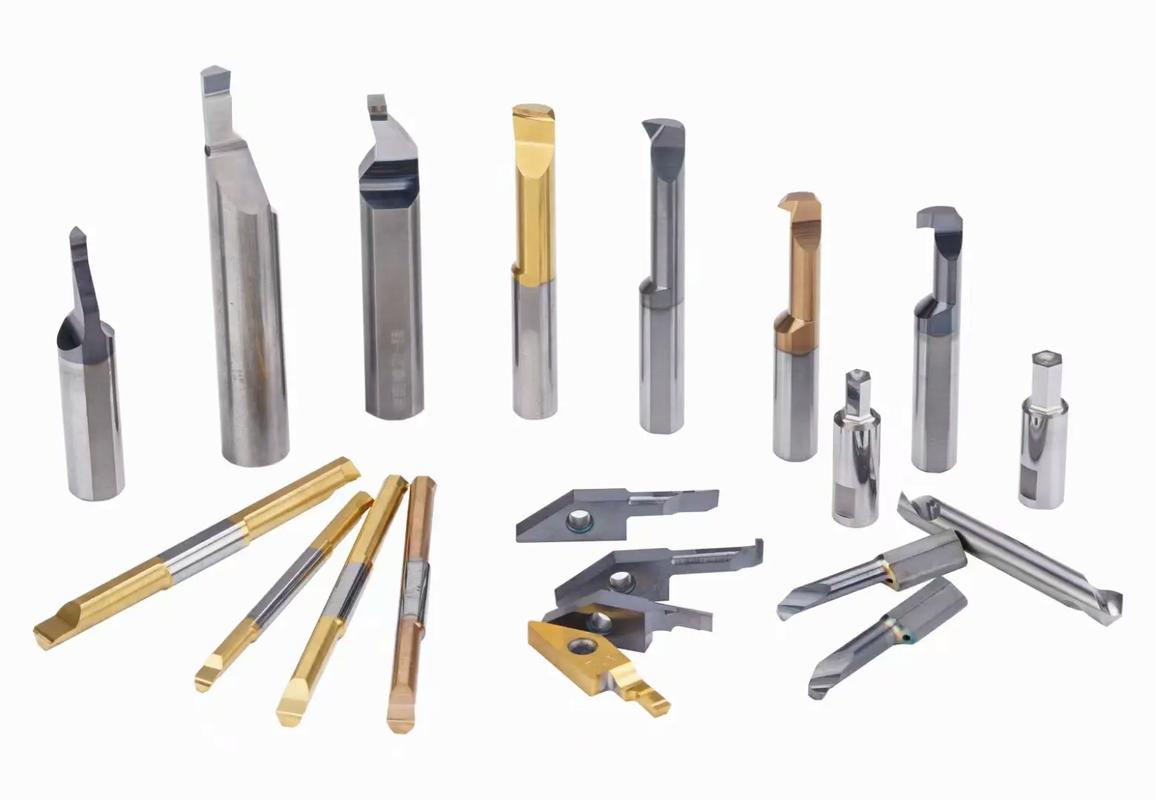
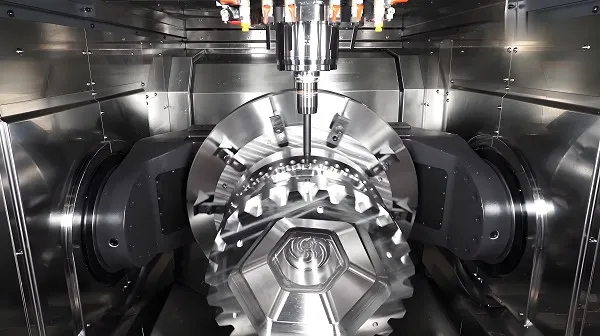
Hi everyone! Let’s talk about something that makes or breaks your CNC project: choosing the right tool. If G54 is your “map” and G00 is your “fast ride,” think of CNC tools as your “kitchen knives”—you wouldn’t use a butter knife to chop wood, right? Today we’ll break down how to pick the perfect tool for your material, no fancy terms needed.
1. First, Why Does Tool Selection Matter?
Imagine you’re machining a part:
- If you use a soft, small tool to cut hard steel, the tool will break mid-job (like trying to cut a steak with a plastic fork);
- If you use a big, slow tool to cut soft plastic, you’ll melt the plastic (like using a sledgehammer to crack an egg);
- The wrong tool wastes time (repeating jobs), money (replacing broken tools), and ruins parts (scratched or misshapen work).
Good tool selection = faster, cheaper, and better CNC results. It’s that simple.
2. The 3 Most Common CNC Tools (and What They Do)
You don’t need a garage full of tools—start with these 3 basics. Think of them as your “CNC tool starter kit”:
1. End Mill (The “All-Purpose Knife”)
- What it looks like: A cylindrical tool with sharp edges on the end and sometimes the sides.
- What it does: Cuts slots, pockets (holes with flat bottoms), and shapes the sides of parts.
- Best for: Most everyday jobs—aluminum, steel, plastic, wood.
- Example: If you’re making a phone case with a slot for buttons, use an end mill.
2. Drill Bit (The “Hole-Maker”)
- What it looks like: A pointed tool (like the drill bits you use at home, but sturdier).
- What it does: Makes round, deep holes (think: holes for screws).
- Best for: Drilling through or into any material—but not for shaping sides (it can’t cut sideways!).
- Pro tip: Use a drill bit first to make a hole, then use an end mill to widen it into a slot—faster and smoother!
3. Face Mill (The “Flat-Surface Tool”)
- What it looks like: A round tool with multiple small cutting edges on its bottom (like a tiny circular saw).
- What it does: Flattens the top surface of a part (e.g., making a rough metal block smooth).
- Best for: Big, flat parts—aluminum, steel, cast iron.
- Why use it?: It covers more area than an end mill, so flattening a large part takes half the time.
3. How to Pick the Right Tool (By Material)
The #1 rule for tool selection: Match the tool to your material. Here’s a cheat sheet for 3 common materials—follow this, and you’ll rarely go wrong:
Material 1: Aluminum (Soft, Easy to Cut)
- Best tools: End mills (carbide or high-speed steel/HSS) or face mills.
-
- Use a tool with “coarse flutes” (fewer sharp edges—e.g., 2 or 3 flutes). This lets chips (the small pieces cut off) escape easily, so they don’t get stuck and scratch the aluminum.
-
- Avoid slow speeds—aluminum cuts best fast (but check your machine’s limits!).
Material 2: Steel (Hard, Tough to Cut)
- Best tools: Carbide end mills or drill bits (HSS works too, but carbide lasts longer).
-
- Use a tool with “fine flutes” (more sharp edges—e.g., 4 or 6 flutes). This spreads the cutting force, so the tool doesn’t wear out fast.
-
- Use coolant (oil or water)! Steel gets hot when cut—coolant keeps the tool from overheating and breaking.
Material 3: Plastic (Soft, Easy to Melt)
- Best tools: HSS end mills (carbide works too, but HSS is cheaper) with polished flutes.
-
- Polished flutes prevent plastic from sticking to the tool (sticky plastic melts and ruins the part).
-
- Keep speeds moderate—too fast = heat = melted plastic; too slow = rough cuts.
4. 3 Critical Mistakes Beginners Make (And How to Avoid Them)
Mistake 1: Using the Wrong Tool Size
- Example: Trying to cut a 10mm wide slot with a 5mm end mill—you’ll have to make multiple passes, wasting time.
- Fix: Pick a tool size close to the feature you’re cutting. For a 10mm slot, use a 10mm end mill (one pass, done!).
Mistake 2: Ignoring Tool Length
- Example: Using a short end mill to cut a deep pocket—you’ll hit the tool holder (the part holding the tool) on the part.
- Fix: Measure how deep your cut needs to be, then pick a tool longer than that depth (add 5-10mm extra to be safe!).
Mistake 3: Skipping Tool “Prep”
- Example: Putting a dirty or dull tool in the machine—dull tools tear material (instead of cutting it) and break easily.
-
- Clean tools after use (wipe off chips and coolant).
-
- Replace dull tools—if a tool leaves rough, ragged cuts, it’s time for a new one.
Final Summary: Tool Selection Is Simple
You don’t need to memorize every tool—just follow these 2 rules:
- Know what you’re cutting: Match the tool type (end mill/drill/face mill) to the job (slot/hole/flat surface).
- Match the tool to the material: Soft materials (aluminum/plastic) = coarse/polished flutes; hard materials (steel) = fine flutes + coolant.
If you’re wondering how to pair these tools with G00/G54 (e.g., “What tool do I use with G54 to cut an aluminum part?”), we can dive into that next. Just let me know!
Disclaimer
- All information, opinions, and data contained in this article are for the purpose of information transmission only and do not constitute any advice on investment, transactions, law, medical care, or other matters.
- The content of the article is compiled based on public information or created based on the author’s personal understanding. Although every effort is made to ensure accuracy, it does not guarantee the completeness, accuracy, and timeliness of the information, nor does it bear any responsibility for any losses caused by the use of the content of this article.
- If the article involves third-party opinions, pictures, data, and other content, the copyright belongs to the original author. In case of infringement, please contact us for deletion.
- Readers should make independent decisions based on their actual situation and combined with professional opinions. The user shall bear all consequences arising from the use of the content of this article.


