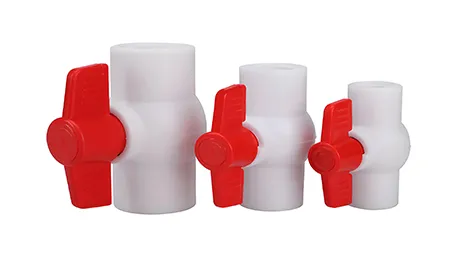
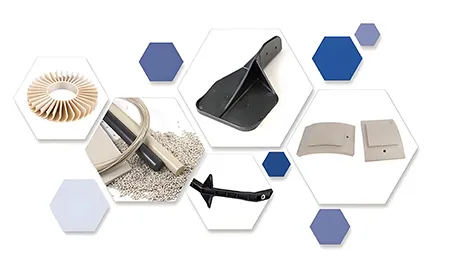
Rapidly turn CAD designs into physical prototypes for fit, form, function and design validation — before committing to CNC machining, tooling or injection molding.
Accepted files: STEP · STP · STL · IGES · 3MF · PDF
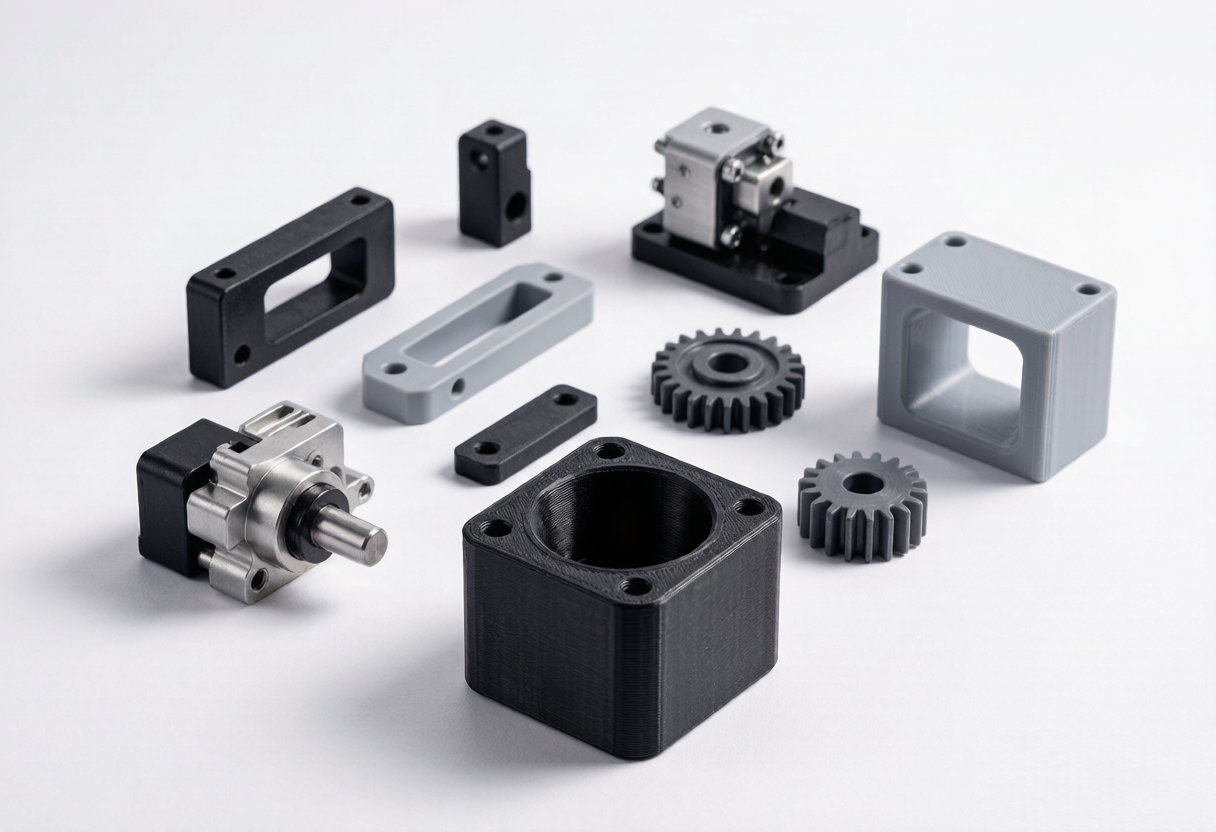 CAD → printed prototype → validated part
*Lead time depends on part size, geometry, material, post-processing and inspection; metal and complex parts are project-dependent.
When Should You Use 3D Printing for Prototyping?
3D printing is most valuable when you need a real part in hand to learn something — before investing in CNC tooling, injection molds or production dies.
Design Validation
Check geometry, dimensions, assembly and ergonomics against the intended use.
Fit Testing
Verify mating parts, clearance, interference and assembly sequence with real components.
Functional Testing
Evaluate movement, load, airflow, installation and performance under expected conditions.
Demo & Approval
Produce customer, investor or trade-show samples and engineering-review models.
Best fit: 3D printing is especially useful when you need a physical prototype before investing in CNC tooling, injection molds or production dies.
How Long Does 3D Printing Prototyping Take?
Typical planning ranges are below. Actual timing is confirmed after file review and depends on the factors listed.
| Project Type | Typical Planning Range |
|---|---|
| Simple plastic prototype | 1–3 business days |
| Complex plastic prototype | 2–5 business days |
| Functional prototype | 2–7 business days |
| Metal 3D printed prototype | Project dependent |
| Post-processing required | Additional time |
Lead time = file review + printing + support removal / post-processing + dimensional inspection + shipping. Ranges are planning estimates and are confirmed per project.
How Does Our 3D Printing Prototype Process Work?
A straightforward path from your CAD file to a validated physical prototype.
CAD File
Receive your STEP, STL, IGES or 3MF model and any reference drawing.
Design Review
Check geometry, wall thickness, orientation and feasibility for the chosen process.
Material Selection
Match material to the prototype's purpose — appearance, function or fit.
Printing
Build the part using the appropriate 3D printing technology.
Support Removal
Remove supports and clean the as-printed part.
Post-Processing
Sanding, smoothing, painting, inserts or machining as required.
Dimensional Inspection
Check critical features and documented requirements.
Prototype Delivery
Ship the validated prototype for your fit, form and function testing.
3D Printing Technologies for Prototyping
The right process depends on whether your priority is speed, appearance, mechanical performance, accuracy or cost.
FDM / FFF
Best for: low-cost prototypes, large parts, functional fit checks, concept models.
Advantage Low cost, fast iteration, simple material handling.
Limit Visible layer lines, lower surface quality, anisotropic strength.
SLA / Resin
Best for: detailed prototypes, smooth surfaces, appearance models, small complex parts.
Advantage Fine detail, smooth surface finish, complex geometry.
Limit Some resins are brittle or UV-sensitive; material aging to consider.
SLS
Best for: functional nylon prototypes, assemblies, complex internal geometry.
Advantage Complex geometry without conventional support structures; tough nylon.
Limit Powder surface texture; slightly lower detail than resin.
Metal 3D Printing
Best for: metal prototypes, complex internal channels, low-volume metal components.
Advantage Complex metal parts difficult to machine conventionally.
Limit Offered where the program and material are confirmed; not every project qualifies.
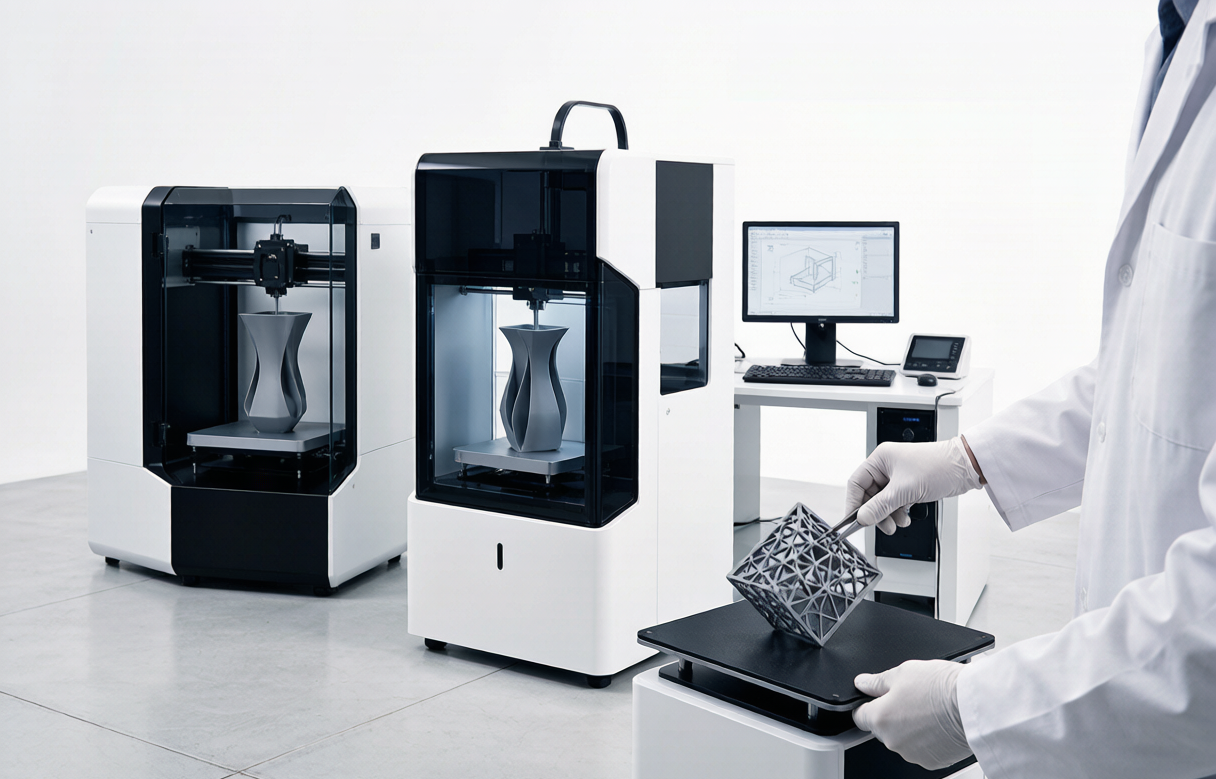
Technology Selection Matrix
| Technology | Best For | Surface | Strength | Typical Prototype |
|---|---|---|---|---|
| FDM | Low-cost functional models | Medium | Medium | Brackets, housings |
| SLA | Visual / detail prototypes | High | Low–Medium | Product shells |
| SLS | Functional nylon parts | Medium | Medium–High | Assemblies |
| Metal AM | Complex metal parts | Medium | High | Aerospace / tooling |
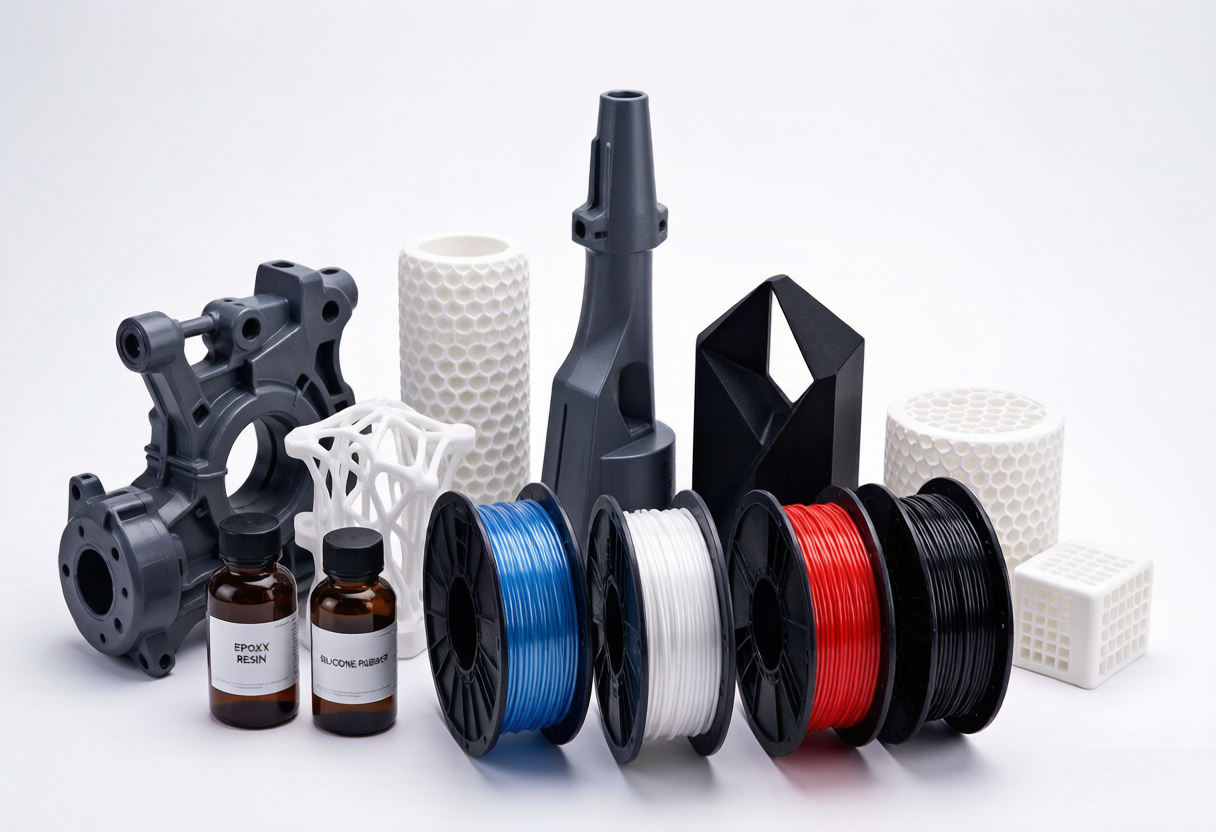
Prototype Material Selection
We recommend material by application rather than listing options in isolation.
PLA
Concept models and basic form studies where mechanical performance is not critical.
ABS-like Resin
Appearance prototypes, housings and fit checks with smoother surfaces.
Nylon / PA
Functional prototypes, snap fits, brackets and moving parts with good toughness.
TPU
Flexible components, seals, grips and soft-touch prototypes.
Engineering Resin
Higher-temperature or functional applications where a suitable resin is confirmed.
Metal
Stainless steel, aluminum or titanium where metal prototyping is confirmed for the project.
Prototype Material Selection Guide
| Requirement | Recommended Material Direction |
|---|---|
| Lowest cost | PLA / standard resin |
| Best surface appearance | SLA / resin |
| Functional prototype | Nylon |
| Flexible prototype | TPU |
| Heat resistance | Engineering polymer |
| Metal prototype | Metal AM |
| Snap-fit testing | Nylon / suitable resin |
| Visual product mockup | SLA / resin |
Final choice: material selection must be confirmed against the real application environment and loading conditions.
3D Printing Prototype Design Guidelines
Following a few design rules improves accuracy, surface quality and reduces support-related rework.
- Wall thickness — keep within the process minimum for strength.
- Overhangs — limit angle or plan for support removal.
- Support structures — minimize where possible to reduce finishing.
- Holes — consider orientation for accuracy and clean holes.
- Embossed / engraved detail — respect minimum feature size.
- Moving parts — leave clearance for assembly.
- Part orientation — affects surface, accuracy, support and strength.
- Layer direction — align with expected load where relevant.
- Assembly clearance — allow for process tolerance.
- Post-processing allowance — reserve stock for machining or finishing.
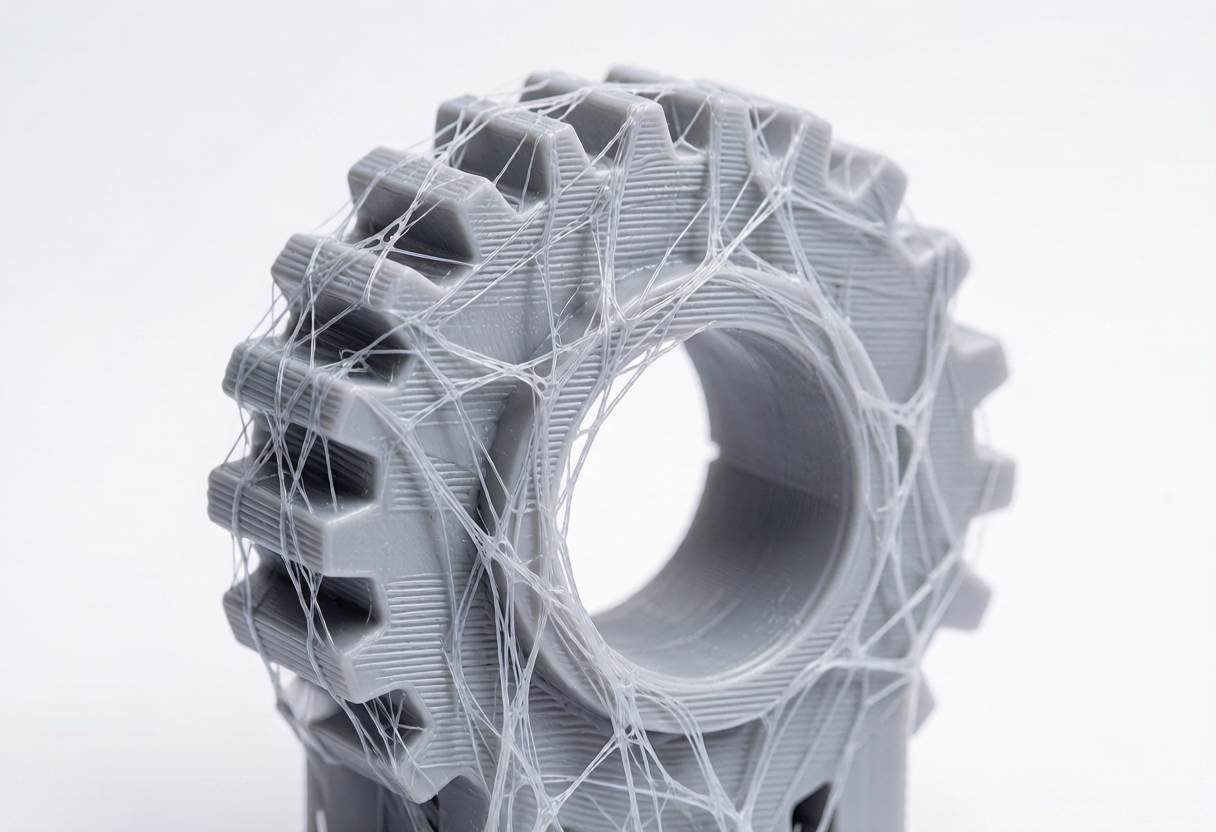
Part orientation matters most: print direction influences surface finish, dimensional accuracy, support requirement and mechanical strength. We review orientation during design review.
Can a 3D Printed Prototype Be Functional?
Yes — but suitability depends on the printing technology, material, geometry and intended loading.
Good Functional Use Cases
- Assembly fit and mating checks
- Moving mechanisms
- Brackets and housings
- Airflow prototypes
- Ergonomics and handling
Not Automatically Suitable For
- High-temperature production
- Long-term fatigue-critical parts
- Safety-critical components
- Chemically aggressive environments
For production-like materials, tight tolerances or functional metal parts, we may recommend CNC machining instead — see the comparison below.
Post-Processing & Finishing
A prototype does not have to look like a raw printed part. Finishing is selected by purpose.
Sanding
Smooth layer lines for appearance and touch.
Bead Blasting
Uniform matte surface on powder or resin parts.
Painting
Color and a production-like appearance for demos.
Vapor Smoothing
Improved surface on compatible materials.
Threaded Inserts
Metal inserts for reusable, functional threads.
Machining
Critical faces or holes machined to tighter tolerance.
Appearance validation typically uses painting or polishing; functional validation often uses inserts, machining or threading at specific features.
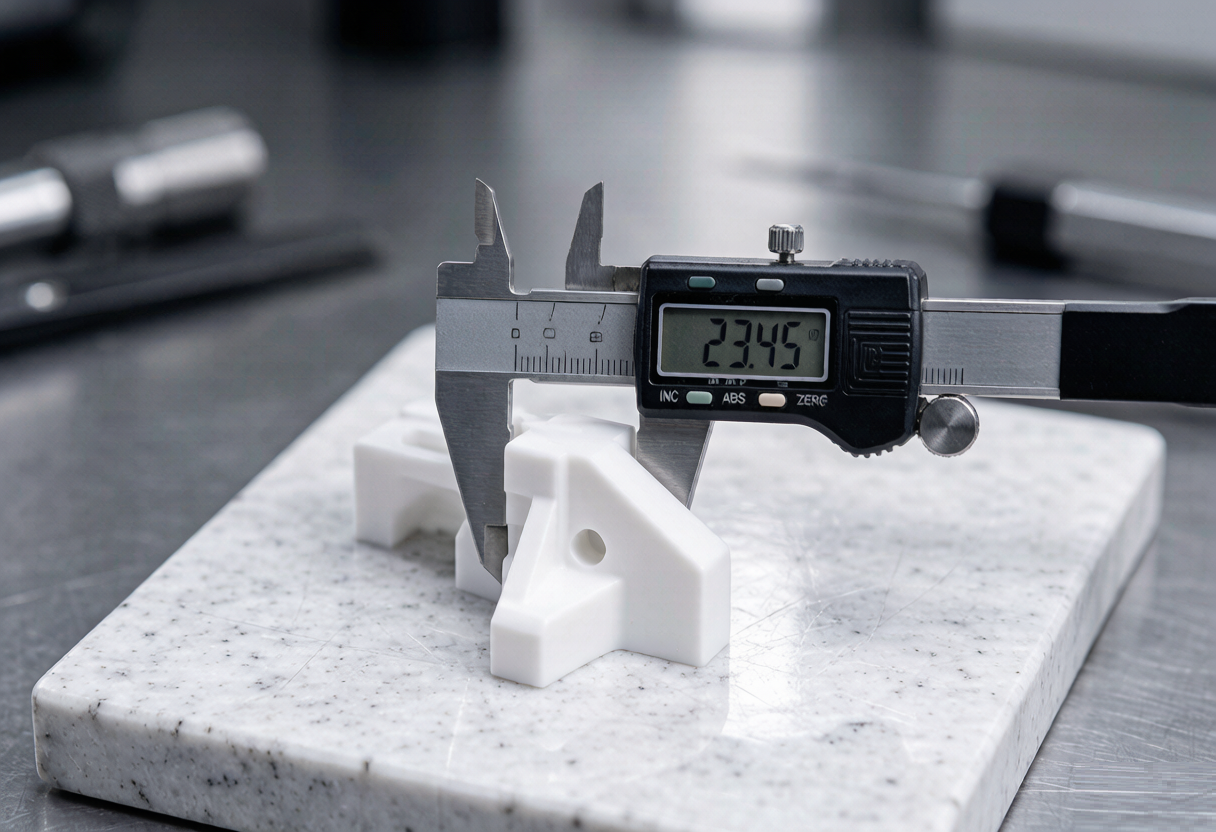
How Are 3D Printed Prototypes Inspected?
Inspection level is agreed according to the prototype's purpose — a visual mockup and a functional fit part are checked differently.
Dimensional Accuracy
Check overall size and key dimensions against the model.
Critical Features
Verify holes, slots and mating features that drive fit.
Flatness & Warping
Assess deformation that affects assembly.
Surface Defects
Review layer adhesion, supports and finish quality.
Material / Process Record
Document material and process for repeatability.
Function Test
Fit, movement or leak checks where the prototype is functional.
3D Printing vs CNC Machining for Prototypes
Both make prototypes without conventional tooling. The better choice depends on what you need to learn.
| Factor | 3D Printing | CNC |
|---|---|---|
| Tooling | None / low | None |
| Lead time | Usually fast | Fast |
| Complex geometry | Excellent | More limited |
| Surface finish | Process-dependent | Usually better |
| Dimensional accuracy | Process-dependent | Generally higher |
| Material choices | Polymer-focused / some metals | Very broad |
| Strength | Material-dependent | Often closer to production |
| Volume | Low | Low–medium |
| Best for | Early validation | Functional / production-like |
3D Printing vs Injection Molding for Prototypes
Injection molding is a production process. 3D printing is the low-risk way to validate before tooling.
| 3D Printing | Injection Molding | |
|---|---|---|
| Tooling | None | Required |
| Initial cost | Low | High |
| Prototype speed | Fast | Slower |
| Unit cost | Higher | Lower at volume |
| Design changes | Easy | Expensive |
| Production volume | Low | Medium–High |
| Best stage | Design validation | Production |
Why Prototype Before Injection Molding?
Injection tooling is a significant upfront investment. A 3D printed prototype can surface problems before the mold is built.
Geometry Errors
Catch shape and feature issues early.
Wall Thickness
Identify thin or thick sections that affect molding.
Assembly Interference
Validate mating and clearance.
Snap-Fit Problems
Test retention and release.
Mounting Issues
Confirm screw, clip and standoff locations.
Appearance Issues
Review look and feel with stakeholders.
Validate the design before paying for tooling.
How Much Does a 3D Printed Prototype Cost?
Cost depends on several project factors rather than a single fixed price.
Material
Resin, nylon, TPU or metal each differ in cost.
Part Size & Volume
Larger parts and more material cost more.
Print Time
Complexity and density affect build time.
Orientation & Support
Support needs influence post-processing.
Post-Processing
Painting, machining or inserts add work.
Quantity & Inspection
More parts and higher QA add cost.
3D printing is often economical for prototypes because it does not require conventional production tooling. Send a CAD file for an accurate quote — we avoid unsupported fixed-price claims.
Cost vs Prototype Stage
| Prototype Stage | Preferred Process |
|---|---|
| Concept | 3D Printing |
| Fit check | 3D Printing |
| Functional test | 3D Printing / CNC |
| Production-like metal | CNC |
| Plastic production | Injection Molding |
The cheapest prototype is not necessarily the cheapest way to validate the design.
From Prototype to Production
Our advantage is continuity: validate with us, then continue into production with the same manufacturing partner.
After validation, the same design can transition to CNC machining or injection molding — you are not locked into a single process.
3D Printed Housing Prototype — Case Study
A representative example of how a prototype de-risks the move to production.
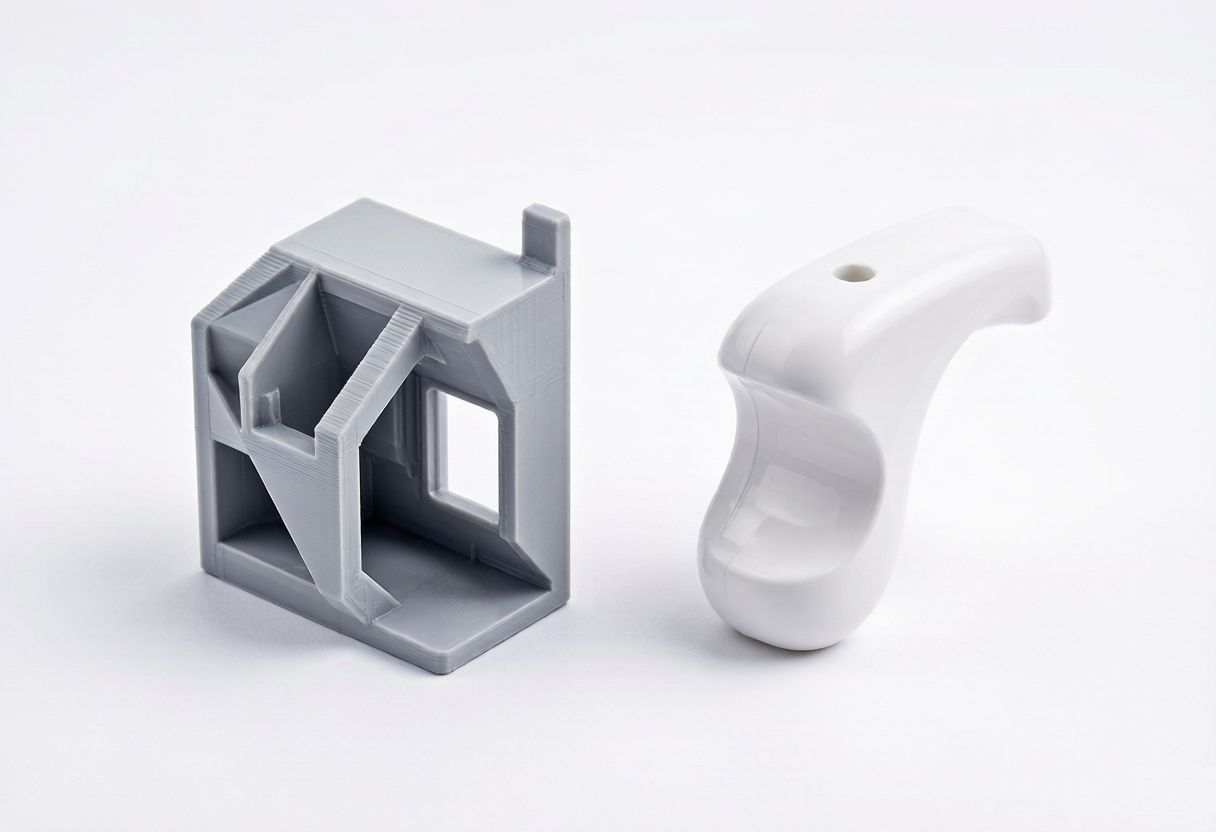
Customer Requirement
Validate housing assembly and fit before investing in injection molding tooling.
Prototype Material
Nylon / resin selected for fit and appearance validation (confirmed per project).
Quantity & Process
1–5 pcs, 3D printing with sanding / painting and threaded inserts.
Validation
Assembly, fit, button clearance and screw mounting confirmed.
Next Step
Injection molding tooling for production volume.
Case shown is a representative capability example; specific materials and results are confirmed per project.
Why Choose Goldcattle for Prototyping?
We are a multi-process manufacturing partner, not only a 3D printing vendor.
Prototype → Production
One partner from CAD prototype through CNC, molding and casting.
Process Selection
We recommend 3D printing, CNC or molding by what your test actually needs.
Founded 1998
Long-standing OEM/ODM manufacturer with ISO 9001 and global delivery experience.
Material & DFM Review
Design and material reviewed before printing to reduce rework.
Inspection
Dimensional and functional checks scaled to prototype purpose.
Low MOQ
Start from a single prototype and scale to production.
Request a 3D Printing Prototype Quote
Send your CAD file, material preference, quantity and what you need to validate. We will recommend a suitable 3D printing process — or a different prototype process if CNC machining or another method is more appropriate.
- CAD file (STEP · STP · STL · IGES · 3MF) and drawing if tolerances matter
- Prototype purpose: appearance, fit, functional test, assembly or demo
- Material preference and required quantity
- Tolerance, surface finish, color and target delivery date
Frequently Asked Questions
What is a 3D printing prototype service?
How fast can a 3D printed prototype be made?
How much does a 3D printed prototype cost?
Which 3D printing process is best for prototypes?
What material should I use for a prototype?
Can 3D printed prototypes be functional?
Can 3D printing replace CNC prototyping?
What files do I need for 3D printing?
Can you 3D print from a STEP file?
What tolerances can 3D printing achieve?
What surface finishes are available?
Can you paint or finish 3D printed prototypes?
Can you make prototypes before injection molding?
Can 3D printing be used for low-volume production?
Can you move my prototype into CNC machining or injection molding?
Need a Prototype Before Production?
Send your CAD file, material preference, quantity and validation requirements. We will recommend the right prototype process — and the right production path afterward.
Accepted files: STEP · STP · STL · IGES · 3MF · PDF