Custom 3D Printed Toys & Figurines for Prototypes and Small Batches
From CAD to a physical toy in days. We turn your STL, STEP or concept into articulated figures, collectibles, miniatures and promo gifts using FDM, SLA, SLS or MJF — then paint, assemble and pack them.
Quick process selection
Which 3D Printing Process Fits Your Toy?
This page focuses on toys and figurines — taxonomy, articulation, finishing, packaging and compliance. For the underlying technology and material science, see our 3D Printing Services page, then match your need to a process here:
I need 1–20 display figures, fast and low-cost
FDM
I need crisp, smooth collectible busts and statues
SLA resin + paint
I need 50–500 durable, poseable figures
SLS / MJF (nylon)
I need bridge parts before injection tooling
SLS / MJF
Toy taxonomy
What Types of 3D Printed Toys Can You Make?
We manufacture a wide range of custom toy and figure categories for brands, studios and creators. Here are the most common types we support.
Collectible figures & statues
Scaled character statues, mascots and limited-run art toys, usually SLA or FDM with hand painting.
Articulated action figures
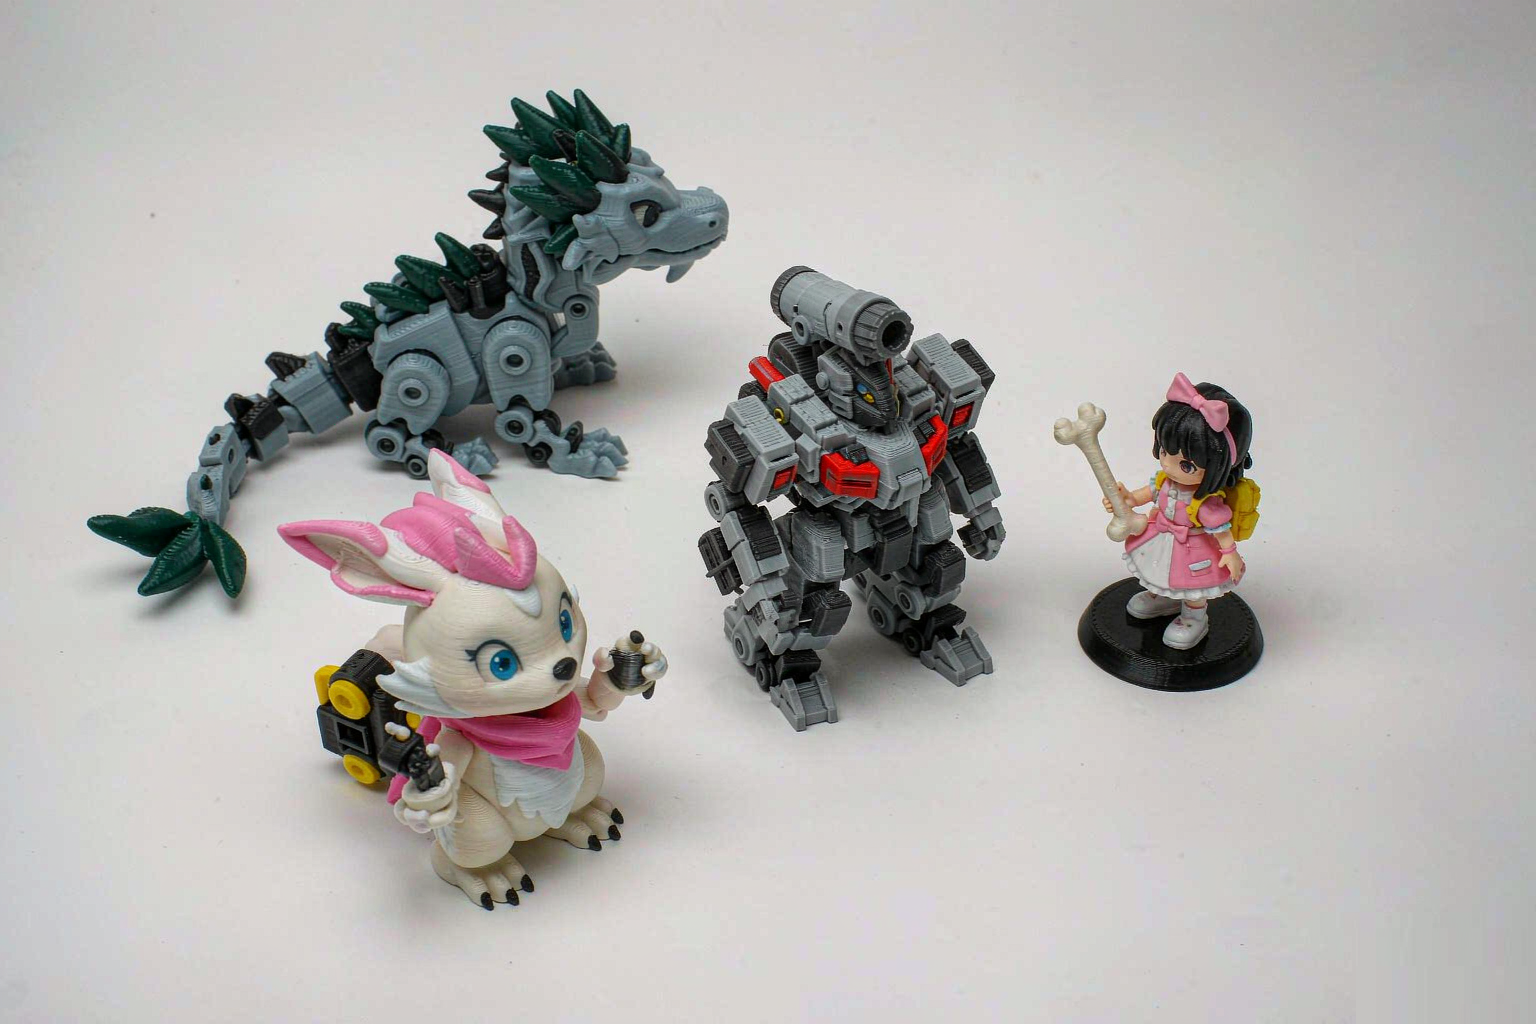
Poseable mecha, animals and characters with ball, hinge or snap joints designed for repeat movement.
Board-game miniatures
Heroes, monsters and tokens in SLA or SLS, often batch-printed and then primed or dyed.
Promo & gift toys
Branded giveaways, keychain figures and event collectibles produced as small recurring batches.
Educational & STEM kits
Demo models, puzzle parts and mechanical teaching aids printed to drawing with tight fit.
Replacement & spare parts
Obsolete or broken components rebuilt from a scan or supplied model, one-off or on-file batch.
Define the goal first
Prototype, Display Model or End-Use Toy?
The right process and finish depend on what the toy must do. Buyers usually fall into one of three intent groups — tell us which one fits and we will scope accordingly.
Prototype
Validate shape, scale and assembly before tooling. Speed and low cost beat finish; FDM is common.
Display model
A shelf or box art piece where detail and paint lead. SLA plus primer and hand painting is typical.
End-use toy
Something handled, posed or given to a child. Durability, joint life and market compliance drive choices.
Process comparison
How to Choose FDM, SLA, SLS or MJF
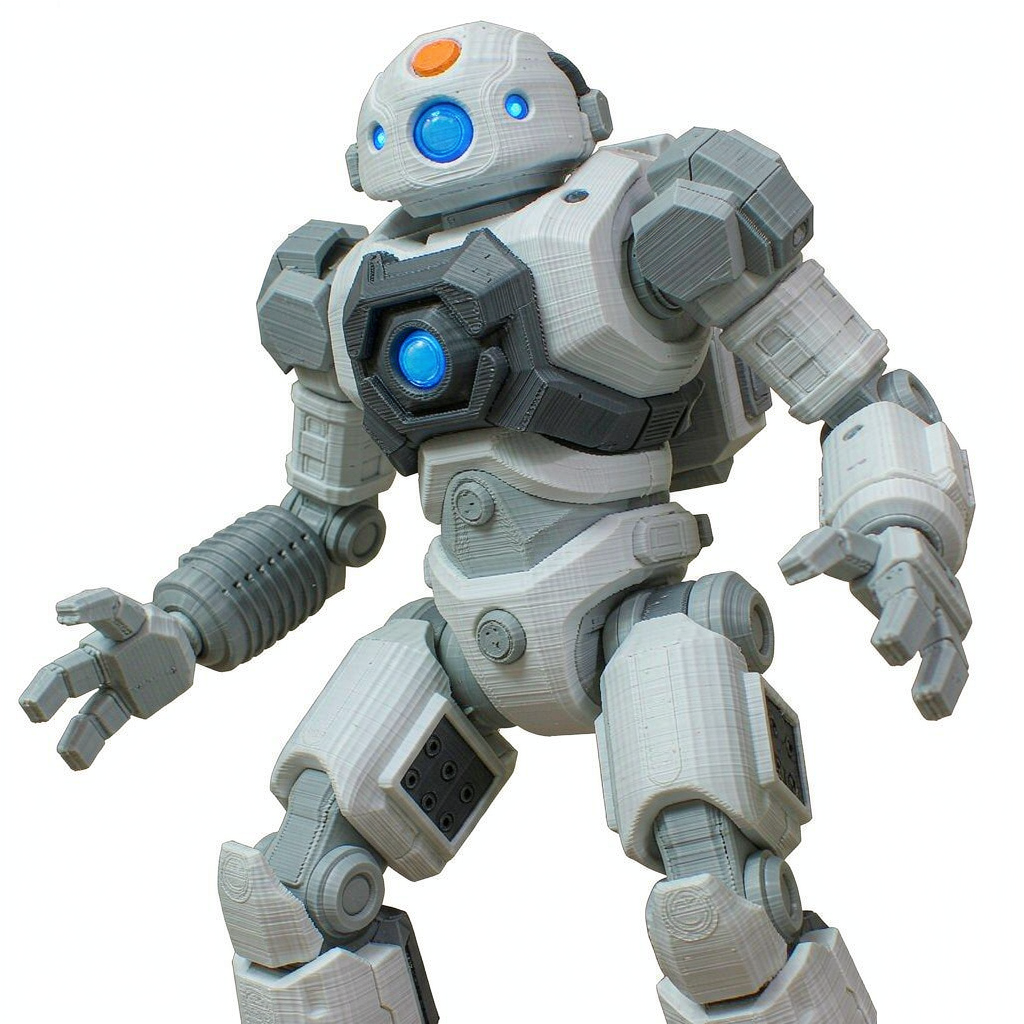
Each process trades detail, strength, surface and cost differently. The images below show an FDM print (visible layers) versus an SLA figurine (smooth, sharp detail).

| Process | Best for | Detail | Durability | Finish | Sweet spot |
|---|---|---|---|---|---|
| FDM | Large props, prototypes, low-cost batches | Medium | Good | Layer lines, can be smoothed | 1–200 pcs |
| SLA | Collectibles, miniatures, fine detail | Very high | Brittle (standard resin) | Smooth, paint-ready | 1–100 pcs |
| SLS | Poseable, durable figures | High | High (nylon) | Grainy, dyed/painted | 20–500 pcs |
| MJF | Functional, uniform batches | High | High (nylon) | Matte grey, dyed | 50–1,000+ pcs |
Articulation
Designing Articulated 3D Printed Toys
Poseable figures are among the most requested — and the easiest to get wrong. Joint design decides whether a figure holds a pose or breaks after a few moves.
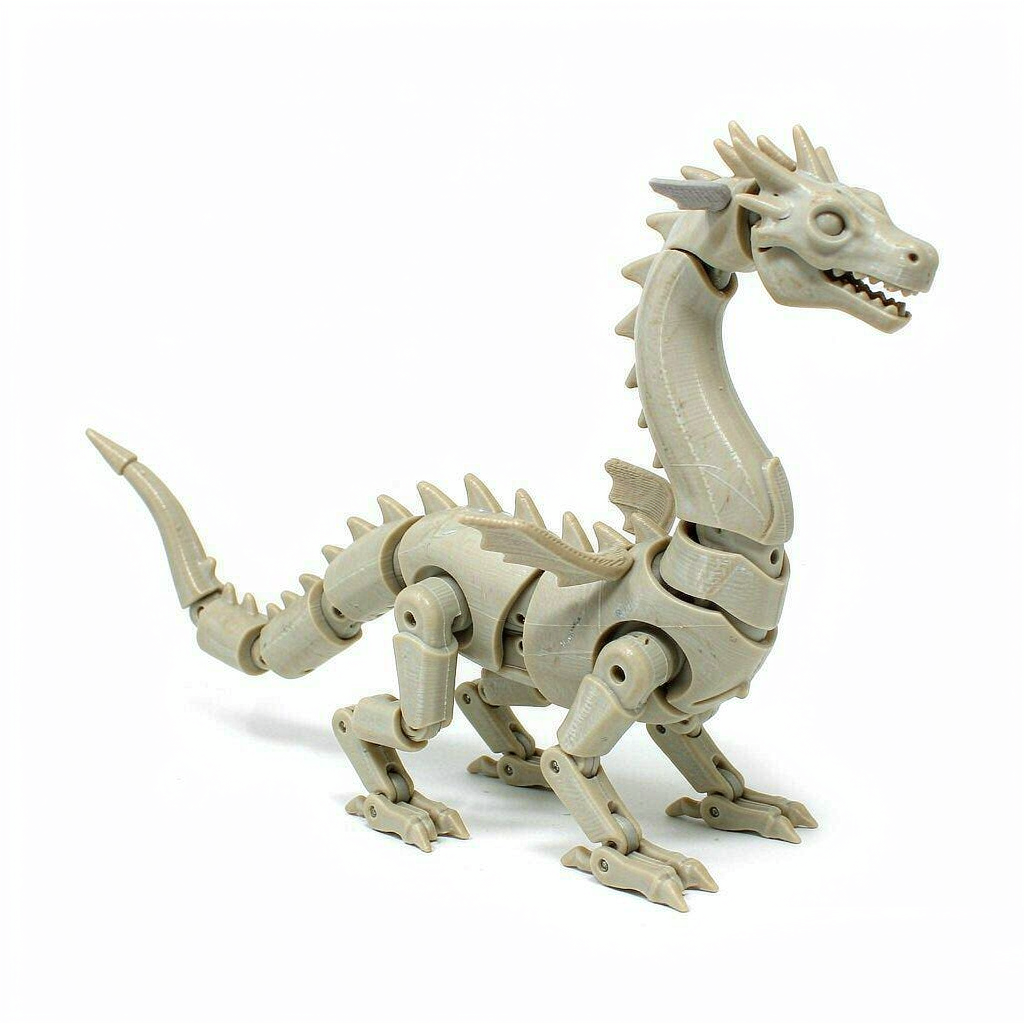
Avoid: glued floating limbs
Limbs that only meet at a flat face rely on glue and shear off under play. They also cannot pose.
Prefer: ball & socket
A printed sphere in a cup gives multi-axis pose. Size the ball to the part; SLS/MJF survive the stress best.
Prefer: hinge & pin
For elbows and knees, a printed barrel with a metal pin or magnet gives a clean single-axis bend.
Toy DFM
How to Design a Toy for 3D Printing
Good toy prints start in the model. These design-for-manufacturing checks reduce failures, speed production and cut cost — we review every file against them before quoting.
- Wall thickness ≥ 1.2 mm for FDM, ≥ 0.8 mm for SLA where the part must be handled
- Orient parts to hide supports on non-visible faces
- Add 0.2–0.4 mm clearance at joints so they move without filing
- Round or chamfer thin features to avoid snapping
- Keep overhangs under 45° or plan for soluble support
- Split large figures into glue/pin sub-assemblies for print quality
- Hollow big solid bodies to save material and weight
- Model thread-in inserts or magnet seats if you want metal hardware
- Avoid sharp points that become choke or injury risks on child toys
- Tag each variant (color, scale) so batches stay consistent
Materials
Materials for Custom 3D Printed Toys
Material choice sets feel, strength and compliance path. We print in the common toy-grade families below.
FDM filaments
PLA — plant-based, low-odor, good for display and light handling. PETG — tougher for played-with parts. TPU — flexible for soft limbs. ABS — strong but warps and smells; not our first pick for child items.
SLA resins
Standard, tough and ABS-like resins for fine detail. Resin parts need full post-cure and a coating before skin contact and are not suited to mouthed infant items.
SLS / MJF powders
PA12 nylon — durable, slightly flexible, the workhorse for poseable and end-use toys. PA11 — bio-based alternative. TPU powder — flexible, for soft-touch parts.
Not assumed child-safe
No material is automatically "food-safe" or "mouthing-safe." For items intended for under-3s we flag the compliance path and discuss substitutes early in the RFQ.
Finish
Color & Surface Finishing
The print is only the base. Finishing is what makes a toy look bought, not printed.
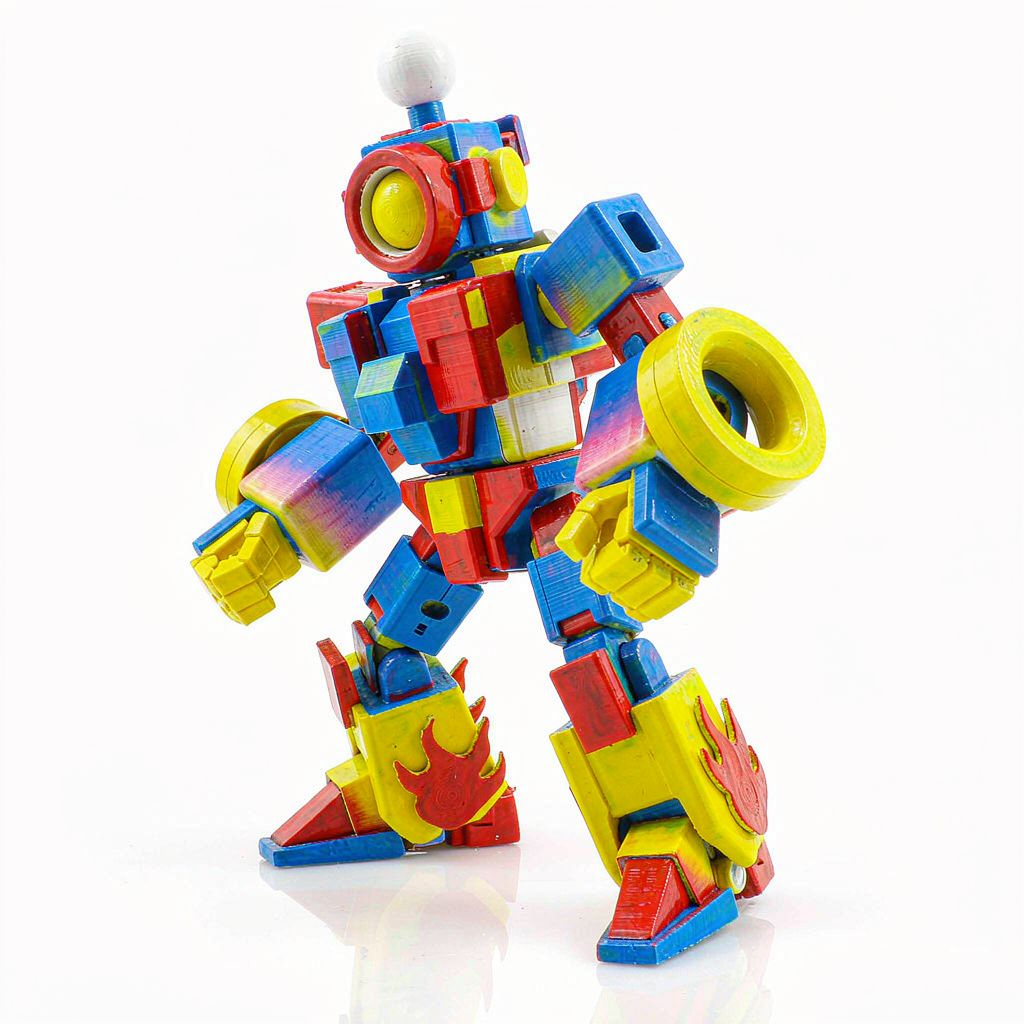
- Dyed nylon (SLS/MJF) in a standard color set
- Vapor or chemical smoothing for FDM
- Primer + base + detail hand paint
- Matte, satin or gloss clearcoat for protection
- Soft-touch coating for handled parts
- Pantone or sample-based color matching
- Decals or pad-printed marks on request
- Inserts (eyes, magnets) set during finishing
Assembly
Painting and Assembly
Most toy projects are multi-part. We print, finish and assemble so you receive a finished unit, not a bag of pieces.
Hand painting
Layered primer, base and detail with brush or airbrush, then clearcoat. Best for low-to-mid volumes where each piece matters.
Mechanical assembly
Joints pinned, magnets seated and hardware inserted. We check pose life and fit before packing — see our QC section.
Magnets: small magnets add great pose and swap play, but loose or accessible magnets are a known hazard in children's toys. For under-3 or mouthed items we either encapsulate magnets fully or avoid them and flag this in the spec review.
Pack-out
Packaging Options
Packaging protects the figure and sells it. We support pack-out from plain to branded.
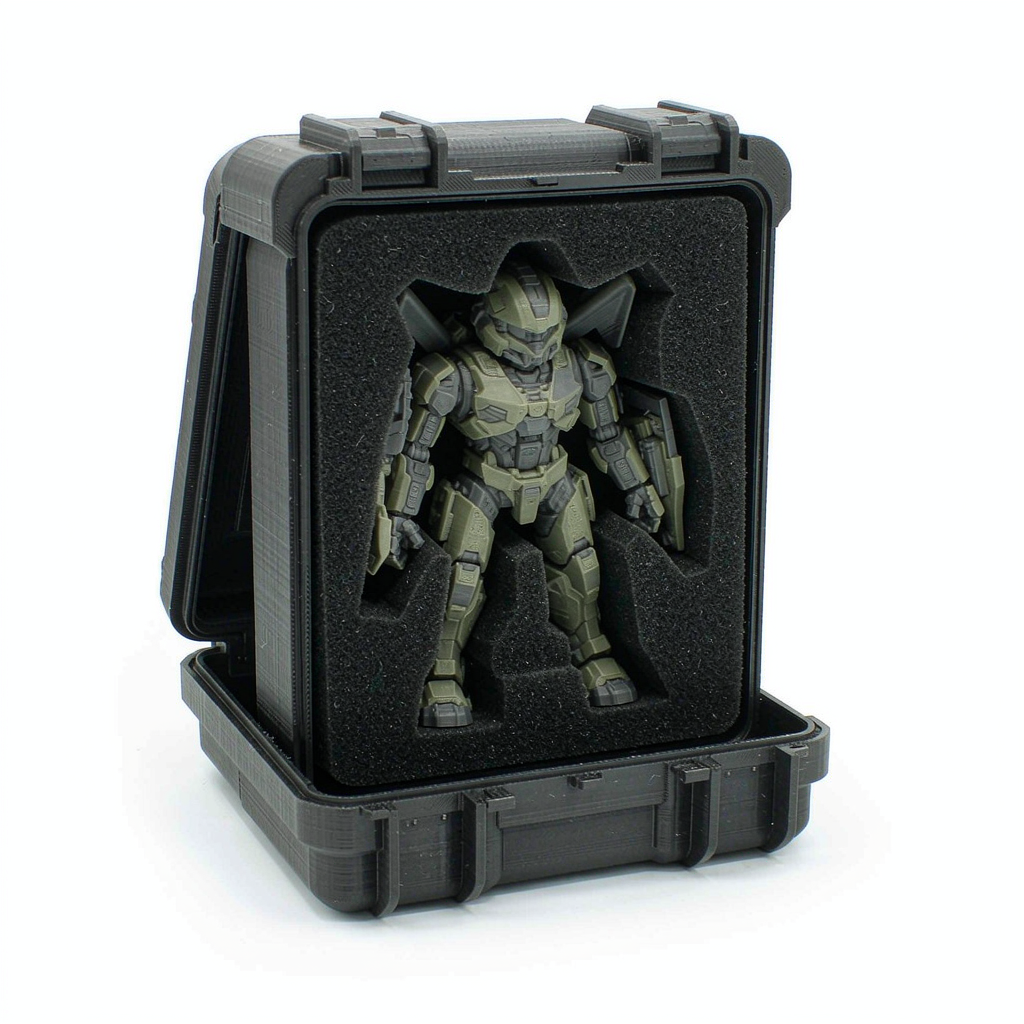
- Bulk pack for downstream assembly or kitting
- Protective mailer for direct-to-backer shipping
- Printed branded box with insert and care card
- Window blister or clam-shell for retail
- Anti-static or foam trays for fragile parts
- Bar-code / QR labels and carton marks
Audience
Children's Toys vs Collectibles
The same printer makes both, but the requirements diverge sharply. Tell us the audience so we scope material, joints and compliance correctly.
Collectibles & display
Adult collectors, shelf or box art. Detail and paint lead; compliance is lighter but still relevant for small parts and magnets.
Children's toys
Handled, dropped, mouthed. Durable materials, encapsulated hardware, age grading and market safety compliance become central — plan these at RFQ.
Age grade is a procurement field, not an afterthought. We record the intended age grade on the build spec because it drives material, small-part rules, magnet treatment and the testing a market will require.
Compliance knowledge
Toy Safety & Market-Specific Compliance
If your toy is sold to the public, plan compliance from day one. The frameworks below are the ones most buyers must meet — listed as knowledge, not as certifications we hold.
United States
CPSC regulates children's products. ASTM F963 is the toy safety standard; 16 CFR part 1250 incorporates it by reference.
CPSIA sets lead and phthalate limits, tracking-label and third-party testing rules for children's products.
A Children's Product Certificate (CPC) is required for items aimed at children, based on third-party lab testing to the applicable rules.
European Union
The Toy Safety Directive 2009/48/EC sets the core rules; the newer Regulation (EU) 2025/2509 applies from 1 January 2026, with full application from 1 August 2030.
EN 71 series covers mechanical/physical, flammability and migration of certain elements; CE marking is required before placing on the EU market.
Technical files, DOC and notified-body input depend on the toy's hazards and age grade.
Scope note: Goldcattle is ISO 9001:2015 certified for its quality management system and manufactures toys to your specification and drawing. We are not a notified body and do not issue ASTM F963 or CE certifications for finished toys. Finished-product toy safety compliance, third-party testing and market documentation (CPC, CE) are the responsibility of the brand or importer placing the product on the market. We support these steps with material data, process records and test samples.
IP
Custom Character Design & IP Considerations
Original designs are welcome; licensed characters need rights. We protect your work throughout.
- We sign NDAs and handle customer-owned designs confidentially
- Original characters can be modeled from your brief or sketch
- Licensed or copyrighted characters need proof of manufacturing rights
- We will not reproduce a character you cannot show rights to
- Drawings and files stay on file for reorder consistency
- Trademark and copyright clearance is the buyer's responsibility
QC
Quality Control for 3D Printed Toys
Toys fail in the hand, not on the screen. We inspect before pack-out so pose, fit and finish hold up.
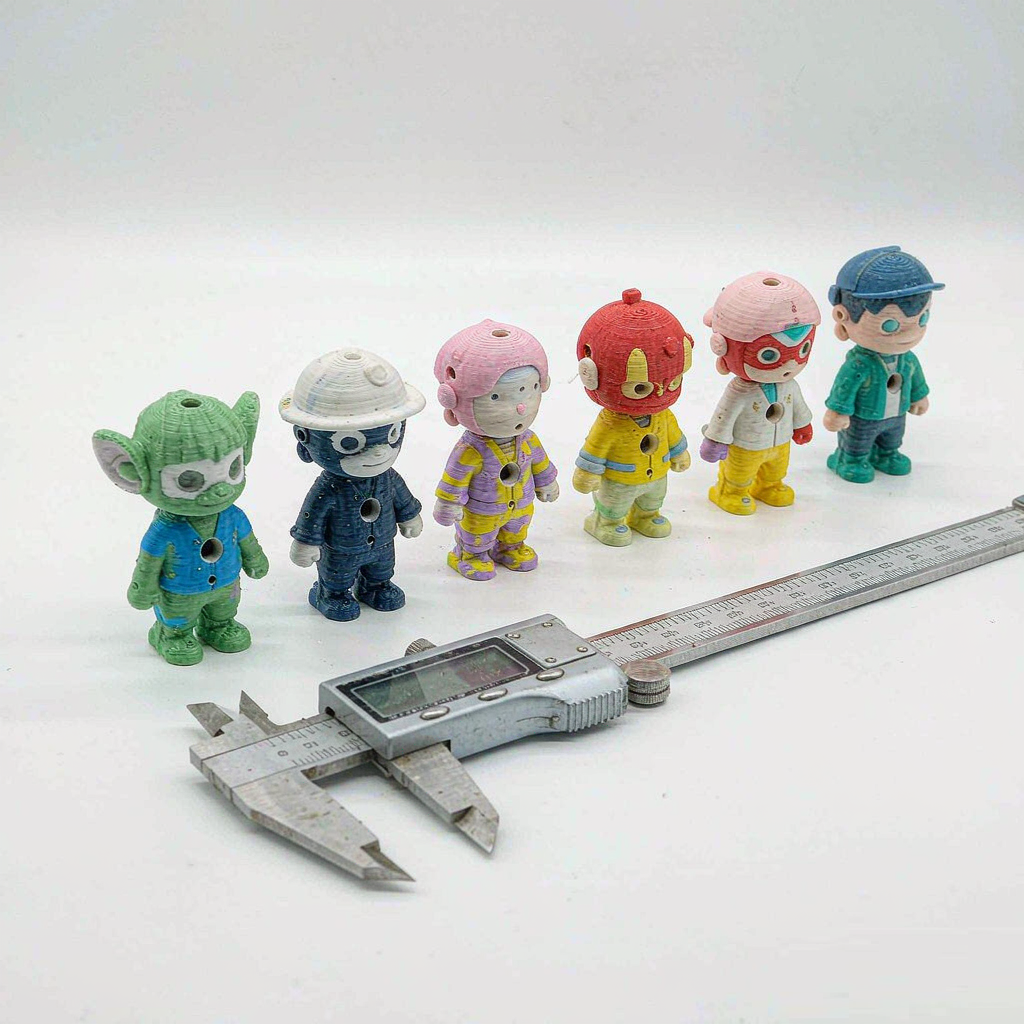
Dimensional
Key dimensions and joint clearances checked against the drawing on sampled parts.
Visual
Layer, paint and defect review; we catch blooms, misses and chips before packing.
Functional
Joints posed, magnets seated, assemblies shaken — the toy is handled as a user would.
Workflow
From Toy Prototype to Small-Batch Production
A typical project moves through these steps. Timelines are confirmed per project once we see the file and volume.
Share the design
Send STL/STEP or a brief; NDA on request.
DFM review
We flag wall, joint and compliance risks; propose process and material.
Quote & timeline
You get a priced range with lead time by quantity and finish.
Prototype print
A few units to validate shape, scale and pose.
Approve & refine
Tweak the model; lock the drawing for repeat batches.
Finish & assemble
Paint, magnets, hardware and assembly as specified.
QC & pack
Sampled inspection, then bulk, boxed or mailer pack-out.
Ship & reorder
Dispatch and file the drawing so reorders stay consistent.
Scale-up
When Should You Move From 3D Printing to Injection Molding?
3D printing wins on speed and low volume; injection molding wins on unit cost at scale. The crossover is usually demand.
Stay with 3D printing when…
Volume is under roughly 1,000–several thousand units, the design is still changing, or you need a bridge run while tooling is built.
Move to injection molding when…
Demand is steady and high, per-unit cost must drop, and surface/consistency must be uniform across every part. We can design and build the mold — see Injection Molding Services and Rapid Injection Molding.
Pricing
What Determines Toy Production Cost?
Cost is rarely one number — it is the sum of these drivers. Send the file and target volume for a real range.
Quantity
Setup is fixed; more units spread it. Per-part cost drops past the mold crossover.
Size & wall
Bigger, thicker parts use more material and machine time per piece.
Process
FDM is cheapest; SLA costs more for resin and cure; SLS/MJF sit between.
Material
Standard PLA/PETG vs nylon or flexible TPU shift the rate.
Finishing
Hand paint, clearcoat, magnets and assembly add labor per unit.
Packaging
Branded boxes and mailers add material and pack labor per unit.
Real project
Custom 3D Printed Toy Case Study
A representative example of the kind of work we do — custom dragons produced to a creator's character design.
Customized 3D Printed Dragons
A creator brought a dragon character for small-batch production: articulated bodies, painted finishes and consistent reorder quality. We reviewed the model, selected a process per pose and volume, then finished and packed to spec.
Before you ask
Buyer Specification Checklist
The more of these you can answer, the faster and more accurate your quote. You do not need all of them — we will help fill the gaps.
- 3D file (STL/STEP/OBJ/3MF) or a brief to model from
- Target quantity and reorder cadence
- Intended use: prototype, display or end-use
- Age grade of the end user
- Preferred process or "you choose"
- Material or feel preference
- Finish: raw, dyed, painted, clearcoat
- Articulation: joints, magnets, pins
- Target market and compliance needs
- Packaging: bulk, box, mailer
- Needed date or event
- NDA or IP handling requirements
FAQ
Frequently Asked Questions
Common questions from toy brands, studios and creators placing their first print order.
What file formats do you accept for toy printing?
What is the minimum order quantity for custom toys?
Which process is best for collectible display figures?
Which process should I use for durable, poseable toys?
Can you paint and assemble the printed toys?
Are 3D printed toys safe for children?
Can you move a toy from 3D printing to injection molding?
What is the typical lead time?
Do you sign an NDA for character and IP designs?
How is custom toy production priced?
Can you match a specific color?
Do you make replacement or spare toy parts?
Do you provide a Children's Product Certificate (CPC)?
Can you reproduce an existing licensed character?
Related capabilities
Where to Go Next
Pair this page with our process depth and scale-up paths.
Submit Your Toy Design
Send your STL, STEP or brief and tell us the quantity, age grade and finish. We will return a process recommendation and a priced range — usually within one business day.