
Rapid Tooling for Injection Molded Parts
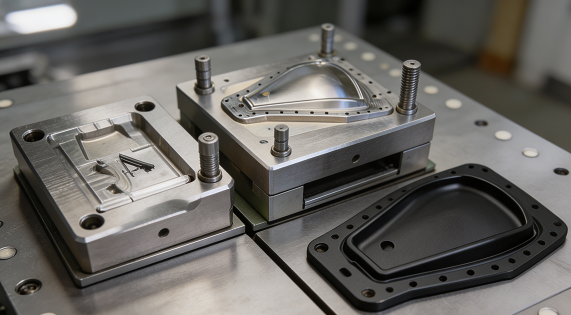
Build aluminum or P20 soft tooling to validate part design, materials, assembly and function before committing to full production tooling.
Send a 3D model, target resin and expected quantity. We will tell you whether rapid tooling, bridge tooling or production tooling is the right first step.
When Should You Choose Rapid Tooling?
Rapid tooling is not simply a cheaper mold. It is the right answer when the most valuable thing you can buy is information before you commit capital.
Your design is not fully proven
The CAD may be complete, but questions remain around fit, assembly, draft, shrinkage or how the part behaves in the mold.
You need real injection-molded parts
3D printed prototypes solve geometry questions, not material ones. Rapid tooling produces parts in the real production-grade resin.
You need a pilot quantity
Functional prototypes, pilot builds, customer evaluation, market testing and pre-launch inventory. The practical quantity is confirmed per project, not quoted as a fixed number.
Full production tooling is too early
When the design may still change, modifying a hardened production mold can cost far more than validating in a softer tool first.
You need bridge production
Demand has started but production strategy is not locked. A rapid tool keeps parts flowing while the production tool is built.
What Is Rapid Tooling?
Rapid tooling is a faster tooling approach for producing injection-molded parts before a long-life production mold is justified. The tool is built to reach molded parts quickly and to remain economical to modify, rather than to survive years of continuous production.
Rapid tooling may use aluminum or P20 pre-hardened steel. Both are loosely called "soft tooling", but they behave differently in service. Aluminum tooling is typically selected when speed, a lower initial tooling commitment and early validation are the priority. P20 tooling is more suitable when the project needs greater durability, repeated pilot production or a longer bridge period.
What defines rapid tooling is not only the metal but the intent: the tool exists to answer questions about the part, then to carry you into production on a planned path.
Aluminum vs P20 Rapid Tooling
The single most common decision on a rapid tooling project. It is not a choice between "cheap" and "expensive" — it is a choice about what the tool has to survive.
| Factor | Aluminum Tooling | P20 Tooling |
|---|---|---|
| Primary purpose | Prototype & early validation | Bridge & repeated short runs |
| Tool cost | Lower | Higher |
| Machining speed | Fast | Moderate |
| Tool durability | Lower | Higher |
| Best for | Design validation | Pilot / bridge production |
| Design changes | Easier to accommodate | Better once design is more stable |
| Abrasive materials | Project dependent | Generally more suitable |
| Long-term production | Usually not preferred | Still a bridge option |
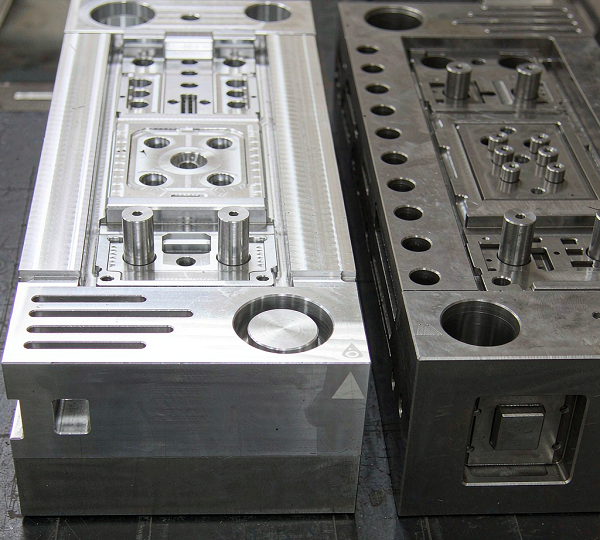
The right tool material depends on part geometry, resin, required quantity, surface finish, expected tool usage and the likelihood of future design changes. A tool that is cheap to build but wears out mid-bridge, or a durable tool that is expensive to modify while the design is still moving, both cost more than the correctly specified one.
What Can You Validate With Rapid Tooling?
This is the actual return on a rapid tool: a structured answer to six questions that no prototype made by another process can fully settle.
Form
Does the molded part match intended geometry once shrinkage, draft and ejection are accounted for?
Fit
Does it assemble correctly with mating components — snap-fits, bosses, sealing faces, tolerance stacks?
Function
Does it perform under real operating conditions — load, temperature, cycling and environment?
Material behaviour
Does the selected resin deliver the required strength, stiffness, impact or temperature resistance?
Surface appearance
Can the specified texture, polish or cosmetic finish meet the requirement on the real resin?
Production behaviour
Are there sink marks, warpage, weld lines, short shots or flash — and can they be resolved before production tooling?
Our Rapid Tooling Process
Six stages from your model to a production decision.
CAD & Requirement Review
Review your 3D model, 2D drawing, target resin, quantity and application.
DFM Analysis
Draft, wall thickness, ribs, bosses, parting line, gate location, ejection and shrinkage — reviewed before any material is cut.
Tooling Strategy
Aluminum or P20? Prototype or bridge tool? Single or multi-cavity? Decided against volume and revision risk.
Tool Manufacturing
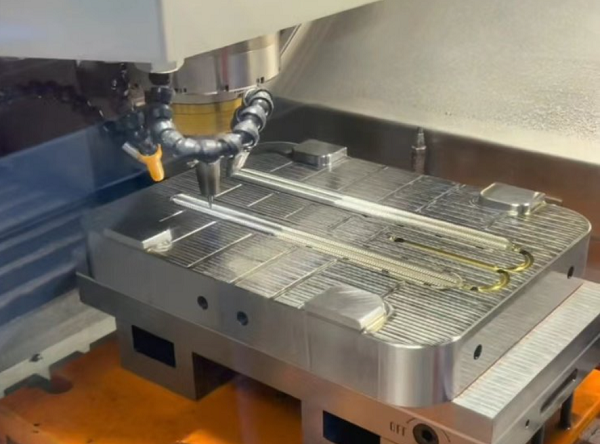
CNC machining, EDM where required, fitting, then polishing or texturing to the specified finish.
T1 Sampling
First molded parts are inspected against the agreed drawing, not simply declared finished.
Validation & Production Decision
Validate → revise → approve → move to bridge production or production tooling.
From Prototype to Production
Rapid tooling is not the end of the route — it is the stage that makes the rest of the route cheaper and safer.
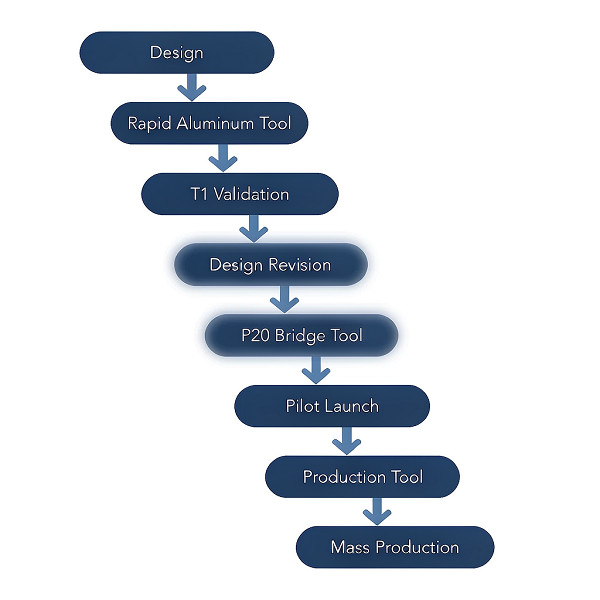
Validate
Use rapid tooling while the design still needs technical or market validation.
Bridge
Use P20 when demand begins but the production strategy is not yet locked, so real parts keep shipping.
Scale
Move to hardened production tooling once design and volume justify it — with the design already proven in a real tool.
When Rapid Tooling May Not Be the Best Choice
A tooling route that is right for one programme is wrong for another. These are the cases where we will usually say so.
One-off prototypes
For one or a handful of parts, CNC machining or 3D printing is usually more economical than any mold.
High, proven production volume
If the design is validated and demand is high, production tooling gives lower long-term part cost.
Highly complex production requirements
Complex hot-runner systems and high cavity counts can justify production tooling from the start.
Our engineering team can compare the tooling routes against your geometry, volume, resin and revision risk before you commit — including telling you when injection molding itself is not the best process for the part.
Rapid Tooling With Production-Grade Resins
One of the main advantages of injection-molded prototypes is the ability to evaluate the actual or intended production resin rather than a substitute prototype material. That difference is often the reason a design passes validation and then fails in production.
Commodity thermoplastics
Everyday grades where cost and processability dominate.
Engineering plastics
Where strength, stiffness, wear or flexibility matter.
High-performance polymers
For elevated temperature, chemical or wear requirements.
Filled and reinforced
Abrasive — directly affects tool material and expected tool life.
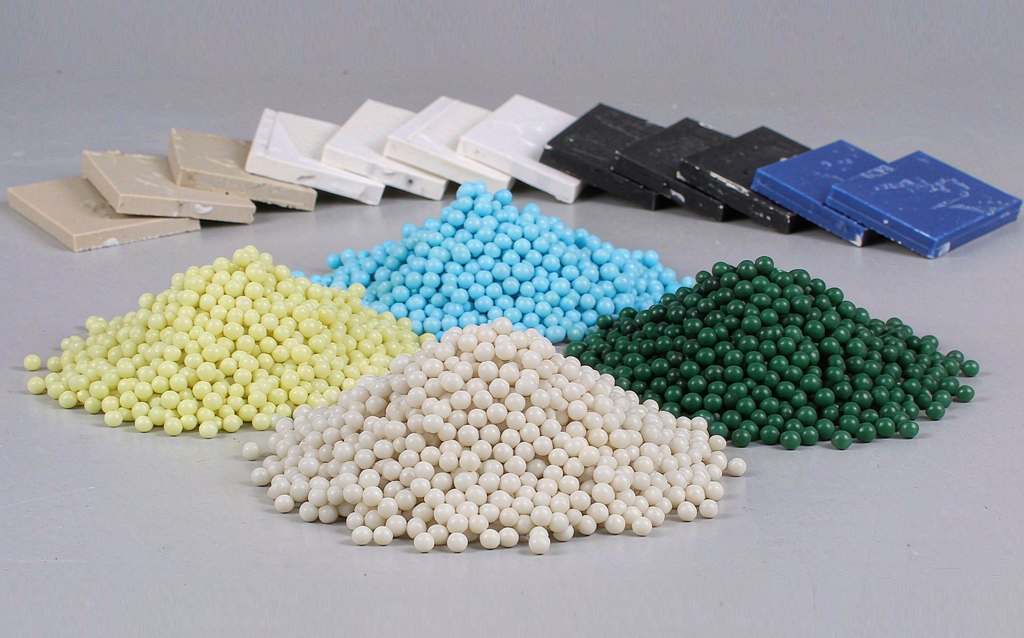
Material selection interacts with tooling: abrasive or high-temperature resins usually push the decision toward P20. View all injection molding materials →
How We Validate Rapid Tooling Parts
Rapid tooling quality is about validation evidence, not about certificates. This is what happens to your T1 parts.
- Drawing review — critical features and measurement method agreed before sampling.
- First-shot inspection — T1 parts checked before further production.
- Critical dimension measurement — against the agreed drawing.
- Visual and cosmetic inspection — against the specified surface and colour standard.
- Material verification where required — resin identification and certification as specified.
- Assembly and fit checks — where mating components are supplied.
- Revision tracking — design changes and re-sampling recorded through the project.
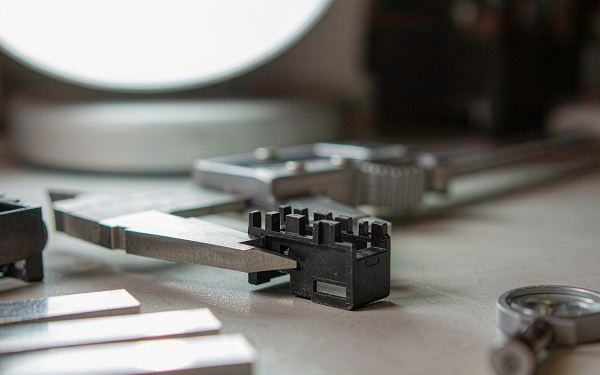
Inspection reports, first-article documentation where specified and material certificates for supplied lots can be provided. Tell us what your receiving inspection expects at quotation stage so it is built into the plan rather than added later.
Tool Life Depends on Your Application
Rapid tooling is intended for development, pilot and bridge production rather than unlimited production cycles.
We do not publish a single shot-count for rapid tooling, because any such number would be misleading. Tool life is confirmed against the selected tool material, resin, geometry, part size and expected volume, and is affected by mold temperature, cycle conditions, glass-fibre content and maintenance. A figure quoted without those variables is a marketing number, not an engineering one. Give us the volume the tool must cover and we will confirm the route.
What Determines Rapid Tooling Cost?
Tooling is priced, not listed. These are the factors that move the number.
| Factor | Why it matters |
|---|---|
| Tool material | Aluminum vs P20 affects machining time, durability and ease of later modification. |
| Part geometry | Slides, lifters and complex parting lines increase tooling work substantially. |
| Cavity count | More cavities raise tooling cost but lower unit cost at volume. |
| Resin | Filled and high-temperature grades affect tool design, material choice and processing. |
| Surface finish | Texture, polishing and cosmetic class add processing and sampling rounds. |
| Quantity | Higher volume can justify a more durable tool from the outset. |
| Design stability | Expected revisions often matter more than any other single factor. |
A rapid tooling quote should consider both tooling cost and the expected production path — not just the lowest initial mold price. The cheapest tool frequently becomes the most expensive option when it cannot survive the bridge period or cannot accommodate the revision you already suspected was coming.
Rapid Tooling Case Study
A representative programme type. Customer identity and exact project figures are not published.
- Project
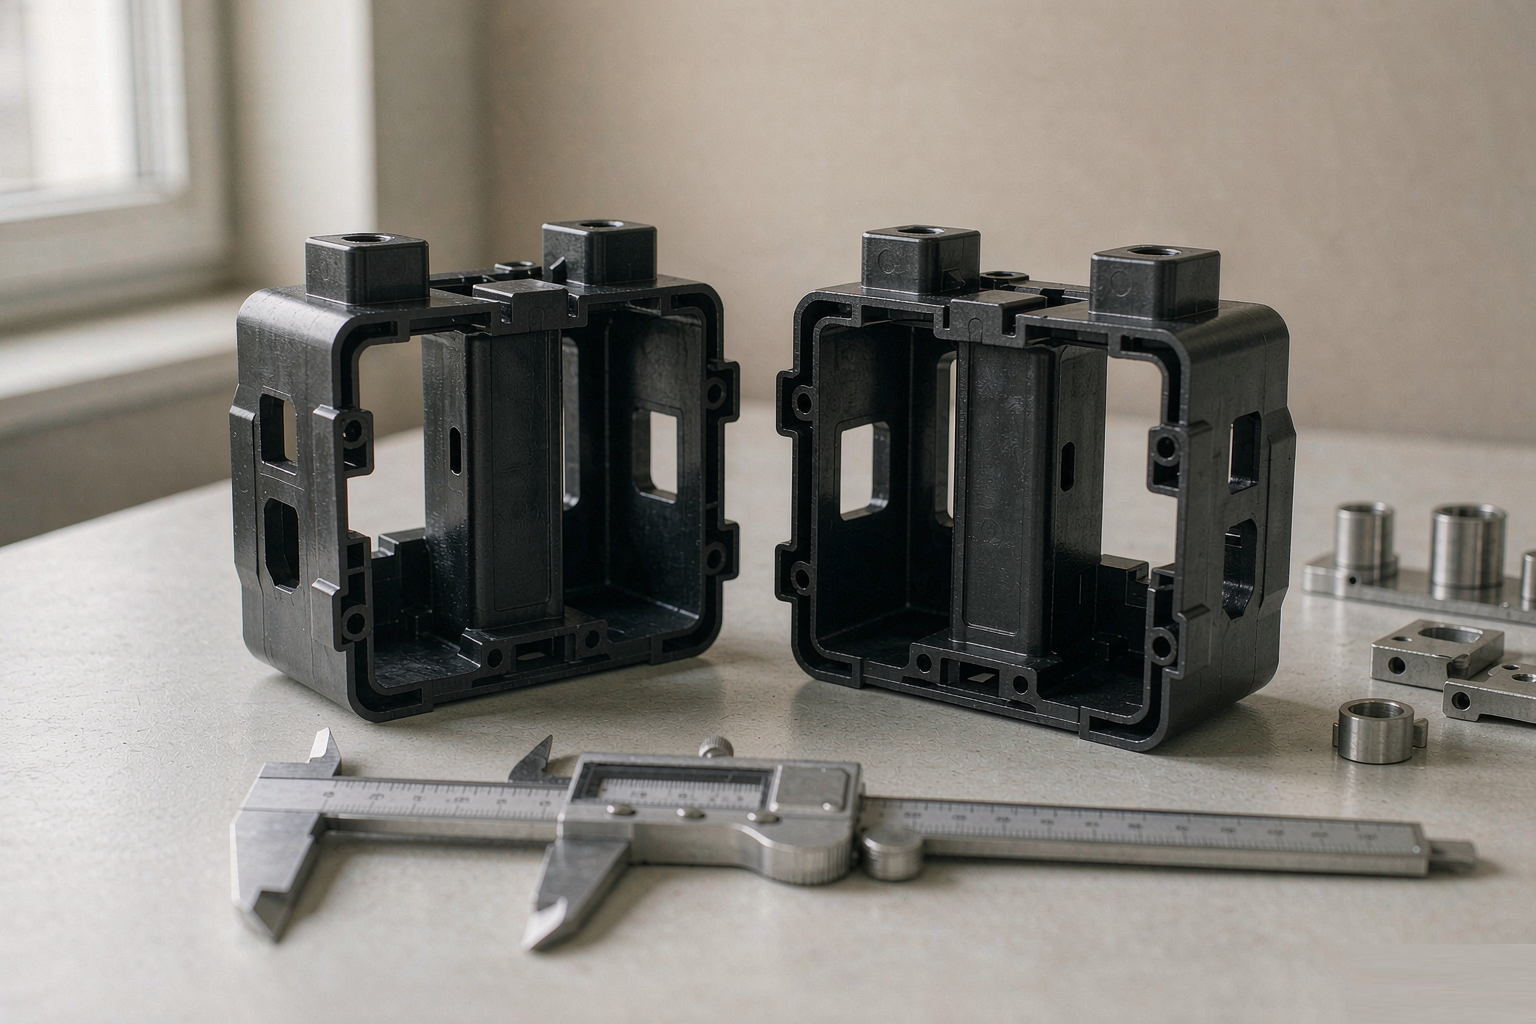
- Two-part equipment housing with snap-fits, internal ribs and a cosmetic outer surface
- Customer need
- Validate geometry, assembly and cosmetic finish before production tooling
- Tooling
- Aluminum rapid tooling, single cavity
- Material
- Engineering thermoplastic, grade selected with the customer — project confidential
- Quantity
- Pilot build quantity confirmed during tooling review — project confidential
- Challenge
- Warpage on the large flat face and inconsistent snap-fit retention at T1
- Validation
- Gate location and wall transitions adjusted, tool modified, re-sampled parts verified against the drawing
- Next step
- Production tooling after design approval
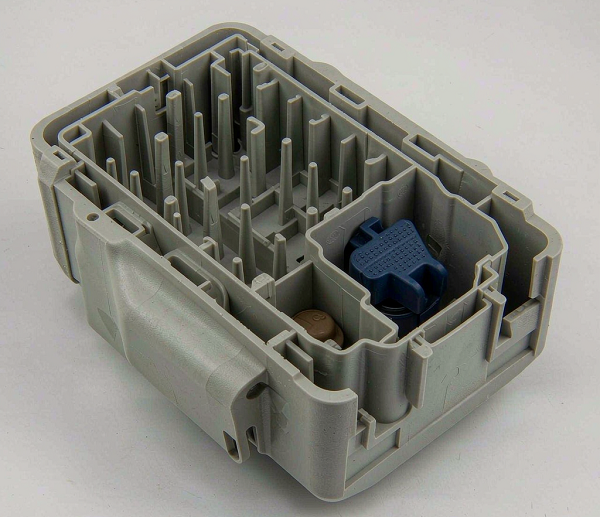
Specific quantities, cycle counts, tooling costs and customer names are not published on this page. Those figures belong to individual programmes and cannot honestly be presented as general capability. If you want evidence relevant to your own part, tell us the geometry and volume and we will discuss what we can share under an NDA.
Rapid Tooling FAQs
The questions that decide whether rapid tooling is the right first step.
Rapid tooling is a faster tooling approach used to produce injection-molded parts before a long-life production mold is justified. It is built for speed and for economical modification, typically in aluminum or P20 pre-hardened steel, and is used for design validation, pilot builds and bridge production.
Production tooling is hardened, usually multi-cavity and built for long, stable service at high volume. Rapid tooling is built faster, in a softer and easier-to-modify material, to answer questions about the part and to cover low to moderate volumes while the production strategy is settled.
Neither is universally better. Aluminum suits early validation, faster machining and easier modification. P20 suits greater durability, repeated pilot runs and a longer bridge period. The right choice depends on geometry, resin, quantity, surface finish, expected tool usage and how likely the design is to change.
It depends on the tool material, resin, geometry, part size and expected production volume, so we confirm it per project rather than quoting a single number. What matters is whether the tool covers your validation and bridge requirement — tell us that volume and we will confirm the route.
Yes, and that is one of its main advantages. Rapid tooling lets you evaluate the actual or intended production resin rather than a substitute prototype material, so mechanical, thermal and cosmetic behaviour are representative of the production part.
Yes. Bridge production is one of the primary reasons to build a rapid tool: demand has started but production tooling is not yet justified or not yet built. P20 is commonly preferred when the bridge period is longer or involves repeated runs.
Faster than equivalent production tooling for comparable geometry, but the schedule depends on cavity count, tool material, slides and lifters, surface finish and how many sampling rounds the design needs. We confirm a realistic schedule after DFM and tooling strategy review rather than quoting a generic lead time.
Cost is driven by tool material, part geometry, cavity count, resin, surface finish, quantity and how stable the design is. Send the model and volume and we will quote the route — including telling you when production tooling is the more economical first step.
When the design is stable, the volume justifies the investment, and the rapid tool is approaching the end of what it was specified to cover. We review this with you at the validation stage so the transition is planned rather than forced by tool failure.
Discuss Your Rapid Tooling Project
Send your CAD model, target material and expected quantity. Our engineering team will review the project and recommend the appropriate tooling route for validation, bridge production or full-scale manufacturing.
Engineering review includes material suitability, DFM feedback and tooling strategy. Founded in 1998, Xiamen Goldcattle machines molds and molded parts in-house.