Prototype Overmolding Services for Functional Plastic Parts
Prototype overmolding lets a product team test a rigid substrate and a second molded material together — bond, grip, seal, cosmetics and fit — before production tooling is committed. This page explains what each prototype stage can prove, how the tooling routes differ, and what to send for a scoped quote.
At a glance
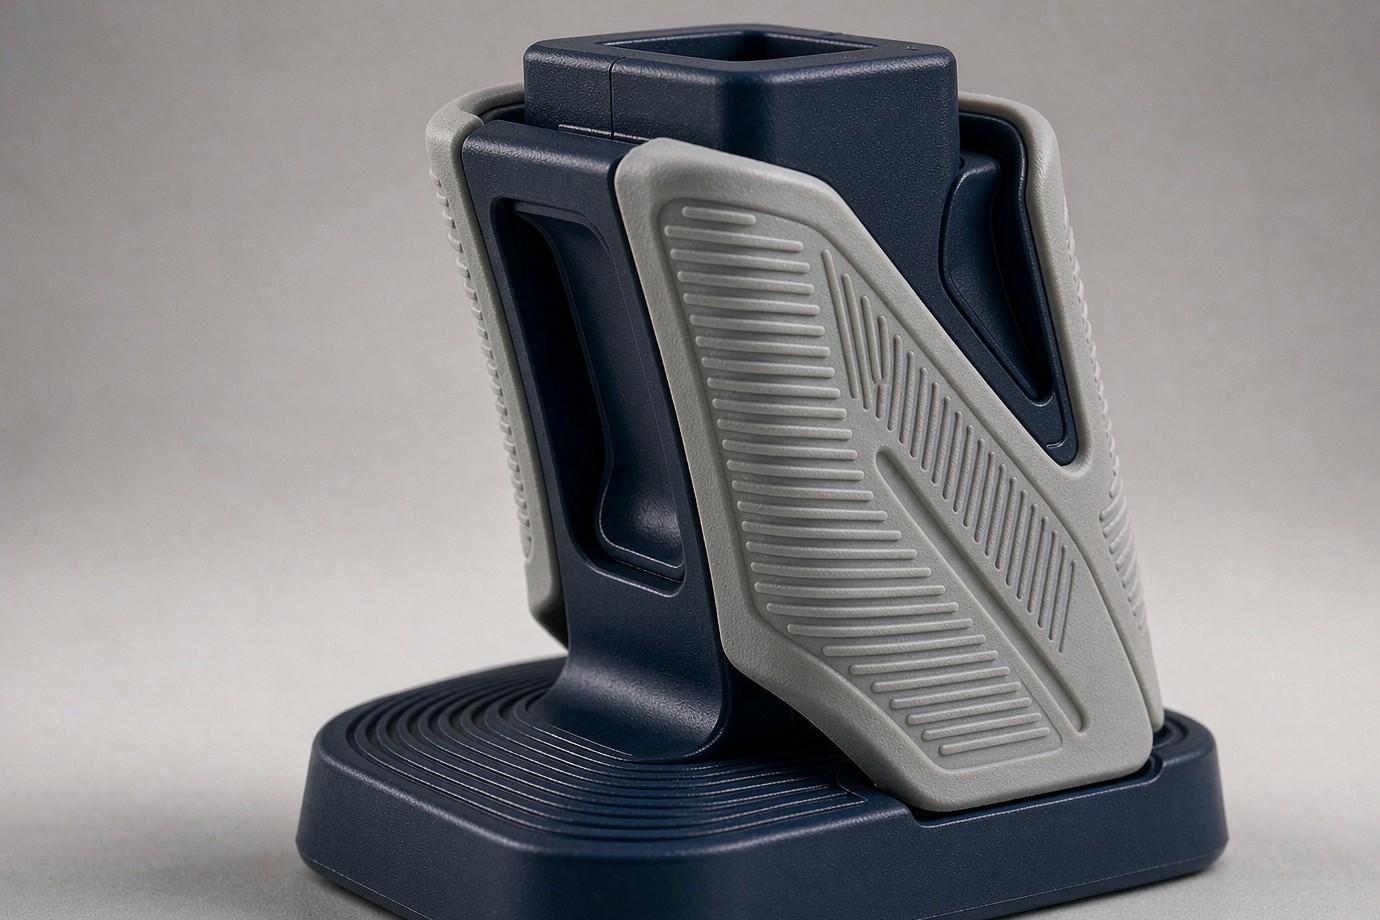
Prototype overmolding is not a smaller version of a production part. It is a test vehicle built to answer specific questions — will the substrate and the overmold stay bonded, does the soft layer feel right, does the seal hold, do the cosmetics meet the boundary, and does the part still assemble — before tooling money is committed. The prototype is only useful if the tool, the material grades and the validation plan are chosen to match those questions. The sections below follow the order a buyer actually evaluates them, and end with the package to send for a scoped quote. For production overmolding rather than prototype validation, see our overmolding services page.
What prototype overmolding can validate — and what it cannot
Buyers often describe the goal as “a sample that looks like the production part”. Appearance is only one of five questions that decide whether a design is ready to freeze. Each question needs a different sample and a different check, and each has a limit that should be stated before the sample is made.
Material bonding
Question: will the substrate and the overmold stay together? Check the actual grade pair, surface condition and any mechanical interlock, and run a peel or bond test sized to the real load. Limit: a machined substrate does not automatically represent a molded one.
Grip, ergonomics and tactile feel
Question: does the soft layer feel and perform right in the hand? Check Shore hardness, texture, overmold thickness, boundary position and assembled feel. Limit: it does not prove long-term wear or chemical exposure unless those are tested.
Sealing and functional fit
Question: does the soft section seal and still let the parts assemble? Check seal geometry, compression, critical dimensions and assembly clearance, and run a leak or function test to the product requirement. Limit: a prototype seal is not a production seal if gate and venting differ.
Cosmetic boundary and surface
Question: do the hard/soft boundary, colour, texture and flash meet the appearance standard? Check the overmold boundary, parting line, surface defects and colour against an agreed limit sample. Limit: it does not replace a production cosmetic approval.
Design iteration and readiness
Question: after a design change, is the overmold structure and material pair still feasible? Check the CAD revision, the tool modification method, the T1-versus-production difference and what still needs re-validation. Limit: it does not confirm the production tool.
What stays open
Question: which risks remain for the bridge or production stage? Record them explicitly. A prototype report that lists only passes is less useful than one that names the open items, because those items become the bridge and production validation plan.
Choose the right prototype stage before you spend on tooling
Buyers use the word “prototype” for five different things. Choosing the wrong stage either spends on tooling before the design is ready, or under-tests a design that is about to be frozen. The stage should be chosen by what the project needs to learn, not by the calendar.
| Prototype stage | Main goal | Recommended route | What it cannot prove |
|---|---|---|---|
| Concept / appearance | Form, size, grip zone, early ergonomics | 3D printing, CNC or an appearance model | Real overmold bond, true material feel, production process |
| Functional overmolding | Material pair, soft-touch, interface, assembly or seal | Representative substrate and overmold grades, molded with a prototype tool | Production tool life and the full process window |
| Engineering validation | Critical dimensions, bond, assembly, environment or function | A tool and process closer to production conditions | Repeatability across long production runs |
| Pilot / bridge | Early market or low-volume demand while confirming stability | Bridge tool chosen by volume, change rate and production plan | Full production economics |
| Production tooling validation | Final tool, stable process, production inspection plan | Production-grade tool, approved materials, process validation | Nothing beyond its approved scope — this is the release stage |
If your prototype is a single-material part with no second molded layer, the general prototyping injection molding solutions path is the better starting point. This page is about the added problems that appear when a second material is molded onto a substrate: the interface, the second tool, the bond, and the difference between a sample that looks right and one that behaves right.
Prototype tooling options: what each route can and cannot represent
“We have a tool that can make a sample” and “we have a tool that can validate overmold function under representative conditions” are different claims. The route should be chosen by what the project needs to learn. Cost matters, but a tool that cannot represent the interface you are testing is expensive at any price.
| Tooling route | Best for | What the buyer must confirm | Main limitation |
|---|---|---|---|
| Prototype / soft tooling | Functional samples, small lots, early design validation | Tool cost, achievable quantity, geometry limits, tool life | Limited life and surface; may not represent production cooling or gating |
| Aluminum rapid tooling | Some prototypes and low-volume projects that need lower early tool spend | Whether the material and geometry suit aluminum, cooling design, shut-off, later modification | Lower tool life; thermal behaviour differs from steel |
| P20 / pre-hardened steel | Projects needing a more stable tool structure or more samples | Actual tool design, life requirement, maintenance, pilot plan | Higher cost than soft tooling; still not a full production tool |
| Production steel tooling | Design and material stable, moving to repeatable production | Target volume, cavity count, automation, quality control, long-term maintenance | Highest one-time cost; changes are expensive |
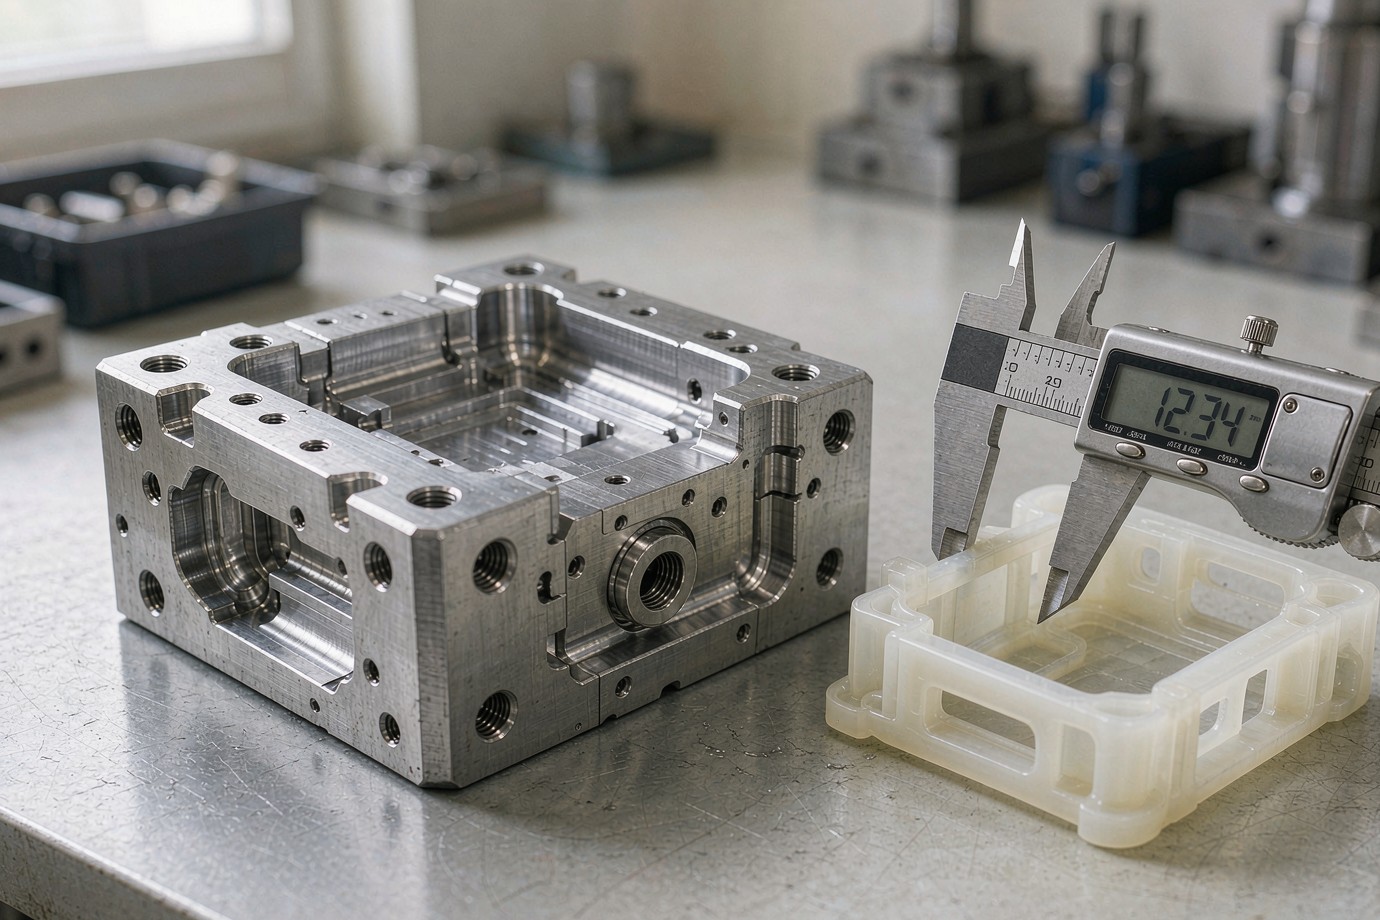
| 3D printing / CNC prototype | Appearance, structure and assembly checks | Whether it can represent the final overmold material, bond and molding behaviour | Cannot reproduce true overmold bonding or molding process |
Material compatibility and DFM: the pair, not the family name
Material selection is one of the most important decisions in prototype overmolding. Compatibility depends on the specific substrate and overmold grades, the processing conditions, the interface geometry and the intended use. “TPE bonds to ABS” is a family-level statement, not an approval for a particular pair of grades.
| Substrate candidate | Overmold candidate | Common validation focus | Confirm before tooling |
|---|---|---|---|
| ABS | Matched TPE / TPU grade | Grip, soft touch, cosmetics | Grade compatibility, bond method, boundary, texture |
| PC / PC-ABS | Matched TPE / TPU grade | Housing, protection, sealing, grip | Thermal conditions, substrate distortion, bond, cosmetics |
| PP | Matched TPE grade | Flexible layer, sealing, protection | Specific formulation, compatibility, mechanical interlock |
| PA / Nylon | Matched TPE / TPU grade | Industrial grips, tools, structural parts | Fillers, moisture condition, process window, bond strength |
| Other specified substrate | TPE, TPU, TPV or LSR candidates | Project-defined function | Grade, process, temperature, regulatory requirement |
Material compatibility for prototype overmolding. Material selection is one of the most important decisions in prototype overmolding. Compatibility depends on the specific substrate and overmold resin grades, processing conditions, interface geometry and intended use. Before production tooling is finalized, evaluate the required bond performance, hardness, colour, surface texture, sealing or grip function, and the need for mechanical interlocking. Prototype samples can help validate the selected material combination, but the validation plan should reflect the intended production process and application requirements.
The prototype overmolding validation plan
The most useful output of a prototype phase is not a good-looking sample. It is evidence that the risks you care about have been closed, or a clear list of what remains open. The table below maps each common concern to the engineering cause and the validation direction, so the sample plan can be written before the tool is cut.
| Concern | Possible engineering cause | Prototype validation direction |
|---|---|---|
| Delamination / peeling | Incompatible grades, weak interface, unsuitable process conditions | Peel or bond test sized to the actual load and use case |
| Flash at the interface | Shut-off surface, substrate location, tool fit or process | Inspect the overmold boundary, flash and critical cosmetic areas |
| Incomplete overmold | Flow path, wall thickness, gate or process window | Check fill, local thickness and cosmetic defects |
| Dimensional interference | Substrate size, overmold thickness, shrinkage difference, assembly tolerance | Check key dimensions of the substrate, the overmolded part and the assembly |
| Seal leakage | Seal geometry, compression, hardness or assembly condition | Leak or function test to the actual design and customer standard |
| Poor grip / surface feel | Hardness, texture, overmold thickness or ergonomics mismatch | Sample review against target users, function and the surface standard |
A validation plan is most useful when it is agreed before sampling. It should name the substrate and overmold grades, the interface features, the critical dimensions, the cosmetic boundary, the tests and the accept criteria. Without agreed criteria, a sample review turns into a discussion about opinion rather than evidence.
From prototype to bridge and production: what gets re-validated
A prototype that passes is a reason to move forward, not proof that production is solved. The tool, the material lot, the process window and the inspection plan all change between stages. The sequence below keeps the decisions explicit.
- Review the prototype results. Bond, dimensions, cosmetics and function are reviewed against the agreed criteria; the team decides what must change before the design is frozen.
- Freeze the design and grades. The CAD revision, substrate grade, overmold grade and cosmetic boundary are fixed. Changes after this point are costlier because they touch the tool.
- Choose the next tool. Bridge or production tooling is selected by volume, change rate and product life — not by habit.
- Re-validate on the tool that will actually run. T1 or first-article checks are made on the production or bridge tool, not on the prototype tool.
- Confirm the process and inspection plan. Accepted settings, sampling plan and documentation are recorded; first-article reports per AS9102 are available on request.
- Release to production. Production quantities run against the approved process and inspection plan, with changes controlled.
The question buyers ask most is why a prototype that passed still needs re-validation. The answer is that the prototype tool and the production tool differ in cavity count, cooling, gating, venting and automation. A bond that held in a single-cavity soft tool may behave differently in a multi-cavity steel tool with a different gate position. Re-validation is not a repeat of the prototype; it is a check on the tool that will actually make the parts.
What drives cost, and how to scope a prototype overmolding quote
Prototype overmolding quotes are not a single price. They depend on whether one or two tools are needed, the grades, the geometry, the sample quantity, the tests and how many design changes are expected. We quote tooling, samples and validation as separate lines so the one-time and per-sample costs are visible.
| Quote factor | How it affects the quote |
|---|---|
| Substrate + overmold tooling | Whether two tools are needed, the cavity structure and the location method; drives the up-front investment |
| Material grades | Material price, compatibility and processing requirements |
| Part geometry | Complex structure, shut-off surfaces, undercuts and thin sections add tool design and trial work |
| Prototype quantity | Affects the tool route, scheduling, material loss and unit cost |
| Bonding / functional tests | Customer-required bond, leak, durability or other tests add cost |
| Design changes | Iterations, tool modification and re-sampling affect the total project cost |
| Bridge / production requirements | Whether the initial tool can support a transition to production affects the tooling strategy |
Structure only, not a price list. Actual figures depend on the tool route, materials, geometry, quantity and tests, and are quoted per project.
Prototype tooling should be selected according to the amount of learning required before production — not simply by choosing the lowest-cost mold. If the project only needs to validate appearance and early grip, a full production tool may be unnecessary. If it must validate bond strength and sealing with production materials, a more representative substrate and process are needed. The lowest-cost route is the one that answers the questions the project actually has, once.
Why Goldcattle for prototype overmolding
Prototype overmolding sits at the junction of part design, tool making and process control. It is easier to keep the interface and the two tools consistent when those three are not split across suppliers.
DFM before tooling
We review the substrate and overmold grade pair, the interface geometry, the shut-off and the fill before quoting, and we say when a design should change rather than tooling it and finding the problem at sampling.
Mold and molding under one roof
Mold making and injection molding are among our six in-house processes, so the substrate tool, the overmold tool and the process are developed by one team under one quality system — no hand-off between a toolmaker and a molder when the interface needs tuning.
ISO 9001:2015 and FAI on request
Tooling, molding and inspection run under ISO 9001:2015. First-article reports per AS9102 are available on request, set to the part’s risk rather than applied to every project.
Scale behind the part
Founded in 1998, with 100+ machines across six processes, 500+ clients and 1,000+ completed projects, serving customers in 100+ countries — so a prototype can sit inside a broader molding, machining and assembly program.
What we do in-house, stated plainly
We would rather scope this accurately than overstate it. The six core processes — CNC machining, injection molding, mold making, 3D printing, die casting and sheet metal fabrication — are performed in-house under one ISO 9001:2015 quality system. Secondary finishing such as painting, plating and laser marking is carried out by qualified partners and controlled through our incoming inspection and quality process. If a project depends on a specific finishing capability, say so at RFQ and we will confirm how it is handled.
- Overmolding is performed within our injection molding and mold-making processes, not treated as a separate outsourced step.
- Material compatibility is checked from the actual grades and interface geometry, not from a family-level claim.
- Where a material pair or interface is marginal, we say so before tooling and propose an alternative rather than promising an unverified result.
Frequently asked questions
What are prototype overmolding services?
Can I prototype overmolding before production tooling?
How do I validate TPE or TPU bonding?
Can 3D printing replace an overmolded prototype?
How much does prototype overmolding cost?
What is the difference between prototype and production overmolding?
Can I use aluminum tooling for prototype overmolding?
What should I send for a prototype overmolding quote?
How many samples do I need for overmolding validation?
How do I move from an overmolding prototype to production?
What to send for a prototype overmolding quote
A useful quote starts from a complete package. The fields below are the ones that most often change the tool route or the validation plan, so sending them together shortens the back-and-forth.
| Field | Why it matters |
|---|---|
| 3D CAD / 2D drawing | Defines the substrate, the overmold areas, critical dimensions and tool feasibility |
| Substrate material and grade | Determines the substrate grade and the compatibility review |
| Overmold material and hardness | Confirms TPE, TPU, TPV or LSR and the target Shore hardness |
| Prototype quantity | Distinguishes functional validation, design-variant comparison and a small pilot |
| Main validation goal | Bond, grip, seal, cosmetics, assembly or another function |
| Target tests | Bond strength, leak, durability or other tests the project requires |
| Project stage | Concept, functional prototype, engineering validation, bridge or production preparation |
| Expected production volume | Whether the prototype tool should consider a later production route |
| Target date | Sets the sample lead time and the design review plan |
If a grade is not yet fixed, send the performance requirement instead and say so; we can recommend a candidate pair for review. For the commercial path after prototyping, the injection molding quote process covers tooling and production pricing. What we return for a prototype project is a scoped note on the tool route, the material pair, the validation plan and the quote assumptions — not a single number without context.
Send a prototype overmold for a DFM review
Share the 3D model, drawing, substrate and overmold grades (or the performance requirement), sample quantity and the validation goal. We will review the interface, recommend a tool route, flag the bond, seal or cosmetic risks, and come back with a scoped prototype quote.
Request a Prototype Overmolding Quote Or review our injection molding capability first →Founded in 1998 · ISO 9001:2015 · mold making and molding in-house.